
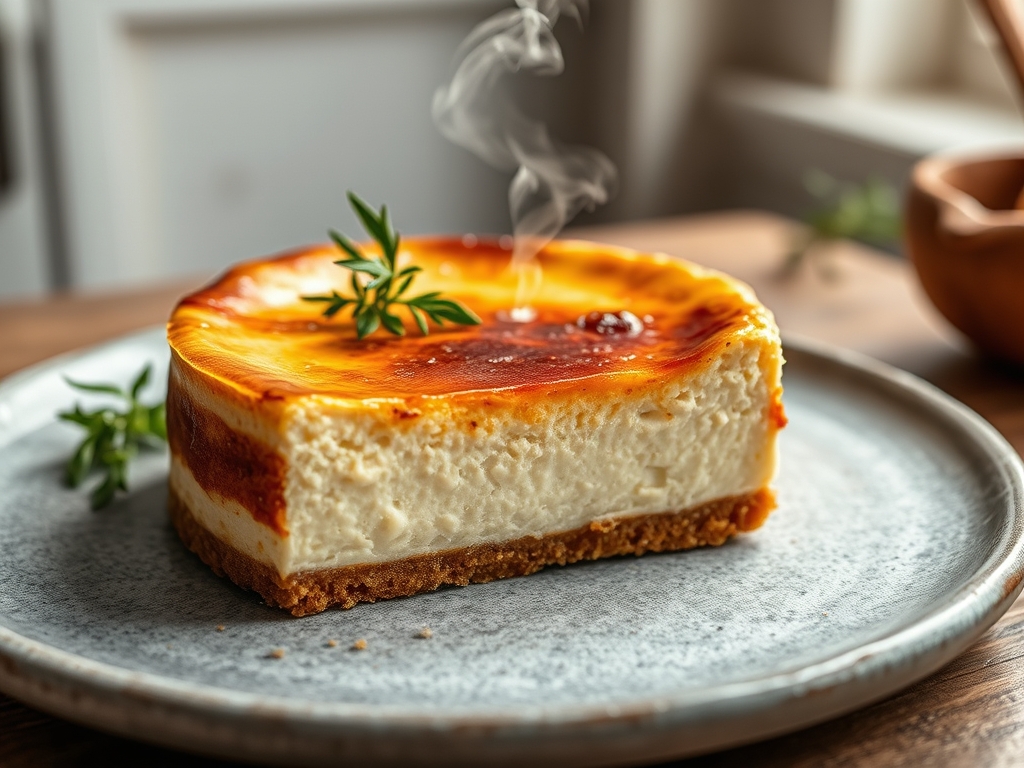
Listen up, culinary architects. We are moving beyond the realm of simple desserts and entering the high-stakes world of phase-shift engineering. The Bake to Ice Cheesecake is not just a recipe; it is a thermal gauntlet that challenges the structural integrity of dairy fats and protein lattices. Imagine a landscape of dense, velvet-rich cream cheese that undergoes a violent transformation in the oven, only to be stabilized by a sub-zero curing process. This is the ultimate technical audit of texture. We are hunting for that perfect equilibrium where the crumb is crisp, the center is viscous, and the finish is as clean as a fresh snowfall. If you have ever suffered through a grainy, weeping, or cracked cheesecake, your credentials as a pastry technician are under review. We are here to fix the infrastructure of your dessert game. Forget the soggy bottoms and the rubbery over-baked disasters of your past. We are optimizing for a decadent mouthfeel that transitions from room-temperature silk to a frozen, crystalline snap. Prepare your workstations.
THE DATA MATRIX
| Metric | Specification |
|---|---|
| Prep Time | 45 Minutes |
| Execution Time | 60 Minutes Bake + 12 Hours Cold Cure |
| Yield | 12 Precise Portions |
| Complexity (1-10) | 8 (Requires Thermal Precision) |
| Estimated Cost per Serving | $2.45 USD |
THE GATHERS
Ingredient Protocol:
- 750g / 26.5oz Full-Fat Cream Cheese (Room Temperature)
- 200g / 1 cup Granulated Sugar
- 250ml / 1 cup Heavy Cream (36 percent milkfat)
- 3 Large Eggs (approx. 150g)
- 15ml / 1 tbsp Pure Vanilla Extract
- 30g / 0.25 cup All-Purpose Flour (Sifted)
- 200g / 7oz Digestive Biscuits or Graham Crackers
- 100g / 3.5oz Unsalted Butter (Melted)
- 2g / 0.5 tsp Fine Sea Salt
Section A: Ingredient Quality Audit:
If your cream cheese is cold, your emulsion is dead on arrival. Cold fats resist integration; this leads to a lumpy batter that will weep moisture during the bake. To fix this, use a warm water bath to gently raise the temperature of the foil-wrapped blocks. If your heavy cream has a low fat content, the cheesecake will lack the necessary structural lipids to survive the "Ice" phase of the Bake to Ice Cheesecake. Always source cream with at least 36 percent milkfat to ensure a viscous result. If your eggs are small, the protein network will be too weak to hold the moisture; always weigh your eggs on a digital scale to ensure a 150g total mass. Finally, if your sugar is coarse, it will not dissolve properly, resulting in a speckled, grainy crust. Pulse coarse sugar in a spice grinder for five seconds to achieve a finer grit before mixing.
THE MASTERCLASS
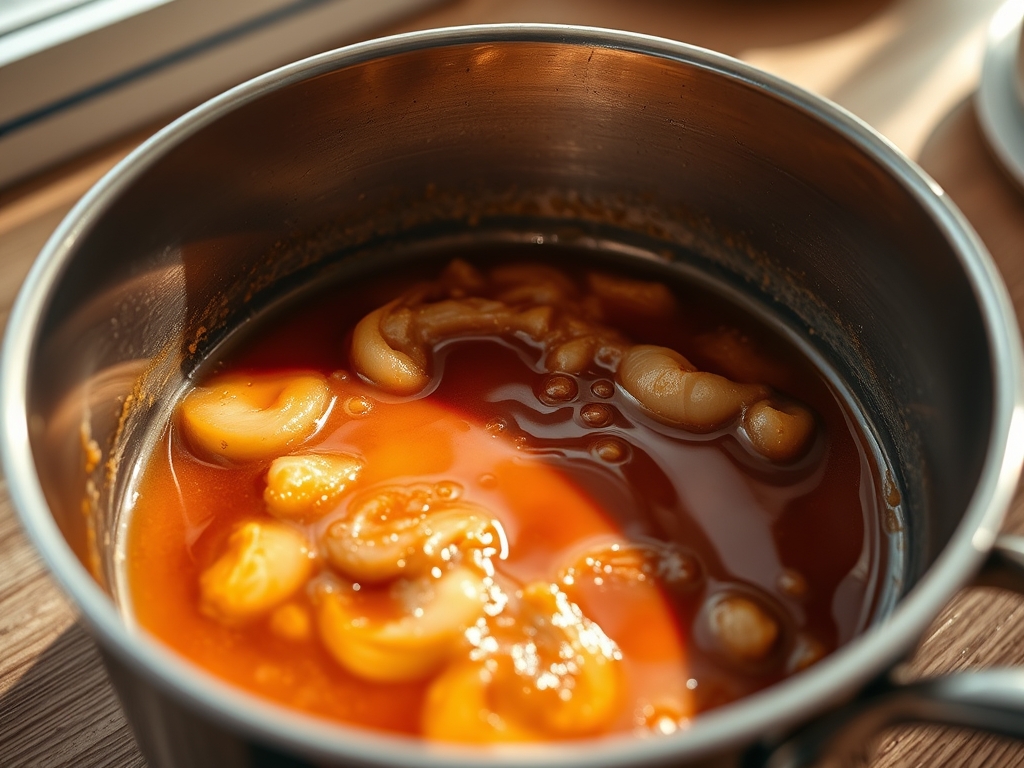
Step 1: Foundation Engineering
Pulverize your biscuits into a fine sand using a food processor. Combine with melted butter and salt until the texture resembles wet beach sand. Press this mixture into a 9-inch springform pan using the flat bottom of a measuring cup to ensure even compression. Bake at 175C (350F) for 10 minutes to render the fats and set the structure.
Pro Tip: Use a bench scraper to ensure the edges of the crust are perfectly vertical and uniform. This prevents the filling from seeping under the crust, which causes the dreaded "soggy bottom" syndrome.
Step 2: The Emulsion Protocol
In a stand mixer fitted with the paddle attachment, beat the cream cheese and sugar on low speed. You are looking to infuse the sugar into the fat without incorporating excessive air. Scrape the bowl frequently. Add eggs one at a time, ensuring each is fully incorporated before adding the next.
Pro Tip: Excessive speed at this stage will aerate the batter too much. Too much air causes the cheesecake to rise like a souffle and then collapse, creating deep structural fissures. Keep the RPMs low to maintain a dense molecular density.
Step 3: Liquid Integration
Slowly pour in the heavy cream and vanilla extract while the mixer is running on its lowest setting. Sift the flour over the mixture and fold it in by hand using a silicone spatula. This final addition provides the starch bridges necessary to stabilize the dairy proteins during the thermal shift.
Pro Tip: Use a saucier to slightly warm your heavy cream to 25C (77F) before adding it. This prevents the "thermal shock" that can cause the room-temperature cheese to seize into tiny beads.
Step 4: The Thermal Shift
Pour the batter over the pre-baked crust. Place the springform pan inside a larger roasting pan and fill the roasting pan with boiling water halfway up the sides of the cake tin. Bake at 150C (300F) for 60 minutes. The center should still have a slight wobble when shaken.
Pro Tip: The water bath acts as a thermal regulator. It ensures the edges do not exceed 100C (212F), preventing the proteins from over-coagulating and becoming rubbery. Use a digital probe thermometer to pull the cake when the internal temperature hits 65C (150F).
Step 5: The Cryo-Stabilization
Allow the cake to cool to room temperature in the turned-off oven with the door propped open. Once cool, wrap tightly in plastic wrap and transfer to the freezer for at least 12 hours. This is the "Ice" phase of the Bake to Ice Cheesecake where the fats crystallize into a rigid, velvet-like matrix.
Pro Tip: Do not rush this. Sudden temperature drops cause the moisture trapped in the protein lattice to expand rapidly, shattering the smooth surface. Gradual cooling is the only path to visual perfection.
Section B: Prep & Timing Fault-Lines:
The most common human error is the "Premature Extraction." Removing the cake from the oven before the center reaches 65C results in a liquid core that will collapse once thawed. Conversely, leaving it in until the top browns deeply means you have over-baked the proteins, leading to a grainy mouthfeel. If you miss your window, you cannot "re-bake" a cheesecake. Your only fix is to mask the texture with a piquant fruit coulis. Another timing error occurs during the cooling phase; if you move the cake to the freezer while it is still warm, condensation will form under the plastic wrap, dripping onto the surface and creating unsightly "pockmarks" on your pristine canvas.
THE VISUAL SPECTRUM
Section C: Thermal & Visual Troubleshooting:
Look at the Masterclass photo. Notice the edge-to-edge uniformity and the absence of a dark "tanning" on the surface. If your cake shows uneven browning, your oven has hot spots; rotate the roasting pan 180 degrees halfway through the bake. If the surface looks dull or matte rather than creamy, you likely over-mixed the batter, forcing the fats to separate from the solids. To fix a dull surface, use a kitchen torch to lightly deglaze the top before serving, creating a subtle sheen. If you see cracks, your water bath ran dry or your oven temperature was too high. You can bridge small cracks by smoothing them with a warm offset spatula before the freezing phase.
THE DEEP DIVE
Macro Nutrition Profile:
A standard portion contains approximately 450 calories, 32g of fat, 35g of carbohydrates, and 8g of protein. This is a high-density fuel source designed for sensory impact rather than daily sustenance.
Dietary Swaps:
- Vegan: Replace cream cheese with a cashew-based fermented spread and use coconut cream in place of heavy dairy. Substitute eggs with a starch-based binder.
- Keto: Swap the sugar for an erythritol-monk fruit blend and use almond flour and butter for the crust.
- GF: Simply utilize certified gluten-free biscuits for the base; the filling is already functionally gluten-free if you swap the 30g of flour for cornstarch.
Meal Prep & Reheating Science:
The Bake to Ice Cheesecake is the king of meal prep. It can reside in the freezer for up to three months without molecular degradation. To serve, transfer to the refrigerator two hours before consumption. Do not use a microwave; heat will cause the fat lattice to collapse instantly, turning your masterpiece into a pool of sweet oil.
THE KITCHEN TABLE
Why did my cheesecake crack despite the water bath?
The oven temperature was likely too high or you over-whipped the eggs. Air bubbles expand during heating and contract during cooling, creating tension that snaps the protein bonds. Keep the heat low and the mixing slow.
Can I use low-fat cream cheese for this?
Absolutely not. Low-fat variants contain higher moisture and stabilizers that interfere with the "Ice" phase. The result will be icy and gritty rather than smooth and creamy. Stick to the full-fat infrastructure for structural integrity.
How do I get those perfectly clean slices?
Heat a long thin knife under hot water, wipe it dry, and make one clean downward stroke. Wipe the blade clean and re-heat it between every single cut. This prevents "crumb drag" across the face of the cake.
My crust is soggy even after pre-baking. What happened?
You likely did not compress the crumbs tightly enough or your butter-to-crumb ratio was too high. Ensure the base is a solid, compacted disc before adding the liquid filling to prevent seepage.

