
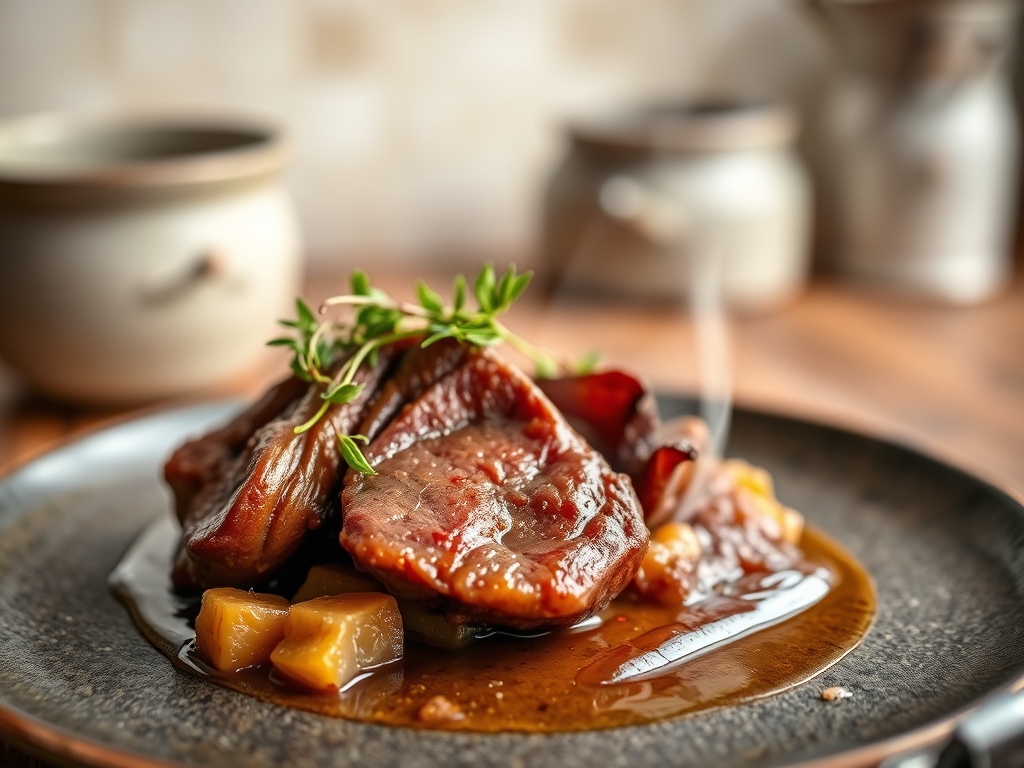
Stop treating your kitchen like a hobbyist's playground and start viewing it as a high-stakes manufacturing plant. We are here to conduct a comprehensive Beef Cheek Audit. This is not about a simple Sunday roast; it is a structural overhaul of one of the most stubborn muscle groups in the bovine anatomy. Beef cheeks are a chaotic lattice of connective tissue and dense muscle fibers that, if handled by an amateur, result in something resembling a discarded leather boot. However, when we apply the correct thermal load and moisture parameters, we trigger a magnificent phase change. We are engineering the transition of tough collagen into silky, lip-smacking gelatin. This is the infrastructure of flavor. It requires patience, precision, and an absolute refusal to cut corners. We are looking for that perfect bi-phasic result: meat that holds its shape under the knife but dissolves into a viscous, rich nectar the moment it hits the palate. Grab your apron and your digital scale. It is time to audit your technique and optimize your output.
THE DATA MATRIX
| Metric | Specification |
|---|---|
| Prep Time | 45 Minutes |
| Execution Time | 4 to 6 Hours |
| Yield | 4 to 6 Servings |
| Complexity | 7 / 10 |
| Estimated Cost per Serving | $6.50 / 6.00 Euro |
THE GATHERS
Ingredient Protocol:
- 1.5kg / 3.3 lbs Beef Cheeks (trimmed of heavy silver skin)
- 500ml / 2 cups Full-bodied Red Wine (Cabernet or Syrah)
- 750ml / 3 cups High-quality Beef Bone Broth
- 60ml / 4 tbsp Neutral Oil (Grapeseed or Avocado)
- 200g / 1.5 cups Mirepoix (Finely diced onion, carrot, celery)
- 30g / 2 tbsp Tomato Paste
- 4 cloves Garlic (smashed)
- 3 sprigs Fresh Thyme
- 2 leaves Dried Bay
- 15g / 1 tbsp Kosher Salt
- 5g / 1 tsp Freshly Cracked Black Pepper
Section A: Ingredient Quality Audit:
If your beef cheeks arrive with excessive "accessory fat" or thick, unyielding silver skin, your yield will plummet. Use a sharp boning knife to remove the silver skin; it will never break down, even in a six-hour braise. If your wine is "corked" or tastes like vinegar, do not use it. The reduction process concentrates flavors; a bad wine becomes a piquant disaster. If your beef broth lacks body, fortify it with a teaspoon of unflavored gelatin powder before starting to ensure a luxurious mouthfeel in the final sauce.
THE MASTERCLASS
1. The Desiccation and Seasoning Phase
Dry the beef cheeks thoroughly using paper towels. Moisture is the enemy of the Maillard reaction. Season aggressively with salt and pepper using your digital scale to ensure a 1 percent salt-to-weight ratio.
Pro Tip: Surface moisture consumes thermal energy through evaporation, preventing the temperature from rising high enough to trigger browning. Use a heavy-bottomed saucier or Dutch oven to maintain consistent heat retention during the sear.
2. The Maillard Infrastructure Build
Heat the oil until it reaches the shimmering point. Sear the cheeks in batches. Do not crowd the pan. You are looking for a deep, mahogany crust on all sides.
Pro Tip: This crust is the foundation of your flavor profile. The amino acids and reducing sugars are transforming into hundreds of different flavor compounds. Use a bench scraper to clear any burnt bits between batches if the fond becomes too dark.
3. The Aromatics and Deglaze Procedure
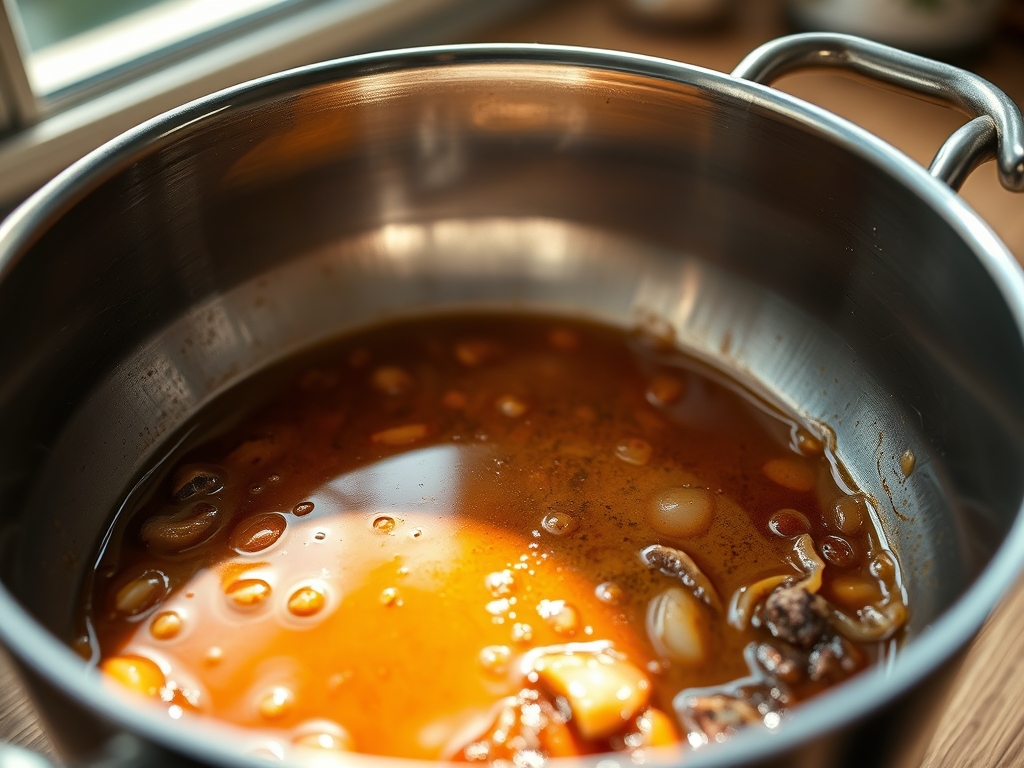
Remove the meat and add the mirepoix. Sauté until translucent, then add the tomato paste. Cook the paste until it turns a rusty brick color. Pour in the red wine to deglaze the pan, scraping up every bit of caramelized protein.
Pro Tip: Deglazing is a chemical extraction process. The alcohol and acidity in the wine dissolve the flavor-packed compounds stuck to the bottom of the vessel. Use a high-quality silicone spatula to ensure no flavor is left behind.
4. The Thermal Transition Phase
Return the beef to the vessel and submerge in bone broth until 3/4 covered. Add the herbs and garlic. Cover with a tight-fitting lid or a cartouche (parchment paper lid) and place in a 150C / 300F oven.
Pro Tip: Low and slow is the law. Collagen begins to denature into gelatin at approximately 70C (160F), but the process is time-dependent. A consistent, low thermal load ensures the muscle fibers do not tighten and squeeze out all their moisture before the collagen can render.
5. The Reduction and Emulsification
Once the meat is fork-tender, remove it carefully. Strain the braising liquid through a fine-mesh sieve into a clean pan. Reduce the liquid by half over medium-high heat until it coats the back of a spoon.
Pro Tip: To achieve a professional sheen, whisk in a cold knob of butter at the very end. This creates a temporary emulsion that adds a velvety texture and helps the sauce infuse the meat with a glossy finish.
Section B: Prep & Timing Fault-Lines:
The most common failure in a Beef Cheek Audit is the "Rush Factor." If you increase the heat to speed up the process, you will end up with dry, stringy meat. The internal temperature of the braising liquid should never exceed a gentle simmer. If your sauce is too thin after the meat is done, do not keep cooking the meat in the liquid. Remove the protein first to prevent over-extraction, then reduce the sauce independently.
THE VISUAL SPECTRUM
Section C: Thermal & Visual Troubleshooting:
Look at the Masterclass photo. Notice the deep, uniform glaze and the way the meat holds a clean edge despite being tender. If your meat looks grey or "boiled," your initial sear was insufficient. If the sauce is broken or oily, you likely boiled the liquid too hard during the final reduction. To fix a broken sauce, add a splash of water and whisk vigorously over low heat to re-emulsify the fats. If the color is dull, a teaspoon of balsamic vinegar or a squeeze of lemon can brighten the visual and flavor profile simultaneously.
THE DEEP DIVE
Macro Nutrition Profile:
Beef cheeks are a powerhouse of protein and healthy fats. A standard 150g serving provides approximately 35g of protein, 12g of fat (largely monounsaturated if trimmed well), and 0g of carbohydrates. The high gelatin content is excellent for gut health and joint recovery.
Dietary Swaps:
- Vegan: This is a structural challenge. Substitute beef with large "steaks" of Lion's Mane mushroom or King Oyster mushrooms. Use a mushroom-based "no-beef" broth and red wine.
- Keto: The recipe is naturally keto-friendly. Ensure the wine is dry and avoid adding any flour or cornstarch thickeners.
- GF: This recipe is naturally gluten-free provided your bone broth is certified.
Meal Prep & Reheating Science:
Beef cheeks actually improve after 24 hours in the fridge. As the dish cools, the gelatin sets into a semi-solid matrix, further tenderizing the fibers. To reheat, do not use a microwave. Place the meat and sauce in a small pot with a lid over low heat. This allows the gelatin to re-melt slowly without toughening the proteins.
THE KITCHEN TABLE
How do I know the collagen has fully converted?
The meat should offer zero resistance when pierced with a paring knife. If it feels "springy" or bounces back, the infrastructure is still intact. Give it another 45 minutes of thermal exposure.
Can I use a slow cooker for this audit?
Yes, but you must perform the sear and the aromatics stage in a separate pan first. Slow cookers lack the evaporative cooling necessary to concentrate the sauce, so you will need to reduce the liquid on the stove afterward.
Why is my sauce bitter?
You likely scorched the tomato paste or the mirepoix during the initial build. If this happens, you cannot fix it. You must start the base again. Precision in the early stages prevents catastrophic failure at the finish line.
What is the best side dish for structural balance?
A high-starch component like pomme purée or polenta is essential. These act as a "sponge" for the viscous sauce, ensuring that every drop of the gelatin-rich reduction is consumed.
My cheeks are tough even after four hours. Why?
Check your oven temperature with an external thermometer. Many home ovens fluctuate by 20 degrees. If the temperature is too low, the collagen conversion will stall. Increase the heat slightly or extend the duration.

