
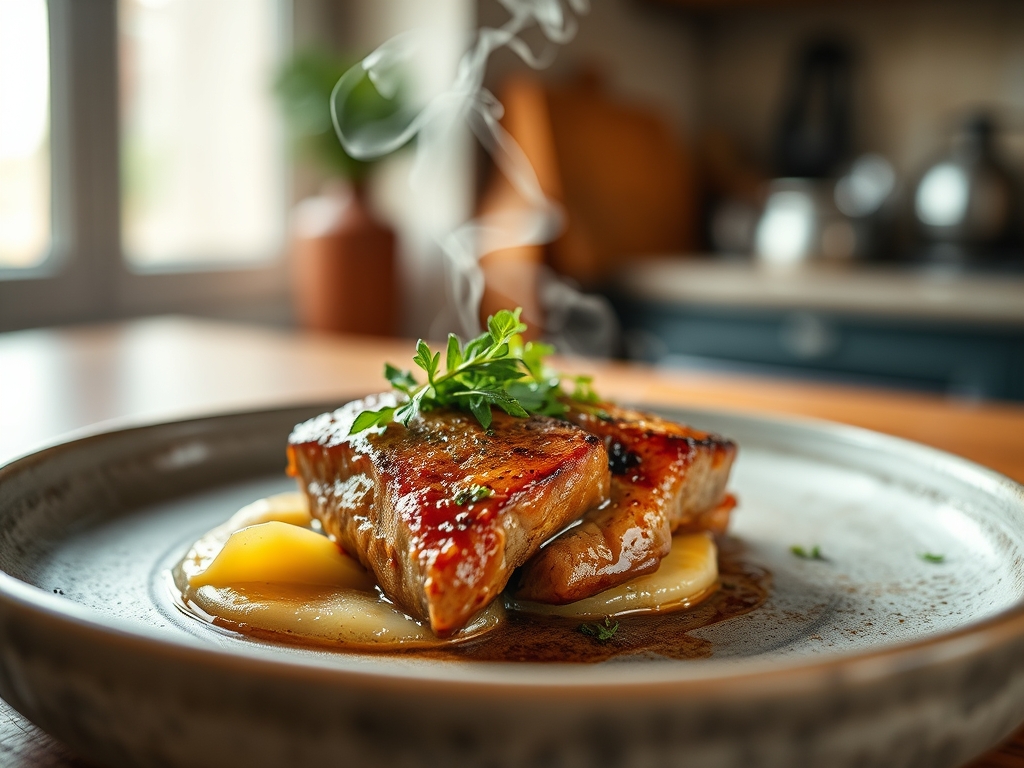
The kitchen is a battlefield of thermal dynamics where the margin between a soggy grey failure and a crusty masterpiece is measured in microns. You have spent hours meticulously monitoring a water bath; you have calculated the exact moment of protein denaturation. Now comes the moment of truth. The transition from Sous Vide to Skillet is the ultimate technical audit of your culinary infrastructure. It is the bridge between the precision of laboratory-grade immersion and the violent, chaotic energy of the Maillard reaction. We are not just cooking; we are engineering a textural contrast that defies the laws of standard home cookery. Imagine the snap of a perfectly rendered fat cap followed by the butter-soft interior of a steak that has never seen a temperature fluctuation above half a degree. This is high-velocity flavor extraction. If you fail here, you have wasted your time and your electricity. If you succeed, you have achieved the pinnacle of modern protein finishing. Put on your apron; it is time to execute the perfect sear.
THE DATA MATRIX
| Metric | Specification |
|---|---|
| Prep Time | 15 Minutes |
| Execution Time | 10 Minutes |
| Yield | 2 Servings |
| Complexity (1-10) | 4 |
| Estimated Cost per Serving | $18.50 |
THE GATHERS
Ingredient Protocol:
- 2 Units (approx. 450g / 16 oz) Center-cut Ribeye or Striploin
- 30g / 2 tbsp High-Smoke Point Oil (Avocado or Grapeseed)
- 45g / 3 tbsp Unsalted European-style Butter
- 3 Sprigs (approx. 5g / 0.17 oz) Fresh Thyme
- 3 Cloves (approx. 15g / 0.5 oz) Garlic, crushed
- 10g / 2 tsp Flaky Sea Salt
- 5g / 1 tsp Coarsely Cracked Black Peppercorns
Section A: Ingredient Quality Audit:
The primary failure point in raw material selection is moisture content. If your protein arrives in a "solution-enhanced" state, your sear is doomed before you ignite the burner. These meats are injected with brine that leaches out during the Sous Vide to Skillet transition, creating a steam jacket that prevents browning. To fix this, always source dry-aged or air-chilled proteins. If you are stuck with high-moisture grocery store cuts, you must extend the pre-sear drying phase. Use a bench scraper to remove any surface proteins or "purge" from the bag before patting the meat dry with lint-free towels. Another common audit failure is using low-quality butter with high water content. This causes excessive splattering and prevents the butter from reaching the "beurre noisette" stage required for a deep, nutty finish. Switch to a butter with at least 82 percent butterfat to ensure a stable emulsion during the basting phase.
THE MASTERCLASS
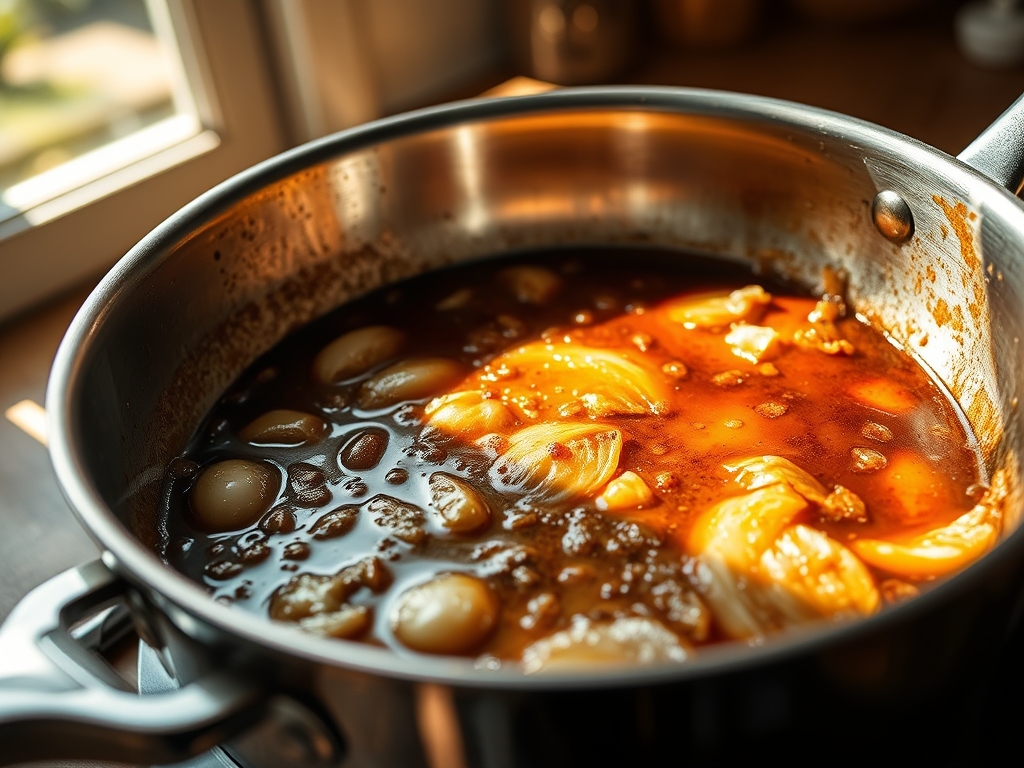
1. The De-Bagging and Desiccation Protocol
Remove the protein from the vacuum seal and immediately discard the accumulated juices. Use heavy-duty paper towels to blot every square millimeter of the surface until the meat feels tacky to the touch.
Pro Tip: Surface moisture is the enemy of the Maillard reaction. Evaporating water consumes massive amounts of thermal energy. By using a digital scale to track weight loss during drying, you ensure that 100 percent of your skillet's heat goes toward browning rather than boiling.
2. Thermal Priming of the Cast Iron
Place a heavy-bottomed cast iron skillet over high heat until it reaches a surface temperature of at least 232 degrees Celsius (450 degrees Fahrenheit). Add your high-smoke point oil only once the pan is fully heated.
Pro Tip: Use an infrared thermometer to verify the pan temperature. If the oil begins to shimmer and show thin wisps of smoke, the kinetic energy is sufficient to render surface fats instantly, preventing the meat from sticking to the microscopic pores of the metal.
3. The Initial Contact and Compression
Lay the protein away from you to avoid oil splatter. Use a set of heavy-duty tongs to press the meat firmly into the pan for the first thirty seconds to ensure maximum surface contact.
Pro Tip: Professional chefs often use a heavy weight or a smaller skillet to provide even compression. This prevents the edges of the meat from curling upward as the connective tissues contract, ensuring a uniform, edge-to-edge crust.
4. The Butter Baste and Infusion
Once a golden crust has formed (approximately 90 seconds), flip the protein. Reduce the heat slightly and add the butter, garlic, and thyme. Tilt the pan so the foaming butter pools at the bottom, then use a large spoon to continuously bathe the meat.
Pro Tip: This is the aromatic infusion phase. The hot butter acts as a heat transfer medium, reaching the nooks and crannies of the meat while the garlic and thyme infuse the fat with piquant essential oils. Use a saucier spoon for maximum control.
5. The Rest and Residual Carryover
Transfer the protein to a wire rack set over a sheet tray. Do not tent with foil, as this will trap steam and soften the crust you just worked so hard to build. Let it rest for three to five minutes.
Pro Tip: Even though sous vide cooking minimizes the need for resting, a brief period allows the exterior temperature to stabilize. This ensures that when you slice the meat, the viscous juices remain trapped within the muscle fibers rather than flooding your cutting board.
Section B: Prep & Timing Fault-Lines:
The most common human error in this workflow is the "Ice Bath Omission." If you move a steak directly from a 54 degree Celsius water bath to a ripping hot pan, the residual heat will push the internal temperature into the overcooked zone. To maintain the edge-to-edge pink interior, submerge the sealed bag in an ice-water slurry for exactly three minutes before searing. This creates a thermal buffer, allowing you to achieve a thick crust without graying the interior. Another timing fault occurs during the deglazing phase; if you wait too long to add your aromatics, the milk solids in the butter will burn, turning your sauce bitter. Precision is non-negotiable.
THE VISUAL SPECTRUM
Section C: Thermal & Visual Troubleshooting:
Look closely at the Masterclass photo above. Notice the deep mahogany hue of the crust; this is the visual cue for a successful Sous Vide to Skillet execution. If your meat looks pale or "blond," your pan temperature was too low or your meat was too wet. If you see black, acrid flakes, your oil has broken down or your garlic has scorched. Uneven browning usually indicates that the meat was not flat; use your bench scraper to press down any stubborn areas during the first minute of searing. The goal is a uniform, glass-like surface that shatters when sliced. If the interior looks "stringy" rather than smooth, you likely cut with the grain rather than against it. Always audit your slicing angle to ensure maximum tenderness.
THE DEEP DIVE
Macro Nutrition Profile
A standard 225g serving of ribeye finished with this method contains approximately 550 calories, 42g of protein, and 40g of fat. While the butter basting adds flavor, much of it remains in the pan; however, the caloric density is significant.
Dietary Swaps
- Vegan: Substitute the steak with a thick-cut cauliflower steak or a lion's mane mushroom. Use a high-quality vegan butter alternative made from cashew or coconut oil to maintain the viscous mouthfeel.
- Keto: This recipe is inherently Keto-compliant. Ensure the spices used in any dry rubs do not contain hidden starches or sugars.
- GF: Naturally gluten-free. Ensure your butter and oil are processed in certified facilities if sensitivity is extreme.
Meal Prep & Reheating Science
To maintain the molecular structure during reheating, avoid the microwave. The microwave agitates water molecules, which steams the meat from the inside out and ruins the crust. Instead, reheat in a low oven (120 degrees Celsius) until the internal temperature reaches 45 degrees, then flash-sear for thirty seconds to revive the exterior.
THE KITCHEN TABLE
How do I prevent the butter from burning?
Add the butter only in the final 90 seconds of cooking. Keep the pan tilted and the butter moving; the constant motion prevents the milk solids from sitting against the hot metal and carbonizing.
Can I use a non-stick pan?
Negative. Non-stick coatings are not rated for the high temperatures required for a professional sear. They will off-gas toxic fumes and fail to produce the necessary Maillard reaction. Use cast iron or stainless steel.
Why is my steak grey inside?
You skipped the cooling step. If the meat is already at its target temperature, the heat from the sear will overcook the outer layers. Chill the bag in ice water for three minutes before searing.
Should I season before or after the water bath?
Season with salt before the sous vide process to allow for deep penetration. Save the cracked pepper for the skillet phase, as pepper can turn bitter when cooked at length in a vacuum bag.

