
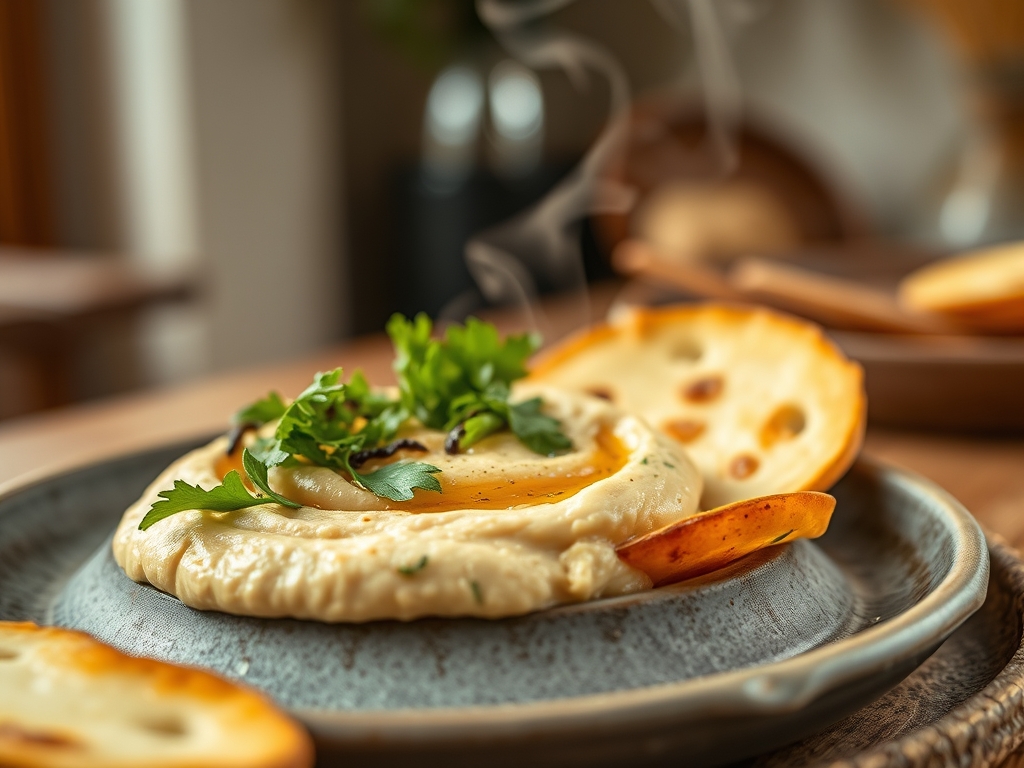
Listen up, kitchen operatives. We are moving beyond the amateur hour of grainy, beige sludge and entering the realm of high-velocity emulsion. Most home cooks treat chickpea dip as a passive mash; they are wrong. To achieve that ethereal, cloud-like texture found in the stalls of Jaffa or the high-end kitchens of Tel Aviv, you must master the Boil to Set Hummus technique. This is not just about blending; it is about the thermal manipulation of starch and the aggressive integration of lipids. We are looking for a result so aerated it defies gravity, yet so viscous it clings to the curve of a warm pita like a velvet shroud. The secret lies in the cooling phase, where the molecular structure stabilizes after a rigorous thermal breakdown. If your dip feels heavy, you have failed the audit. We want a piquant, silk-smooth spread that shimmers under a coat of olive oil. Prepare your stations; we are about to re-engineer your perception of the humble legume.
THE DATA MATRIX
| Metric | Specification |
|---|---|
| Prep Time | 20 Minutes (Excluding Soak) |
| Execution Time | 45 Minutes |
| Yield | 750ml / 3 Cups |
| Complexity (1-10) | 4 |
| Estimated Cost per Serving | $0.45 USD |
THE GATHERS
Ingredient Protocol:
- Dry Chickpeas: 250g / 1.25 cups (Must be soaked 12 hours with 5g / 1 tsp baking soda).
- Tahini (High-Grade): 240ml / 1 cup (Look for Ethiopian origin).
- Fresh Lemon Juice: 60ml / 4 tbsp (Acid-adjusted for piquant profile).
- Garlic Cloves: 3 units / 15g (Microplaned into the lemon juice).
- Ice Water: 120ml / 0.5 cup (Crucial for the aeration phase).
- Cumin: 2g / 0.5 tsp (Freshly toasted and ground).
- Sea Salt: 8g / 1.5 tsp (Adjust to taste).
Section A: Ingredient Quality Audit:
Sub-par raw materials are the primary cause of structural failure. If your chickpeas are ancient, they will refuse to soften regardless of boil time. The fix? Increase the alkalinity of your soaking water with an extra pinch of baking soda to further weaken the pectin. If your tahini is bitter or separated, do not attempt to salvage it in the bowl; whisk it vigorously with a splash of warm water before integration to ensure it is fully homogenized. Finally, if your lemons lack punch, a micro-dose of citric acid can restore the necessary brightness without adding excess liquid volume.
THE MASTERCLASS
Step-by-Step Execution:
1. The Alkaline Thermal Breakdown
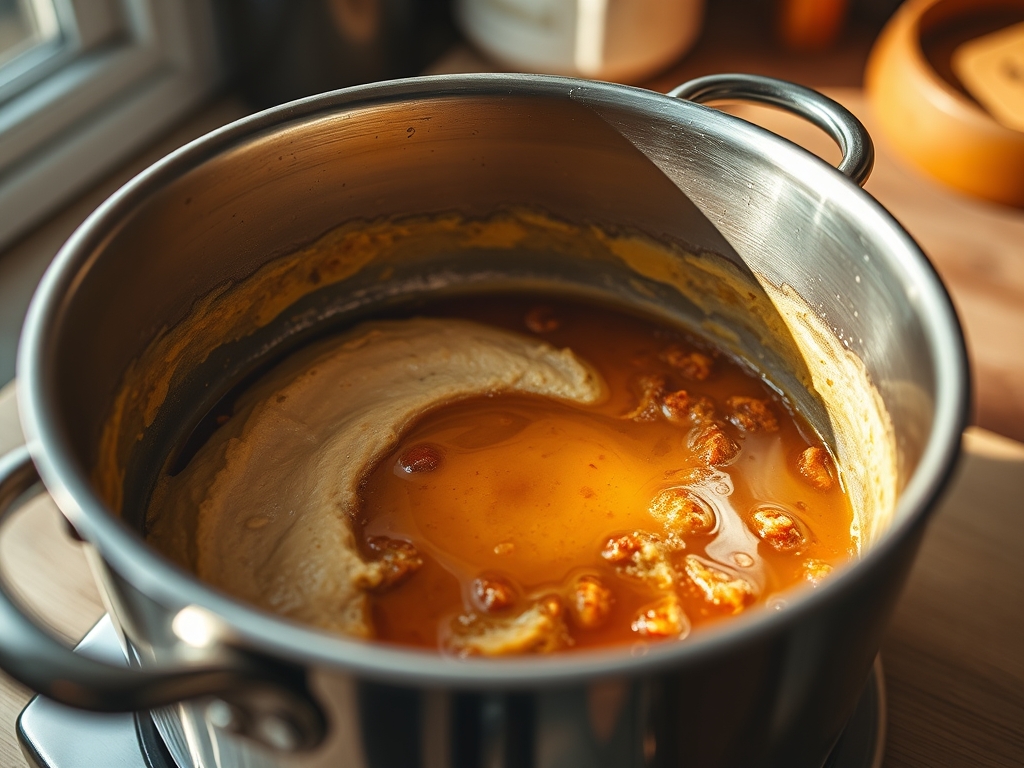
Drain your soaked chickpeas and transfer them to a heavy-bottomed saucier. Cover with fresh water and add another teaspoon of baking soda. Bring to a violent boil, then reduce to a simmer. You are looking for the skins to literally dissolve.
Pro Tip: The baking soda raises the pH level, which breaks down the hemicellulose in the legume skins. Use a skimmer to remove the foam and loose skins that float to the surface for a cleaner final product.
2. The Over-Boil Protocol
Continue cooking until the chickpeas are past the point of "tender." They should be mushy enough to vanish when pressed between two fingers. This is the foundation of the Boil to Set Hummus method; undercooked legumes will never emulsify into a smooth paste.
Pro Tip: Use a digital scale to ensure you haven't lost too much mass to evaporation. If the water level drops below the legumes, replenish with boiling water to maintain consistent thermal contact.
3. The Acid-Garlic Infusion
While the chickpeas boil, combine your lemon juice and microplaned garlic in a small bowl. Let this sit for at least ten minutes. The acid in the lemon juice will "cook" the garlic, mellowing its harsh sulfurous bite while allowing the flavor to infuse the liquid.
Pro Tip: Strain this mixture through a fine-mesh sieve if you want a perfectly smooth texture. Use a silicone spatula to press every drop of garlic essence through the mesh.
4. The High-Shear Emulsification
Drain the chickpeas but do not rinse them. Transfer the hot legumes to a high-speed blender or food processor. Process the hot chickpeas alone for three minutes until a thick, steaming paste forms.
Pro Tip: Processing while hot prevents the starches from retrograding too early. This ensures the smallest possible particle size before you introduce the fats.
5. The Lipid Integration
With the motor running, slowly pour in the tahini, followed by the lemon-garlic mixture and salt. Once combined, begin drizzling in the ice water. Watch as the color shifts from beige to a pale, creamy ivory.
Pro Tip: The ice water shocks the fats in the tahini, creating a stable emulsion that traps air. This is how you aerate the mixture to achieve that signature lightness.
6. The Cooling Phase Set
Transfer the hummus to a wide, shallow bowl and smooth the top with a bench scraper. Let it sit at room temperature for 30 minutes before refrigerating. The starches will "set" as they cool, creating the final viscous texture.
Pro Tip: Do not cover the bowl tightly while hot; trapped steam will create condensation, thinning the surface of your dip and ruining the visual finish.
Section B: Prep & Timing Fault-Lines:
Timing is everything. If you add the ice water too early, the chickpeas may not be fully pulverized, resulting in a "gritty" mouthfeel. If you wait until the chickpeas are cold to blend them, the starches will have already hardened, and you will lose that professional sheen. Use an infrared thermometer to ensure your chickpeas are at least 175 degrees Fahrenheit when they hit the blender blades.
THE VISUAL SPECTRUM
Section C: Thermal & Visual Troubleshooting:
The Masterclass photo illustrates a surface that is matte yet reflective, with a distinct "swirl" that holds its shape. If your hummus looks dull or grey, your tahini was likely oxidized or of low quality. If the texture appears broken or "oily," your emulsion has failed; fix this by adding a tablespoon of warm water and re-blending at high speed. The final product should be pale ivory; if it is too yellow, you likely skimmed too few skins during the boil. Look for the "peak" in the center; if it collapses immediately, the dip hasn't set properly and requires more cooling time.
THE DEEP DIVE
Macro Nutrition Profile:
Per 100g serving, this hummus provides approximately 166 calories, 8g of protein, 10g of healthy fats (primarily monounsaturated), and 6g of dietary fiber. It is a nutrient-dense powerhouse with a low glycemic index.
Dietary Swaps:
- Vegan: Naturally compliant.
- Keto: Replace chickpeas with steamed cauliflower (though the Boil to Set Hummus starch physics will change; reduce water by 50%).
- GF: Naturally compliant.
Meal Prep & Reheating Science:
To maintain the molecular structure, store in an airtight container with a thin layer of olive oil on top to prevent oxidation. When "reheating," do not use a microwave; instead, let it come to room temperature naturally. If it has tightened too much in the fridge, whisk in a teaspoon of warm water to re-activate the emulsion.
THE KITCHEN TABLE
Why is my hummus grainy?
You likely undercooked the chickpeas or blended them after they cooled. The Boil to Set Hummus method requires blending while the legumes are hot to ensure the starch granules are fully ruptured and smoothed.
Can I use canned chickpeas?
Yes, but you must boil them for 20 minutes with baking soda first. Canned chickpeas are processed to hold their shape; you need to destroy that structure to achieve a professional-grade shear.
How do I get that bright white color?
The secret is the ice water and high-speed aeration. The rapid cooling of the tahini fats during the blending process creates a whiter, fluffier emulsion than using room-temperature water.
What is the best way to serve it?
Spread it in a shallow bowl using a circular motion with the back of a spoon. Create a well in the center to hold a generous pool of extra virgin olive oil and a dusting of sumac.

