
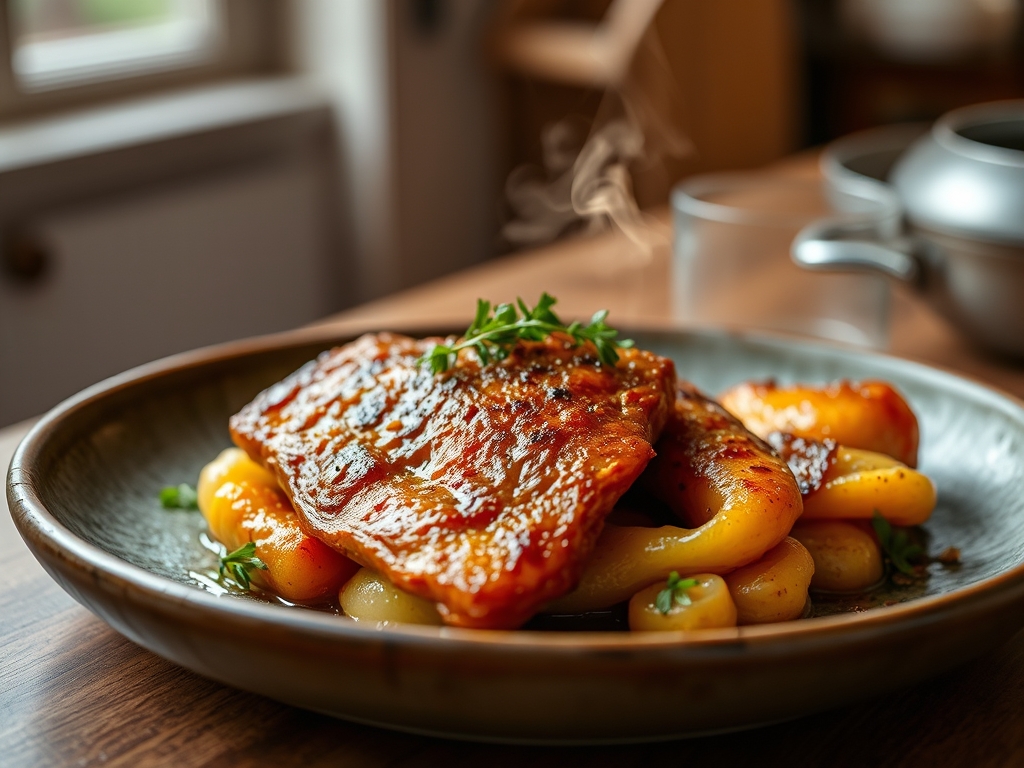
Stop treating your Sunday roast like a steaming, ephemeral relic of the Victorian era. If you want to achieve the structural integrity of a five star deli counter or a high end catering operation, you must master the transition from fire to ice. We are talking about the Myofibrillar Fiber Tightening process. This is the mechanical reality of the Sear to Cold Roast technique. When you serve beef hot, the proteins are relaxed and the fats are fluid; it is a chaotic, messy affair. When chilled correctly, the connective tissues undergo a structural recalibration. The proteins contract, the rendered intramuscular fats solidify into a buttery lattice, and the juices are locked into the cellular matrix rather than hemorrhaging across your cutting board. This is not just leftovers. This is a deliberate engineering feat designed to produce razor thin slices that hold their shape without fraying. We are aiming for a mahogany crust that yields to a velvet, edge to edge pink interior. Put down the dull knife and prepare for a masterclass in thermal management.
THE DATA MATRIX
| Metric | Specification |
|---|---|
| Prep Time | 30 Minutes |
| Execution Time | 2.5 Hours (Plus 12-hour chill) |
| Yield | 8 to 10 Servings |
| Complexity (1-10) | 7 |
| Estimated Cost per Serving | $4.50 – $6.00 |
THE GATHERS
Ingredient Protocol:
- 1.8 kg / 4 lbs Center-Cut Beef Eye of Round or Top Sirloin
- 45 ml / 3 tbsp High-Smoke Point Oil (Grapeseed or Avocado)
- 30 g / 2 tbsp Kosher Salt
- 15 g / 1 tbsp Coarsely Cracked Black Peppercorns
- 10 g / 2 tsp Dehydrated Garlic Granules
- 5 g / 1 tsp Dried Thyme
- 30 g / 2 tbsp Dijon Mustard (for the post-sear lacquer)
Section A: Ingredient Quality Audit:
If your beef arrives with a heavy, wet sheen or a greyish tint, the surface moisture will sabotage your Sear to Cold Roast. Excessive moisture acts as a thermal heat sink; it prevents the Maillard reaction and steams the meat instead of browning it. To fix this, use a bench scraper to remove any surface slime and pat the protein dry with lint-free towels. If the fat cap is too thick, it will not render properly in the short searing window. Trim the fat to a uniform 3mm thickness. This ensures that the heat penetrates the muscle fibers evenly rather than being insulated by a wall of lipid tissue. If your spices are dusty and aroma-free, they are dead. Toast your peppercorns in a dry saucier for 60 seconds before grinding to reactivate the volatile oils.
THE MASTERCLASS
Step-by-Step Execution:
1. The Surface Dehydration Protocol
Apply your salt and spice blend to the beef at least two hours before cooking. Place the meat on a wire rack over a sheet pan and leave it uncovered in the refrigerator. This allows the salt to penetrate the fibers and the surface to dry out.
Pro Tip: This is known as dry-brining. Use a digital scale to ensure you are using exactly 1.5 percent salt by weight. This precision ensures the salt denatures the proteins just enough to hold onto moisture during the high-heat phase.
2. The High-Velocity Sear
Heat your heavy-bottomed skillet until the oil begins to shimmer and reach its smoke point. Sear the beef on all sides for 2 to 3 minutes per surface. You are looking for a deep, mahogany crust, not a light tan.
Pro Tip: Use a heavy-duty kitchen tong to press the meat firmly against the pan. This maximizes the contact points for the Maillard reaction; the chemical transformation of amino acids and reducing sugars that creates the savory "browned" flavor profile.
3. The Low-Impact Thermal Rise
Transfer the beef to a 120C / 250F oven. Roast until the internal temperature reaches 52C / 125F for a perfect medium-rare. The low temperature prevents the outer layers from overcooking while the center catches up.
Pro Tip: Use a dual-probe digital thermometer to monitor both the oven temperature and the internal core. Accuracy is the difference between a tender slice and a rubbery disaster.
4. The Mustard Lacquer and Infusion
Once the beef is removed from the oven, immediately brush it with a thin layer of Dijon mustard and a final dusting of herbs. The residual heat will infuse the flavors into the crust as the meat begins its initial rest.
Pro Tip: The acidity in the mustard acts as a flavor brightener that cuts through the richness of the cold fat later. A silicone pastry brush allows for an even coating without disturbing the crust.
5. The Cryogenic Set
Allow the meat to cool to room temperature for one hour, then wrap it tightly in multiple layers of plastic wrap. Refrigerate for a minimum of 12 hours. This is where the Myofibrillar Fiber Tightening occurs.
Pro Tip: Wrapping the meat tightly creates a pressurized environment that forces the juices back into the center of the muscle fibers. Use a bench scraper to ensure the wrap is taut and air-free.
Section B: Prep & Timing Fault-Lines:
The most common failure in the Sear to Cold Roast process is impatience. If you slice the meat while it is still slightly warm, the internal pressure will cause the juices to evacuate, leaving the beef grey and dry by the time it reaches the table. Another fault-line is the "carry-over" cook. If you pull the meat at 57C / 135F, it will continue to climb to 62C / 145F while resting, resulting in a medium-well finish that is too tough for cold service. Always pull the meat 5 degrees early.
THE VISUAL SPECTRUM
Section C: Thermal & Visual Troubleshooting:
Look at the Masterclass photo. Notice the "halo" effect; there is almost no grey band between the crust and the pink center. If your roast has a thick grey ring, your oven was too hot or you didn't dry the surface properly before searing. If the center looks "wet" and loose rather than firm and tight, you skipped the 12-hour chill. A perfect cold roast should have a matte finish on the sliced surface, not a shiny, oily one. If the crust is peeling away from the meat, it means you didn't deglaze the pan or use a binder like mustard to help the seasoning adhere during the cooling phase.
THE DEEP DIVE
Macro Nutrition Profile:
A standard 100g serving of cold roast beef provides approximately 220 calories, 28g of protein, and 12g of fat. Because this is served cold, the satiety levels are often higher due to the density of the protein fibers.
Dietary Swaps:
- Keto: This recipe is naturally keto-compliant. Ensure your Dijon mustard contains no added sugars.
- Vegan: For a similar structural experience, use a seitan-based "roast" and focus on the umami sear using soy sauce and liquid smoke.
- GF: Ensure your spice rub contains no anti-caking agents derived from wheat.
Meal Prep & Reheating Science:
The beauty of the cold roast is that it should not be reheated. Reheating destroys the tightened myofibrillar structure you worked so hard to create. If you must have it warm, place slices in a saucier with warm (not boiling) jus for 30 seconds to gently take the chill off without overcooking the core.
THE KITCHEN TABLE
Why is my cold roast beef iridescent or shiny?
This is often a light diffraction effect caused by the way the muscle fibers are sliced. It is not spoilage. It usually happens when using a very sharp blade on highly tightened fibers.
Can I use a slow cooker for this?
Absolutely not. A slow cooker uses moist heat which breaks down collagen into gelatin. This results in "pulled" beef. For a sliceable cold roast, you need the dry heat of an oven to maintain structural integrity.
What is the best knife for slicing?
Use a long, serrated bread knife or a dedicated slicing knife. The goal is a single, long drawing motion. Avoid "sawing" the meat, as this tears the fibers and ruins the visual spectrum of the dish.
How long does it stay fresh?
Once the Myofibrillar Fiber Tightening is complete and the meat is chilled, it will stay in peak condition for 3 to 4 days. Keep it wrapped tightly to prevent the refrigerator from dehydrating the exposed surfaces.

