
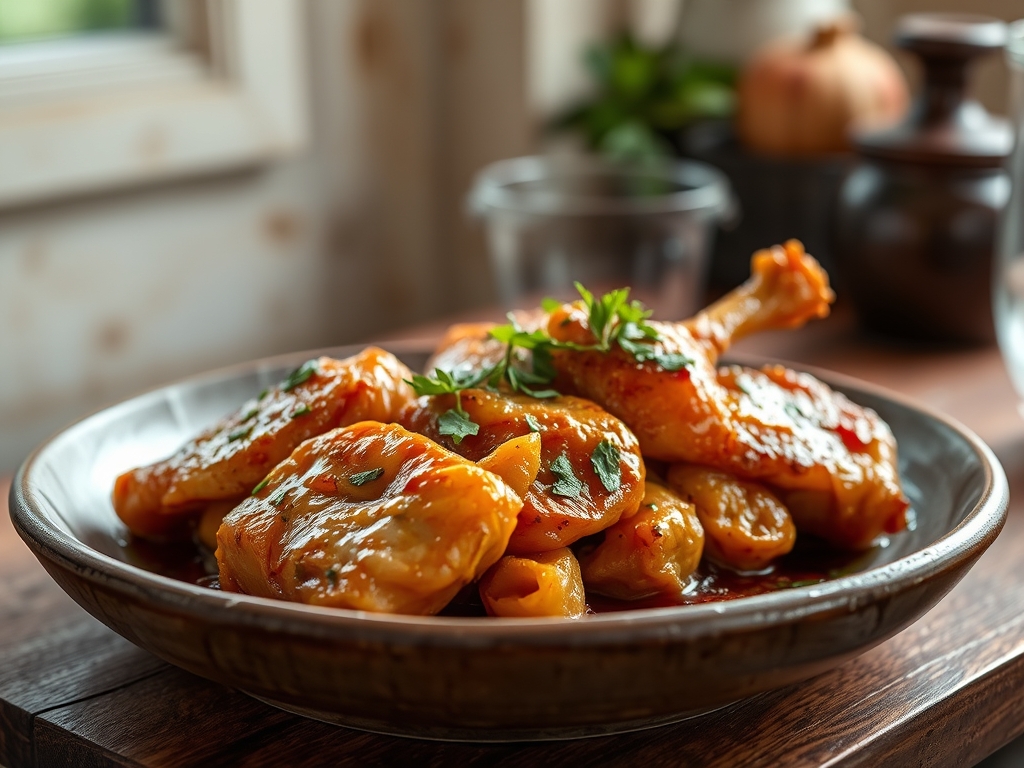
Listen to the sound of high-velocity fat hitting a pre-heated carbon steel surface. It is the anthem of the Honey Garlic Chicken protocol. We are not merely cooking; we are orchestrating a violent yet beautiful collision between the piquant bite of fresh allicin and the viscous, amber embrace of floral nectar. This is the Fructose Allicin Equilibrium. When executed with precision, the chicken thighs undergo a transformative Maillard reaction, developing a structural crust that defies the softening influence of the sauce. Most amateur attempts result in a soggy, cloying mess that lacks the necessary acidity to cut through the sugar. We demand better. We require a glaze that clings with the tenacity of a polymer while maintaining a translucent, gemstone clarity. Every clove of garlic must be pushed to the edge of caramelization without crossing the threshold into bitterness. We are building a flavor profile that registers on every sensory receptor simultaneously. Prepare your station. Calibrate your senses. It is time to audit the infrastructure of sweet and salty poultry.
THE DATA MATRIX
| Metric | Specification |
|---|---|
| Prep Time | 15 Minutes |
| Execution Time | 20 Minutes |
| Yield | 4 Servings |
| Complexity (1-10) | 4 |
| Estimated Cost per Serving | $3.50 |
THE GATHERS
Ingredient Protocol:
- Protein: 680g / 1.5 lbs Boneless Skinless Chicken Thighs (cubed into 1-inch pieces).
- Starch: 60g / 0.5 cup All-purpose flour or Cornstarch.
- Aromatics: 8 cloves / 40g Fresh Garlic (minced finely).
- Sweetener: 120ml / 0.5 cup Raw Honey.
- Acid/Salt: 60ml / 0.25 cup Low-sodium Soy Sauce.
- Acid: 30ml / 2 tbsp Apple Cider Vinegar.
- Lipid: 30ml / 2 tbsp Neutral Oil (Grapeseed or Avocado).
- Garnish: 5g / 1 tsp Toasted Sesame Seeds and 15g / 0.25 cup Sliced Green Onions.
Section A: Ingredient Quality Audit:
The primary failure point in this dish is the garlic. If your garlic has sprouted green "hearts," the flavor will be acrid and metallic. Technical Fix: Slice the cloves in half and remove the green germ before mincing to restore a clean, pungent profile. If your honey has crystallized, do not microwave it in the plastic bottle. Instead, place the glass jar in a warm water bath to gently infuse the crystals back into a liquid state without scorching the delicate sugars. Finally, ensure your chicken is bone-dry before dredging. Excess moisture creates a slurry rather than a crust, preventing the crisp texture required for the sauce to adhere properly.
THE MASTERCLASS
1. The Dredge and Coat
Toss your chicken pieces in a large stainless steel bowl with the flour, salt, and pepper until every surface is encapsulated. Use a bench scraper to move the chicken around, ensuring no clumps of flour remain at the bottom of the bowl. Shake off any excess coating before the chicken hits the pan.
Pro Tip: This thin layer of starch acts as a sacrificial barrier. It protects the protein from drying out while providing a high surface area for the honey glaze to grip later in the process.
2. The High-Heat Sear
Heat your saucier or heavy-bottomed skillet over medium-high heat until the oil shimmers. Add the chicken in a single layer. Do not overcrowd the pan; if necessary, work in batches. Sear for 3 to 4 minutes per side until the exterior is golden and crisp.
Pro Tip: Use a digital scale to ensure your chicken pieces are uniform in weight. Uniformity ensures that the internal temperature reaches 165F (74C) across all pieces simultaneously, preventing "rubberized" overcooked fragments.
3. The Allicin Infusion
Reduce the heat to medium. Push the chicken to the perimeter of the pan and add the minced garlic to the center. Sauté for exactly 45 seconds until the fragrance becomes intense but the color remains pale gold.
Pro Tip: Garlic contains volatile oils that dissipate under prolonged high heat. By adding it late in the sear, you infuse the fat with flavor without risking the bitter carbonization that ruins the fructose balance.
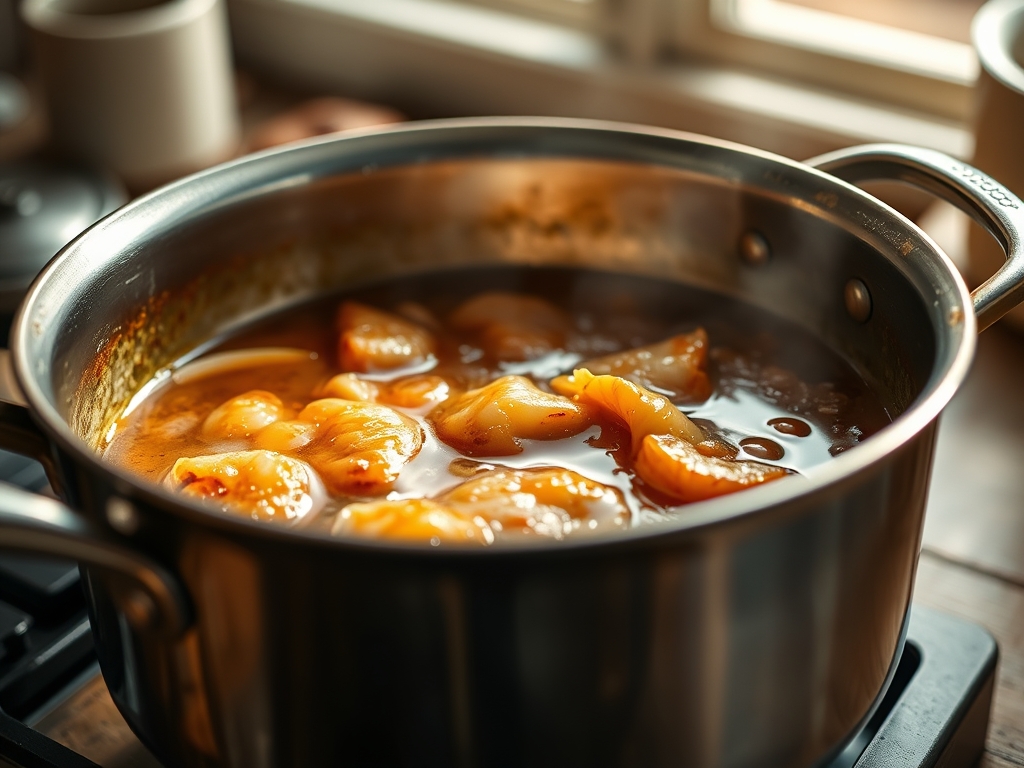
4. The Glaze Reduction
Pour in the honey, soy sauce, and apple cider vinegar. Use a wooden spoon to deglaze the bottom of the pan, scraping up any browned bits (fond). Increase the heat slightly to bring the liquid to a simmer.
Pro Tip: As the water evaporates, the sugar concentration increases, causing the sauce to become viscous. This is a reduction process that concentrates the piquant notes of the vinegar against the sweetness of the honey.
5. The Final Emulsification
Continue to simmer for 2 to 3 minutes until the sauce coats the back of a spoon. Toss the chicken continuously to ensure every piece is lacquered in the darkening syrup. Remove from heat immediately once the sauce reaches a "lava-like" consistency.
Pro Tip: Removing the pan from the heat source prevents the sugars from reaching the "hard crack" stage. This ensures the sauce remains a fluid glaze rather than turning into a sticky candy that is difficult to chew.
Section B: Prep & Timing Fault-Lines:
The most common human error is "pan-crowding." When too much cold chicken enters the skillet, the surface temperature drops instantly. Instead of searing, the chicken steams in its own juices, resulting in a grey, flaccid texture. Always maintain a 20 percent "open space" in your pan. Another timing error is the "garlic burn." If your pan is smoking when the garlic enters, the allicin will oxidize instantly. If the pan is too hot, remove it from the burner for thirty seconds before adding the aromatics to reset the thermal baseline.
THE VISUAL SPECTRUM
Section C: Thermal & Visual Troubleshooting:
Referencing the Masterclass photo, the ideal Honey Garlic Chicken should exhibit a deep mahogany hue with a high-gloss finish. If your dish looks dull or "matte," you likely under-reduced the sauce or used too much flour in the dredge. Solution: Add a teaspoon of water and a teaspoon of honey, then turn up the heat for 60 seconds to re-emulsify the sugars. If the chicken is too dark (almost black), the honey has scorched. You can mitigate this by adding a splash of chicken stock to thin the sauce, though the flavor will be slightly more toasted. The green onions should be added at the very end to provide a vibrant color contrast against the dark glaze.
THE DEEP DIVE
Macro Nutrition Profile:
A standard serving (approx. 200g) contains roughly 420 calories. This breaks down into 32g of protein, 45g of carbohydrates (primarily from honey and flour), and 14g of fat. While high in sugar, the protein density makes it a formidable post-training meal.
Dietary Swaps:
- Vegan: Replace chicken with extra-firm tofu (pressed for 30 minutes) and swap honey for agave nectar or maple syrup.
- Keto: Use xanthan gum as a thickener instead of flour and substitute honey with a monk fruit-based syrup. Use liquid aminos instead of soy sauce.
- GF: Simply swap all-purpose flour for cornstarch or arrowroot powder and ensure the soy sauce is labeled as Tamari.
Meal Prep & Reheating Science:
To maintain the molecular structure during reheating, avoid the microwave if possible. The microwave agitates water molecules, which can turn the starch coating into a gummy paste. Instead, use a toaster oven or a skillet over medium heat with a teaspoon of water. The water will aerate the sauce as it turns to steam, loosening the glaze without overcooking the poultry.
THE KITCHEN TABLE
Why is my sauce too thin?
The sauce requires reduction to reach the proper viscosity. If it is watery, continue simmering without a lid. The steam must escape for the sugars to concentrate and create that signature "cling" to the protein.
Can I use chicken breast instead?
Yes, but be cautious. Breast meat lacks the fat content of thighs and dries out rapidly. Shorten the searing time by 60 seconds per side to ensure the interior remains moist while the exterior carmelizes.
Why does my garlic taste bitter?
Bitter garlic is a symptom of over-exposure to high heat. Next time, turn the heat down or add the liquid components sooner to "quench" the pan and stop the garlic from browning further.
How do I get that "restaurant shine"?
The secret is the "cold butter mount." At the very end of the cooking process, whisk in a small knob of cold unsalted butter. This creates a stable emulsion that results in a professional, mirror-like gloss.

