
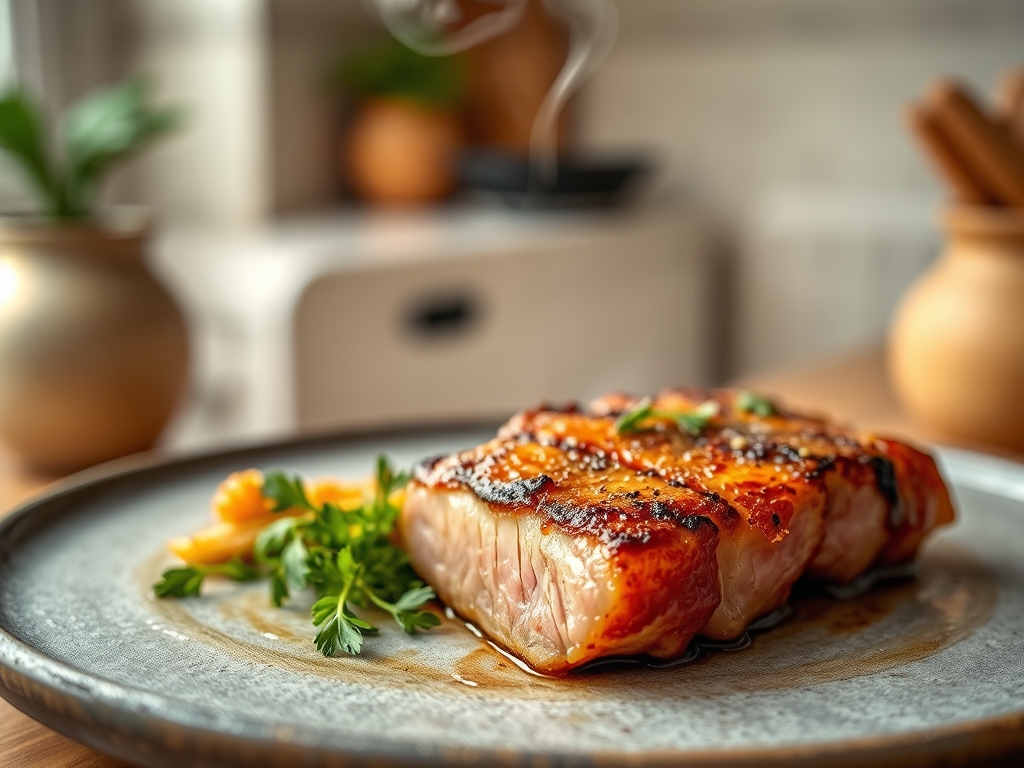
The scent of carbonized lipids and caramelizing sugars is the siren song of a kitchen operating at peak efficiency. We are not merely cooking; we are orchestrating a violent transition from convective heat to intense infrared radiation. The goal is the perfect Oven to Broiler Char. This is the structural integrity of a dish defined by a shattered crust and a succulent, protected interior. Most home cooks fail because they fear the flame. They pull the tray when the surface is merely tan, missing the window where the Maillard reaction transcends into the complex, bitter-sweet notes of true char. You must treat your broiler like a precision instrument, a high-frequency emitter designed to finalize the molecular architecture you built during the slow roast. This is the bridge between a soggy amateur effort and a professional-grade finish that crackles under the blade. We are looking for that specific, mottled landscape of deep mahogany and obsidian that signals a total transformation of surface proteins.
THE DATA MATRIX
| Metric | Specification |
|---|---|
| Prep Time | 25 Minutes |
| Execution Time | 45 Minutes |
| Yield | 4 Servings |
| Complexity (1-10) | 7 |
| Estimated Cost per Serving | $6.50 |
THE GATHERS
Ingredient Protocol:
- 1.4 kg / 3 lbs Bone-in, skin-on chicken thighs or thick-cut pork loin.
- 60 ml / 4 tbsp Extra virgin olive oil (high polyphenol count preferred).
- 30 g / 2 tbsp Kosher salt (diamond crystal for surface area).
- 15 g / 1 tbsp Smoked paprika (pimenton de la vera).
- 10 g / 2 tsp Cracked black peppercorns.
- 5 g / 1 tsp Garlic powder (dehydrated at low temp for purity).
- 120 ml / 0.5 cup Dry white wine or chicken stock for the deglaze.
Section A: Ingredient Quality Audit:
If your proteins are weeping moisture in the packaging, you are dealing with "pumped" meat injected with saline. This is the enemy of the Oven to Broiler Char. The excess water creates a steam jacket that prevents the surface from exceeding 100 degrees Celsius, stalling the Maillard reaction. To fix this, perform a dry brine for at least four hours. If your spices look dull or lack a piquant aroma, they have oxidized. Toast them in a dry saucier for 60 seconds to release the volatile oils before applying them to the meat. Quality fats are non-negotiable; if your oil smells like crayons, it is rancid and will ruin the finish.
THE MASTERCLASS
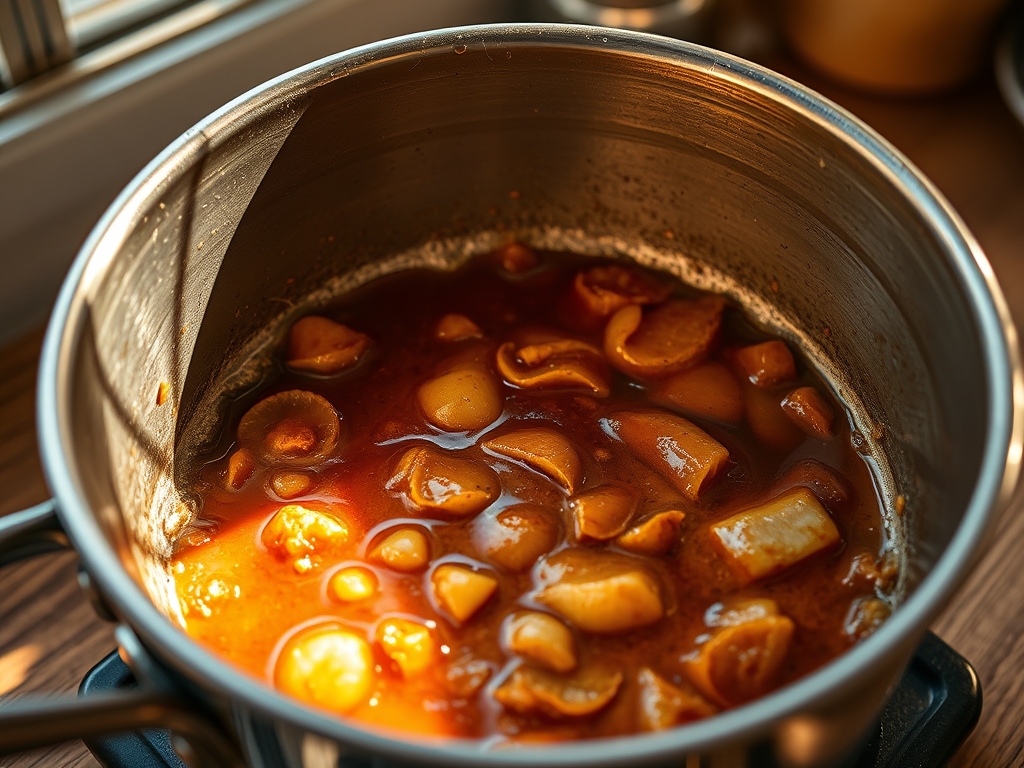
1. The Surface Dehydration Phase
Pat the protein dry using lint-free towels until the surface is tacky. Apply your dry brine and spice rub evenly. Use a digital scale to ensure your salt-to-weight ratio is exactly 1.5 percent. This ensures the seasoning penetrates the muscle fibers without curing the meat into jerky.
Pro Tip: Surface moisture is the primary thermal insulator. By removing it, you allow the heat to immediately begin the render process of the subcutaneous fat, which acts as a frying medium for the skin.
2. The Convective Foundation
Set your oven to 190 degrees Celsius (375 F). Place the protein on a wire rack set over a sheet pan. This allows for 360-degree airflow, preventing the bottom from becoming a soggy, gray mess. Roast until the internal temperature is 10 degrees below your target.
Pro Tip: Use a high-quality probe thermometer. Guesswork is the death of precision. The wire rack ensures that the bottom of the meat does not sit in its own juices, which would prevent the eventual char.
3. The Infrared Transition
Switch your oven to the broiler setting on "High." Move the oven rack to the top position, roughly 10 cm (4 inches) from the heating element. Monitor this constantly. You are looking for the fat to bubble and the spices to darken into a rich crust.
Pro Tip: This is where you achieve the Oven to Broiler Char. The intense radiant heat causes the sugars and proteins to undergo rapid pyrolysis. Use a bench scraper to rotate the pan if your broiler has "cold spots" to ensure an even finish.
4. The Deglaze and Rest
Remove the meat and let it rest on a clean board. Take the rendered drippings in the pan, add your wine or stock, and deglaze over a burner. Whisk in a cold knob of butter to create a viscous, glossy pan sauce.
Pro Tip: Resting allows the muscle fibers to relax and reabsorb juices. If you cut too early, the internal moisture will flood the board, stripping away that hard-earned crust you just perfected.
Section B: Prep & Timing Fault-Lines:
The most common failure is the "thermal stall" where the internal temperature rises too fast before the exterior is ready. If you notice the meat is hitting its target temp but looks pale, pull it out. Let it cool for ten minutes, then hit it with the broiler. This "staged" cooking prevents overcooking the interior while you chase the exterior texture. Another fault-line is the "crowded pan." If items are touching, they will steam. Space them out by at least 2 cm to allow for proper air circulation.
THE VISUAL SPECTRUM
Section C: Thermal & Visual Troubleshooting:
Look at the Masterclass photo above. Notice the "leopard spotting" on the surface. This is the hallmark of a successful Oven to Broiler Char. If your dish looks uniformly light brown, you did not leave it under the broiler long enough. If it is entirely black and smoking, you have moved past char into combustion. The texture should look "craggy" and matte in some areas, while glistening with rendered fat in others. If the colors are dull, you likely forgot to aerate your sauce or lacked enough acidity; a squeeze of lemon or a splash of vinegar will brighten the visual and flavor profile immediately.
THE DEEP DIVE
Macro Nutrition Profile:
This technique prioritizes high protein and moderate healthy fats. By roasting on a rack, we allow excess saturated fats to drip away, leaving a concentrated, nutrient-dense protein source. A standard serving provides approximately 35g Protein, 12g Fat, and 2g Carbohydrates.
Dietary Swaps:
- Vegan: Use thick-cut cauliflower steaks or firm tofu. Brush with a mixture of miso and maple syrup to mimic the protein-sugar browning of meat.
- Keto: This recipe is naturally keto-compliant. Ensure your spice rub contains no added fillers or starches.
- GF: Ensure your chicken stock or wine is certified gluten-free.
Meal Prep & Reheating Science:
To maintain the molecular structure during reheating, avoid the microwave. The microwave agitates water molecules, turning your crisp char into a rubbery skin. Instead, use a toaster oven or air fryer at 200 degrees Celsius for 4 minutes. This flash-reheats the exterior fat, restoring the "snap" of the Oven to Broiler Char without drying out the center.
THE KITCHEN TABLE
How do I prevent the spices from burning?
Apply a thin layer of oil over your spices before the broiler phase. This creates a thermal buffer, allowing the spices to infuse the fat rather than incinerating instantly under the direct infrared heat.
Why is my skin not getting crispy?
You likely have residual surface moisture or did not use enough salt. Salt draws out moisture via osmosis, which then evaporates in the oven. Without this dehydration, the skin will remain flaccid and chewy.
Can I use a blowtorch instead?
A blowtorch provides localized high heat but lacks the ambient intensity of a broiler. It is excellent for "spot-fixing" pale areas but cannot achieve the deep, structural Oven to Broiler Char required for larger proteins.
Is the char carcinogenic?
In moderation, the charred surface is safe. The goal is the Maillard reaction, not total carbonization. By controlling the timing, you maximize flavor while minimizing the formation of undesirable compounds found in truly burnt food.

