
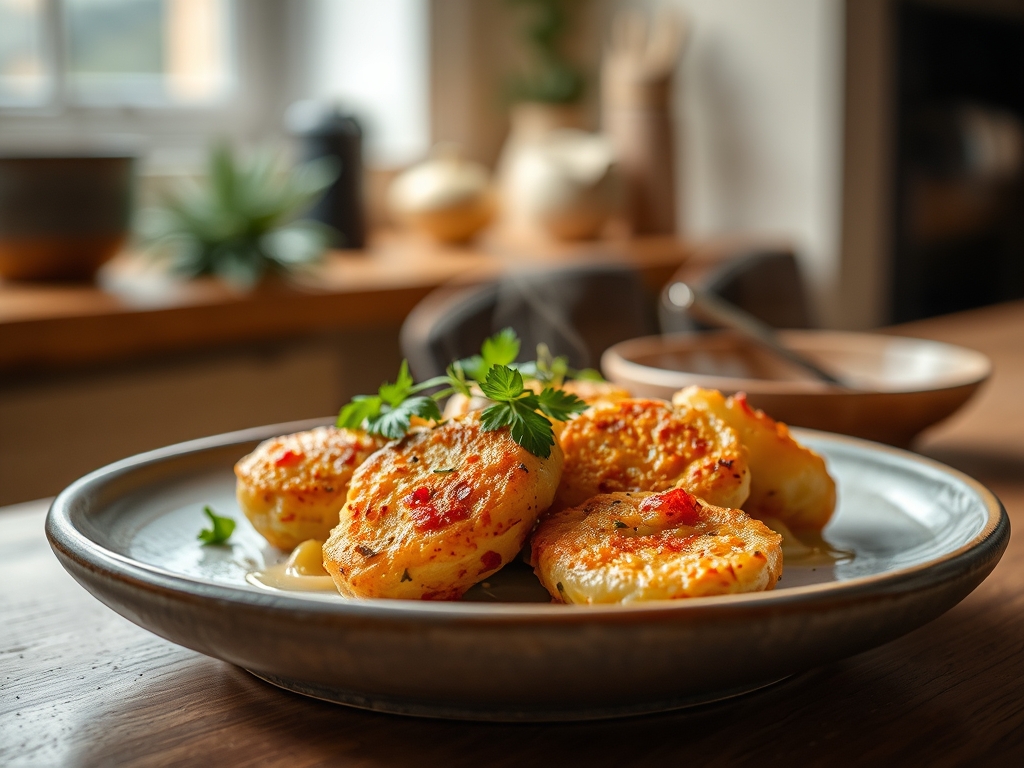
Listen to the sound of high-velocity air molecules colliding with cold protein. That high-pitched whistle is the sound of moisture escaping and skin tightening into a parchment-thin lattice of gold. We are not just cooking; we are orchestrating a phase shift from convection to conduction. The journey from Air Fryer to Stove represents the ultimate tactical maneuver for the modern home chef. By leveraging the rapid-fire dehydration of an air fryer and finishing with the viscous, high-contact heat of a stovetop glaze, we bypass the soggy pitfalls of traditional wings. You want that crunch that resonates in the jawbone. You want a sauce that clings like a second skin rather than pooling at the bottom of the bowl. This is about precision infrastructure. We are going to render the subcutaneous fat to a liquid state and then infuse the exterior with a piquant, glossy reduction that defies the laws of casual bar food. Grab your digital thermometer; we are entering the heat zone.
THE DATA MATRIX
| Metric | Specification |
|---|---|
| Prep Time | 15 Minutes |
| Execution Time | 22 Minutes |
| Yield | 4 Servings (approx. 2 lbs) |
| Complexity (1-10) | 4 |
| Estimated Cost per Serving | $4.25 |
THE GATHERS
Ingredient Protocol:
- 907g / 2 lbs Chicken Wings (split into flats and drums)
- 15g / 1 tbsp Cornstarch or Potato Starch
- 5g / 1 tsp Kosher Salt
- 2g / 0.5 tsp Freshly Ground Black Pepper
- 60ml / 0.25 cup High-Quality Buffalo Sauce or Gochujang Base
- 30g / 2 tbsp Unsalted Butter (cold, cubed)
- 15ml / 1 tbsp Honey or Agave Nectar
- 5ml / 1 tsp Rice Vinegar or Apple Cider Vinegar
Section A: Ingredient Quality Audit:
If your chicken feels slimy or carries a faint metallic odor, you are dealing with moisture-bloated poultry from poor processing. Technical fix: Perform a brine-purge. Pat the wings bone-dry with lint-free towels and let them sit uncovered in the refrigerator for two hours to aerate the skin. If your starch is clumping, it has likely absorbed ambient humidity. Sift it through a fine-mesh strainer before application to ensure a microscopic, even coating. For the sauce, if it lacks "body," your butter might be too warm. Always use chilled butter during the final emulsification to create a stable, velvety texture that won't break under high heat.
THE MASTERCLASS
1. The Surface Dehydration Phase
Place your dry wings in a large mixing bowl. Sift the cornstarch, salt, and pepper over the protein. Toss vigorously until the wings look "dusty" rather than coated in a thick paste. This thin layer of starch acts as a sacrificial barrier, absorbing the final remnants of surface moisture to facilitate the Maillard reaction.
Pro Tip: Use a digital scale to measure your starch. Too much starch creates a chalky mouthfeel; too little prevents the skin from achieving that shatter-crisp structural integrity.
2. The Convection Blast
Preheat the air fryer to 200C / 400F. Arrange the wings in a single layer with at least 1cm of clearance between each piece. Cook for 18 to 20 minutes, flipping halfway through. We are looking for an internal temperature of 74C / 165F and a skin texture that sounds hollow when tapped with a pair of tongs.
Pro Tip: Use a thermocouple probe to check the thickest part of the drumette. Overcooking past 80C will result in stringy muscle fibers, as the collagen has already converted to gelatin and begun to leak out.
3. The Saucier Reduction
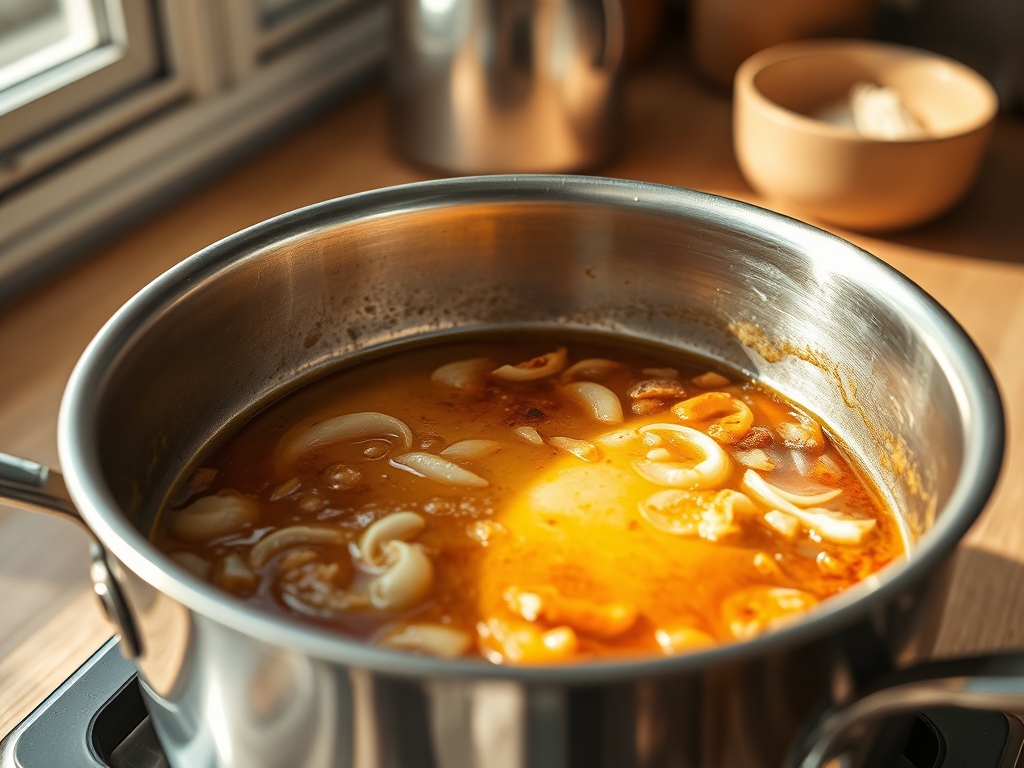
While the wings finish their air cycle, place a stainless steel saucier over medium heat. Add your base sauce and honey. Bring to a low simmer to deglaze any slight caramelization on the pan edges. Reduce the heat to the lowest setting.
Pro Tip: A curved-bottom saucier is superior to a flat skillet here. It allows for constant whisking of the edges, preventing the sugars in the sauce from scorching and becoming bitter.
4. The Emulsification Finish
Once the air fryer timer expires, immediately transfer the hot wings into the saucier. Increase the heat to medium-high. Add the cold butter cubes one by one, tossing the wings constantly. The cold fat will emulsify with the hot liquid, creating a thick, viscous coating that shines.
Pro Tip: This is a "flash finish." You only want the wings in the pan for 60 to 90 seconds. Any longer and the residual steam from the meat will soften the crispy skin you worked so hard to build.
Section B: Prep & Timing Fault-Lines:
The most common human error in the Air Fryer to Stove transition is the "cooling gap." If the wings sit in the air fryer basket for even three minutes after the fan stops, the internal steam will migrate outward, turning the crispy skin into a rubbery envelope. You must have your stove-side station fully prepped. If your sauce breaks (separates into oil and solids), add a teaspoon of warm water and whisk violently to re-establish the emulsion. Timing is the difference between a culinary masterpiece and a soggy disappointment.
THE VISUAL SPECTRUM
Section C: Thermal & Visual Troubleshooting:
Referencing the Masterclass photo above, notice the "lacquered" appearance of the wings. This is achieved when the sauce has reduced enough to coat the back of a spoon. If your wings look dull or "matte," you likely skipped the butter emulsification or the sauce was too watery. If you see dark, carbonized spots that taste bitter, your air fryer basket was likely crowded, causing uneven hot spots. The ideal visual cue is a deep mahogany hue with visible micro-bubbles in the glaze. If the sauce is sliding off the wings and pooling, return the pan to the heat for 30 seconds to further reduce the liquid; the goal is a cohesive bond between the protein and the flavor profile.
THE DEEP DIVE
Macro Nutrition Profile:
A standard serving (approx. 5 wings) contains roughly 450 calories, 32g of protein, 28g of fat, and 8g of carbohydrates. By using the air fryer, we eliminate the 15 to 20 grams of supplemental oil absorption typical of deep-frying, significantly lowering the caloric density while maintaining the texture.
Dietary Swaps:
- Vegan: Substitute wings with cauliflower florets and use a vegan butter alternative (oil-based) for the final emulsification.
- Keto: Replace honey with a monk fruit sweetener and swap cornstarch for a light dusting of baking powder (which raises the pH level of the skin to enhance browning).
- GF: Ensure your buffalo sauce is certified gluten-free; the cornstarch is naturally safe.
Meal Prep & Reheating Science:
To maintain molecular structure when reheating, avoid the microwave at all costs. The microwave agitates water molecules, causing them to steam the skin from the inside out. Instead, place leftover wings back in the air fryer at 180C / 350F for 4 minutes. This re-activates the fats and crisps the exterior without drying out the interior protein.
THE KITCHEN TABLE
Why are my wings still rubbery after air frying?
You likely overcrowded the basket. When wings touch, steam gets trapped between them. Cook in batches to ensure 360-degree airflow, allowing the fat to render properly and the skin to dehydrate into a crispy shell.
Can I put the sauce in the air fryer?
Negative. High-sugar sauces will burn and smoke in the high-velocity air. Always apply sauces on the stove or in a bowl after the dry-heat cycle is complete to preserve the integrity of the flavors.
What does cornstarch actually do?
Cornstarch is a moisture-wicking agent. It creates a larger surface area for the heat to act upon, resulting in a crunchier texture than flour, which can become heavy and doughy when exposed to chicken fat.
Is the butter finish necessary?
Yes. The butter acts as a stabilizing agent for the vinegar and capsaicin in the sauce. It provides a "fatty bridge" that allows the flavors to linger on the palate while providing a professional, glossy sheen.

