
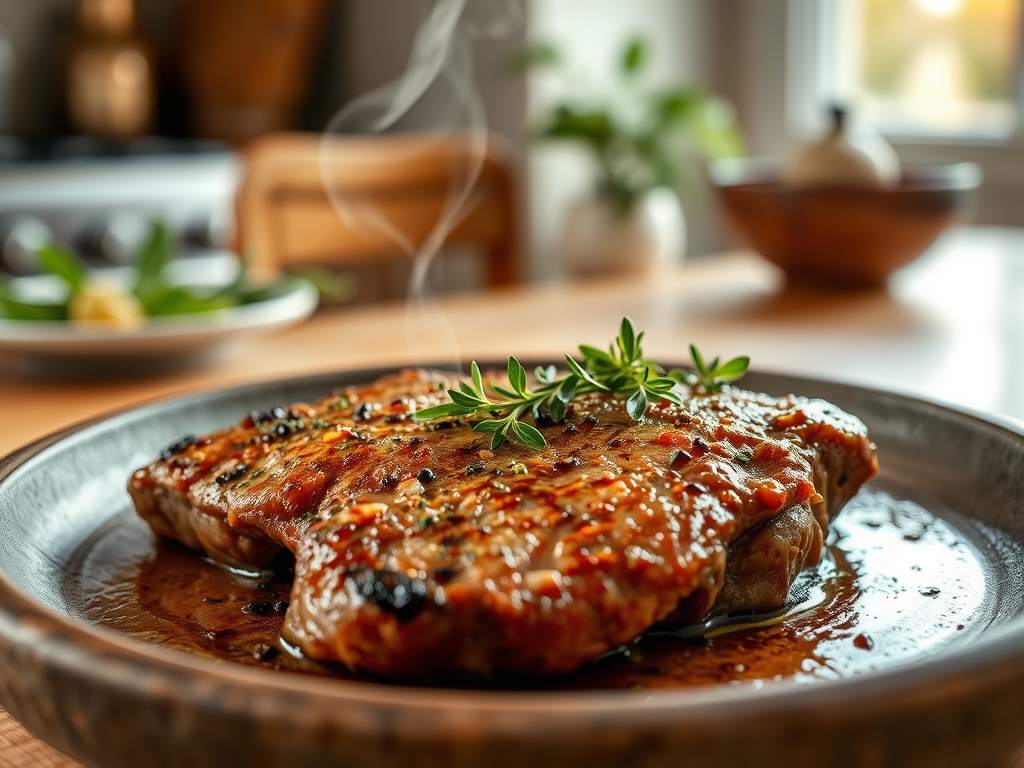
Listen to the sound of a high-performance engine idling; that is the sound of a cold, dry-aged ribeye hitting a preheated cast iron surface. We are not merely cooking dinner. We are conducting a high-stakes audit of thermal energy transfer. The Skillet to Oven Steak is the gold standard of domestic culinary infrastructure because it manages the transition from aggressive conduction to gentle convection. When that protein hits the pan, the Maillard reaction triggers a chemical cascade of amino acids and reducing sugars. You are looking for a crust that resembles dark mahogany, not carbonized ash. The air fills with the scent of rendered lipids and toasted proteins. This method ensures that while the exterior undergoes a brutal searing phase, the interior remains a pristine, edge-to-edge medium-rare. It is a symphony of heat management where the skillet provides the percussion and the oven provides the melody. If you fail to master this transition, you are left with a gray band of overcooked tissue that insults the integrity of the animal. We demand better.
THE DATA MATRIX
| Metric | Specification |
|---|---|
| Prep Time | 45 Minutes (Tempering + Salting) |
| Execution Time | 12 to 15 Minutes |
| Yield | 2 Servings |
| Complexity (1-10) | 7 |
| Estimated Cost per Serving | $22.00 to $35.00 |
THE GATHERS
Ingredient Protocol:
- 2 Prime Bone-in Ribeyes (approx. 900g / 32oz total)
- 30ml / 2 tbsp Neutral High-Smoke Point Oil (Avocado or Grapeseed)
- 60g / 4 tbsp Unsalted European Butter
- 4 Garlic Cloves (Crushed)
- 3 Sprigs Fresh Thyme
- 15g / 1 tbsp Coarse Kosher Salt
- 5g / 1 tsp Freshly Cracked Black Pepper
Section A: Ingredient Quality Audit:
The primary failure point in a Skillet to Oven Steak is moisture. If your steak is weeping liquid in the pan, you have failed the procurement audit. Supermarket steaks are often injected with a saline solution to increase weight; this moisture prevents the surface temperature from exceeding 100C (212F), effectively steaming the meat instead of searing it. To fix this, source dry-aged beef from a reputable butcher. If you are stuck with "wet" grocery store meat, you must perform a 24-hour dry-brine in the refrigerator on a wire rack. This allows the surface to dehydrate, ensuring a crisp crust. Another common audit failure is using extra virgin olive oil for the sear. Its low smoke point will cause it to decompose into acrid, bitter compounds before the meat even colors. Stick to fats with a smoke point above 200C (400F).
THE MASTERCLASS
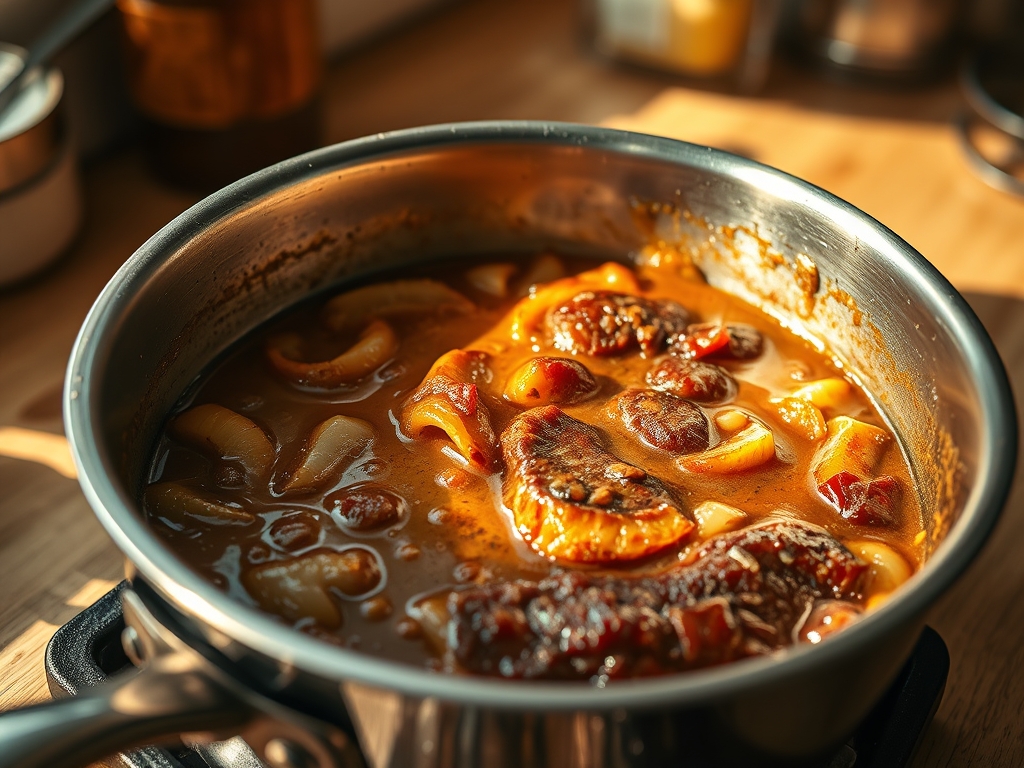
1. Thermal Tempering and Surface Prep
Remove the steaks from refrigeration at least 45 minutes prior to heat application. Use a digital scale to measure your salt precisely; you want 1.5 percent of the meat's weight in salt. Pat the protein aggressively dry with lint-free towels.
Pro Tip: Tempering reduces the internal temperature gradient. If the center is 4C (40F) when it hits the pan, the exterior will be incinerated by the time the core reaches target temperature. Use a bench scraper to clear your workstation of any excess moisture or salt debris.
2. The Conductive Sear
Preheat a heavy-bottomed cast iron skillet until it wisps with white smoke. Add your high-smoke point oil. Lay the steak away from you to prevent oil splatter. Press down firmly to ensure total surface contact. Sear for 2 to 3 minutes until a deep crust forms.
Pro Tip: This is pure conduction. The heavy gauge of the cast iron acts as a thermal battery, preventing the temperature from plummeting when the cold mass of the meat is introduced. Use a digital infrared thermometer to ensure your pan surface has reached at least 230C (450F) before entry.
3. The Convection Transition
Flip the steak and immediately transfer the entire skillet into a preheated oven at 200C (400F). This environment provides 360-degree radiant heat, allowing the internal temperature to rise without further charring the exterior.
Pro Tip: Use a probe thermometer set to 52C (125F) for a perfect medium-rare. The oven's air circulation ensures the heat penetrates the dense muscle fibers evenly, preventing the "bullseye" effect where the edges are overdone.
4. The Butter Baste (Arrosage)
Remove the pan from the oven 3 degrees before your target temperature. Place it back on the stovetop over low heat. Add butter, garlic, and thyme. As the butter foams, tilt the pan and use a large spoon to continuously douse the steak in the hot, flavored fat.
Pro Tip: This process, known as arrosage, uses a saucier-like technique to infuse the crust with aromatics and render any remaining surface fats. The foaming butter acts as a final heat transfer medium, filling any microscopic gaps in the crust.
5. Molecular Stabilization (The Rest)
Transfer the steak to a warm plate or wooden board. Do not tent it tightly with foil, as this will steam the crust you worked so hard to build. Let it rest for 10 minutes.
Pro Tip: During cooking, muscle fibers contract and push moisture toward the center. Resting allows these fibers to relax and reabsorb the juices. If you cut it too early, the viscous internal fluids will end up on the board instead of in your mouth.
Section B: Prep & Timing Fault-Lines:
The most common human error is "peeking." Lifting the steak to check the color every 30 seconds interrupts the heat transfer and prevents the Maillard reaction from stabilizing. Trust the clock and the smoke. Another timing disaster occurs when the oven is not fully preheated. If the oven is still "climbing," the radiant heat is inconsistent, leading to a steak that is gray on the outside and raw in the middle. Always calibrate your oven with a secondary thermometer; internal dials are notoriously inaccurate.
THE VISUAL SPECTRUM
Section C: Thermal & Visual Troubleshooting:
Look at the Masterclass photo. Note the "gloss" on the surface. That is not just fat; it is the result of a successful deglaze of the pan juices during the basting phase. If your steak looks dull or matte, you likely didn't use enough fat during the arrosage. If you see a thick gray ring around the pink center, your pan was too cold or your oven was too hot. The goal is a "wall-to-wall" pink interior. If the crust is black and tastes like a campfire, you used a fat with a low smoke point or left it in the conductive phase for too long. The visual cue for a perfect sear is "mahogany" or "deep rust," never true black.
THE DEEP DIVE
Macro Nutrition Profile:
A standard 300g serving of ribeye prepared this way contains approximately 750 calories, 60g of protein, and 55g of fat. It is a nutrient-dense powerhouse rich in Vitamin B12, Zinc, and Iron.
Dietary Swaps:
- Vegan: Replace the steak with a thick-cut cauliflower or "Lion's Mane" mushroom steak. Use vegan butter (oil-based) for the basting phase to maintain the high-fat heat transfer.
- Keto: This recipe is naturally keto-compliant. Increase the butter basting to boost healthy fat ratios.
- GF: Ensure your salt rub does not contain anti-caking agents that may contain trace gluten.
Meal Prep & Reheating Science:
To maintain the molecular structure when reheating, avoid the microwave at all costs. The microwave agitates water molecules, turning the steak into rubber. Instead, use a low-temperature oven (120C / 250F) until the internal temperature reaches 43C (110F), then flash-sear in a hot pan for 30 seconds to revive the crust.
THE KITCHEN TABLE
Why is my steak gray after searing?
Your pan wasn't hot enough or the meat was too wet. Moisture creates steam, and steam cannot exceed 100C. Without higher heat, the Maillard reaction is impossible. Always pat the meat dry with paper towels before cooking.
Can I use a non-stick pan?
Absolutely not. Non-stick coatings decompose at the temperatures required for a proper sear, releasing toxic fumes. Furthermore, they lack the thermal mass of cast iron or stainless steel, leading to poor heat retention and an uneven crust.
What is the best oil for searing?
Avocado oil is the champion with a smoke point of 270C (520F). Grapeseed oil is a solid, more affordable runner-up. Avoid butter for the initial sear; the milk solids will burn and become bitter before the meat is done.
How do I know when to flip?
The meat will "release" from the pan naturally once the proteins have coagulated and formed a crust. If the steak sticks when you try to lift it, the chemical bond hasn't finished breaking. Give it another 30 seconds.

