
Stop treating your morning caffeine ritual like a slow-motion car crash of lukewarm expectations. You deserve more than the watery, over-diluted disappointment of yesterday's leftovers. Welcome to the high-stakes world of flash-chilling, where we bypass the twelve-hour waiting room of traditional cold brew and head straight for the finish line. We are talking about the transition from Steam to Iced Coffee; a process that demands respect for thermal dynamics and molecular stability. When you subject high-quality Arabica beans to pressurized steam, you unlock a viscous, concentrated essence that most home brewers lose to evaporation. The secret is not just in the heat; it is in the immediate, violent arrest of that temperature. We are going to capture those volatile aromatics before they vanish into the kitchen air. This is culinary infrastructure at its finest. We are building a bridge between the scalding intensity of an espresso pull and the crisp, refreshing bite of a sub-zero glass. Strap in; your nervous system is about to get an upgrade.
THE DATA MATRIX
| Metric | Specification |
|---|---|
| Prep Time | 4 Minutes |
| Execution Time | 2 Minutes |
| Yield | 475ml / 16 oz |
| Complexity (1-10) | 4 |
| Estimated Cost per Serving | $0.85 |
THE GATHERS
Ingredient Protocol:
- 30g / 1.05 oz Freshly roasted coffee beans (Fine grind)
- 150ml / 0.63 cups Filtered water (Heated to 93C / 200F)
- 250g / 8.8 oz Artisanal ice cubes (Large format preferred)
- 15ml / 1 tbsp Simple syrup or agave (Optional)
- 30ml / 2 tbsp Heavy cream or oat milk (Optional)
Section A: Ingredient Quality Audit:
If your coffee tastes like burnt rubber or wet cardboard, your raw materials are failing the audit. Old beans have undergone lipid oxidation, turning those beautiful oils rancid. Technical fix: Check the roast date; if it is older than three weeks, discard and restock. If your water has a piquant, metallic tang, it is likely over-mineralized. Use a carbon-block filter to ensure a neutral pH, allowing the coffee's natural acidity to shine. Finally, if your ice is "cloudy," it contains trapped oxygen and impurities that will melt too quickly and dilute your beverage. Use clear, double-boiled water for your ice molds to ensure a slower melt rate and higher thermal mass.

Step-by-Step Execution:
1. Precision Grinding and Portafilter Loading
Begin by weighing your beans on a digital scale to ensure exact ratios. Grind the beans to a fine, sandy consistency. Transfer the grounds into your portafilter or brewing basket, ensuring an even distribution. Use a tamper to apply approximately 30 pounds of pressure, creating a flat, compact puck that forces water to move through the grounds uniformly.
Pro Tip: An uneven tamp leads to channeling, where water finds the path of least resistance. This results in an under-extracted, sour brew. Use a distribution tool to level the grounds before tamping.
2. The High-Pressure Thermal Extraction
Mount your portafilter and initiate the brew. As the steam and hot water hit the grounds, you will see a viscous, golden-brown liquid known as the crema. This is a micro-emulsion of CO2 bubbles and coffee oils. Aim for a 30-second extraction time to capture the full spectrum of sugars and acids without pulling the bitter tannins found at the end of a long pull.
Pro Tip: Use a saucier or a small stainless steel pitcher to catch the hot espresso. The metal acts as a heat sink, beginning the cooling process the moment the liquid leaves the machine.
3. The Flash-Chill Immersion
Immediately pour the hot concentrate over your prepared large-format ice. This is the critical Steam to Iced Coffee juncture. The rapid temperature drop locks in the delicate floral and fruity notes that would otherwise be destroyed by prolonged heat exposure. You are essentially infusing the ice with the concentrated coffee essence.
Pro Tip: Rapid cooling prevents the formation of quinic acid, the compound responsible for that "stale" coffee taste that develops when hot coffee sits out for too long.
4. Aeration and Final Emulsification
If you are adding dairy or sweeteners, do it now. Use a long-handled bar spoon to stir vigorously for fifteen seconds. This action will aerate the mixture, slightly foaming the cream and ensuring the sweetener is fully integrated into the cold liquid.
Pro Tip: Use a bench scraper to clean your workstation during this phase. Professionalism in the kitchen is about maintaining the infrastructure of your space as much as the quality of the drink.
Section B: Prep & Timing Fault-Lines:
The most common failure in this protocol is the "Lag Time Trap." If you let the hot espresso sit for even sixty seconds before hitting the ice, you lose the volatile aromatics. This is a race against entropy. Another fault-line is the "Dilution Disaster," caused by using small, flaky ice. Small ice has more surface area, meaning it melts instantly when the steam-heated coffee hits it. Always use large, dense cubes to maintain the viscosity of the final beverage.
THE VISUAL SPECTRUM
Section C: Thermal & Visual Troubleshooting:
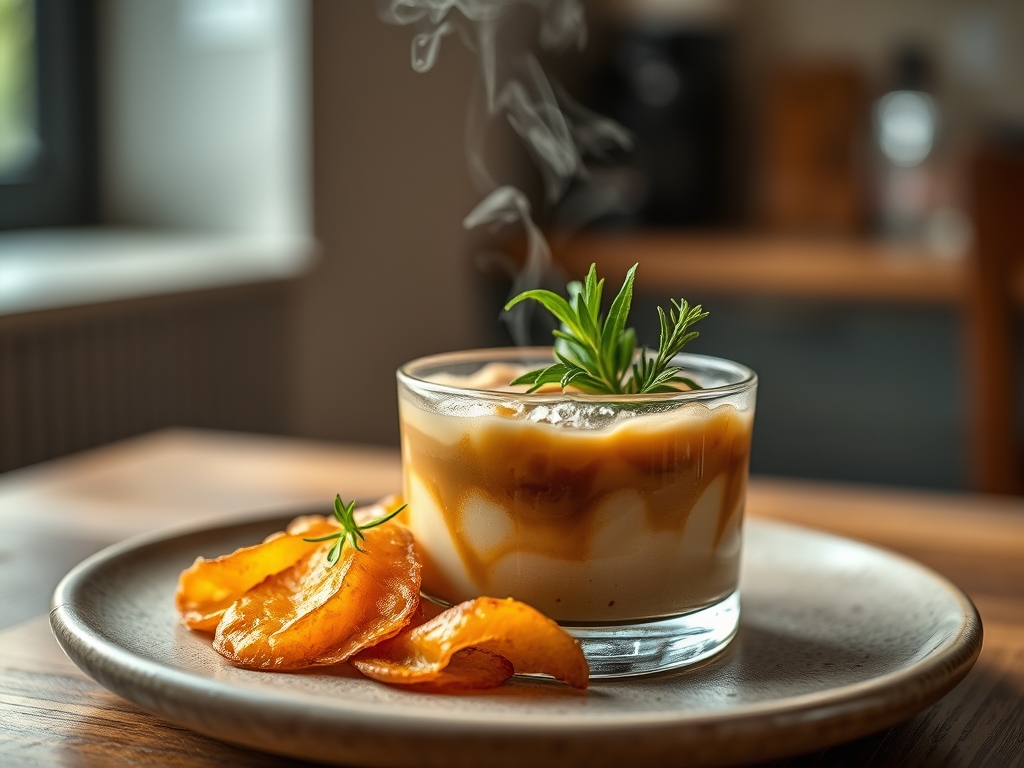
Look at the Masterclass photo above. Notice the distinct layers of color. A perfect execution shows a deep, mahogany base transitioning into a lighter, golden-tan crown. If your drink looks muddy or a uniform dull brown, you likely over-extracted the beans or stirred too aggressively before the ice had a chance to stabilize the temperature. If you see white flakes or "clumping" after adding cream, your coffee is too acidic or your cream is turning. Technical fix: Add a tiny pinch of salt to the grounds before brewing to buffer the acidity and smooth out the flavor profile. The final product should look vibrant and translucent, not opaque and heavy.
THE DEEP DIVE
- Macro Nutrition Profile: Per 16 oz serving (Black): 5 Calories, 0g Fat, 0g Carbs, 0.3g Protein. With 2 tbsp Heavy Cream: 105 Calories, 11g Fat, 1g Carbs, 1g Protein.
- Dietary Swaps: For a Vegan alternative, use barista-grade oat milk; it has the protein structure required to maintain a creamy mouthfeel. For Keto, stick to heavy cream or MCT oil and use erythritol for sweetness. This recipe is naturally GF.
- Meal Prep & Reheating Science: You cannot reheat this. The molecular structure of the oils and the delicate balance of the flash-chill are destroyed by secondary heating. However, you can brew the concentrate, let it cool to room temperature, and store it in an airtight glass carafe for up to 24 hours. Do not add ice until the moment of service to maintain the solvent extraction stability.
THE KITCHEN TABLE
Why does my iced coffee taste watery?
You are likely using standard refrigerator ice which is full of air. This causes rapid melting. Switch to large-format, dense ice cubes and ensure your coffee-to-water ratio is high enough to withstand the initial thermal shock.
Can I use a French Press for this?
Yes, but you must double the coffee grounds to create a concentrate. Since you lack the pressure of steam, the extraction will be less viscous, but the flash-chill principle remains the same.
What is the best roast for this method?
A medium-dark roast is ideal. It provides enough body and chocolatey notes to stand up to the dilution of the ice without being overly charred or "ashy" in the final cold profile.
Does the order of ingredients matter?
Absolutely. Always put the ice in the glass first, then pour the hot coffee over it. This ensures the fastest possible heat transfer and prevents the glass from cracking due to thermal expansion.
How do I get that foam on top?
The foam, or crema, is a byproduct of pressure. If you are using a non-espresso method, you can achieve a similar effect by shaking the cold coffee and cream in a mason jar for thirty seconds to aerate it.

