
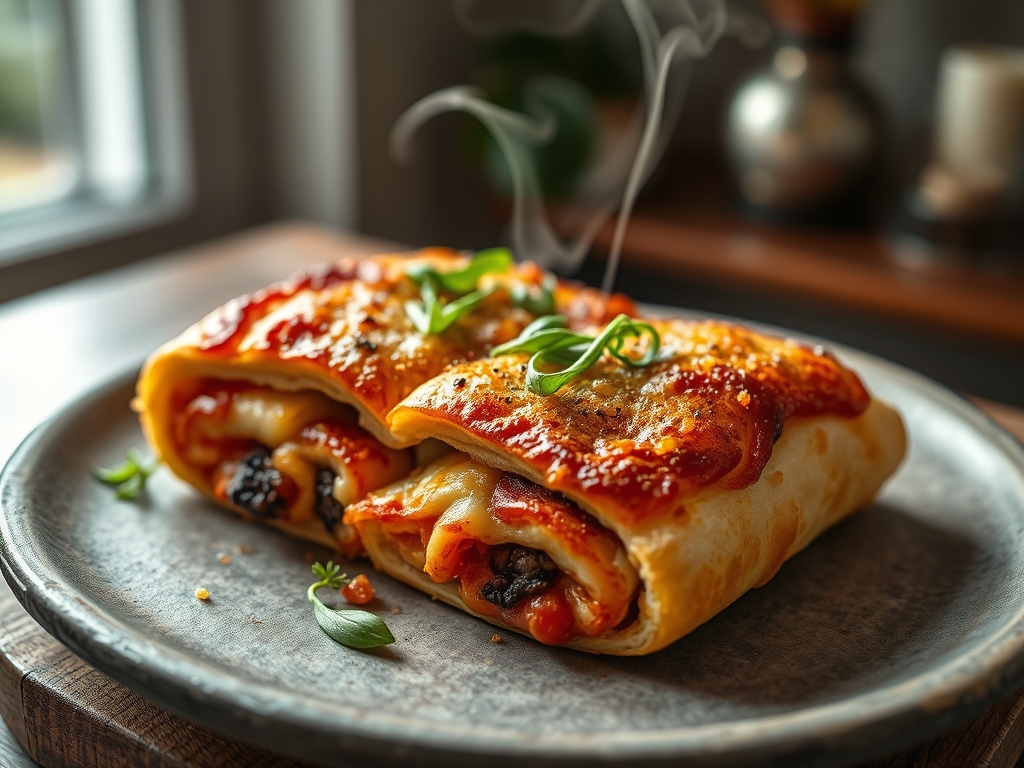
Imagine the structural audacity of an edible fortress where the ramparts are not merely bread, but a pressurized vessel of molten dairy. We are talking about the architectural marvel known as Stuffed Crust Pizza. This is not a casual Friday night dinner; it is a high-stakes engineering project involving thermal dynamics and gluten elasticity. When you bite into that perimeter, you are not just consuming dough. You are breaching a containment unit designed to house a viscous, salty payload that defies the standard laws of pizza geometry. The scent of yeasty fermentation hits first, followed rapidly by the piquant aroma of toasted mozzarella. It is a sensory overload that demands respect for the infrastructure required to prevent a catastrophic blowout in the oven. To achieve the perfect Stuffed Crust Pizza, one must master the art of the seal. We are building a perimeter cavity that must remain integral under intense heat while the interior cheese undergoes a phase shift from solid to liquid gold. Prepare your station; we are about to audit your culinary structural integrity.
THE DATA MATRIX
| Metric | Specification |
|---|---|
| Prep Time | 25 Minutes |
| Execution Time | 15 Minutes |
| Yield | 1 Large 14-inch Pizza |
| Complexity (1-10) | 7 |
| Estimated Cost per Serving | $2.25 |
THE GATHERS
Ingredient Protocol:
- High-Protein Bread Flour: 500g / 3.75 cups
- Warm Water (105F): 325ml / 1.33 cups
- Active Dry Yeast: 7g / 2.25 tsp
- Fine Sea Salt: 10g / 1.75 tsp
- Extra Virgin Olive Oil: 30ml / 2 tbsp
- Low-Moisture Mozzarella String Cheese: 8 to 10 sticks
- Shredded Whole Milk Mozzarella: 225g / 2 cups
- San Marzano Tomato Puree: 240ml / 1 cup
- Dried Oregano and Garlic Powder: 5g each / 1 tsp each
Section A: Ingredient Quality Audit:
If your dough feels like wet cement rather than a supple membrane, your hydration levels are skewed. Use a digital scale to ensure precision; volumetric measurements are the enemy of consistency. If the yeast fails to aerate the mixture within ten minutes, the culture is dead. Discard and restart with water that does not exceed 110 degrees Fahrenheit. For the cheese, never use pre-shredded varieties for the topping. These are coated in potato starch or cellulose to prevent clumping, which inhibits a proper melt and creates a gritty mouthfeel. Buy a block and grate it yourself to ensure maximum fat emulsification. If your string cheese is too cold, it will not melt at the same rate as the crust browns; temper it at room temperature for twenty minutes before installation.
THE MASTERCLASS
1. Hydration and Autolyse Phase
Combine your flour and water in a large bowl. Mix until no dry pockets remain and let it rest for twenty minutes. This allows the flour to fully hydrate and begin gluten development without mechanical interference. Add the yeast, salt, and oil after this rest period.
Pro Tip: This resting phase reduces total kneading time. Use a bench scraper to manage the sticky dough, ensuring you do not incorporate excess flour which would toughen the final crumb.
2. Kinetic Development
Knead the dough on a clean surface for ten minutes or use a stand mixer with a dough hook on medium-low speed. You are looking for the "windowpane test" where a small piece of dough can be stretched thin enough to see light through it without tearing.
Pro Tip: Gluten is a protein network that traps carbon dioxide. A strong network is essential for the structural integrity of the stuffed cavity; without it, the steam from the melting cheese will cause the crust to rupture.
3. Bulk Fermentation
Place the dough in a lightly oiled bowl and cover with a damp cloth. Allow it to rise in a warm, draft-free environment until it has doubled in volume. This usually takes sixty to ninety minutes depending on ambient temperature.
Pro Tip: Slow fermentation creates complex flavor profiles. For an elite audit, cold-ferment the dough in the refrigerator for twenty-four hours to allow enzymes to break down starches into simple sugars for better browning.
4. Perimeter Cavity Construction
Punch down the dough and roll it out into a circle two inches wider than your pizza stone or pan. Lay the string cheese sticks around the edge, approximately one inch from the margin. Fold the overhanging dough over the cheese and press firmly into the base dough to create a hermetic seal.
Pro Tip: Use a digital scale to ensure even dough thickness. If the seal is weak, the cheese will render its fats and leak out, causing the crust to deflate and stick to the pan.
5. Thermal Execution
Apply your tomato puree and shredded mozzarella to the center. Slide the pizza onto a preheated stone in an oven set to its maximum temperature, usually 500F or 550F. Bake for twelve to fifteen minutes until the crust is golden brown and the cheese is blistered.
Pro Tip: High heat is required to trigger the Maillard reaction on the crust while simultaneously liquefying the interior cheese. A saucier can be used to warm the sauce beforehand to prevent the center from being cold.
Section B: Prep & Timing Fault-Lines:
The most common failure in Stuffed Crust Pizza is the "Soggy Bottom Syndrome." This occurs when the sauce is too watery or the oven temperature is too low. Ensure your tomato puree is thick; if it is too thin, simmer it in a saucier to reduce the moisture content. Another timing error is failing to preheat the pizza stone for at least forty-five minutes. The stone acts as a thermal battery, providing the immediate conductive heat necessary to crisp the bottom before the cheese fats can saturate the dough.
THE VISUAL SPECTRUM
Section C: Thermal & Visual Troubleshooting:
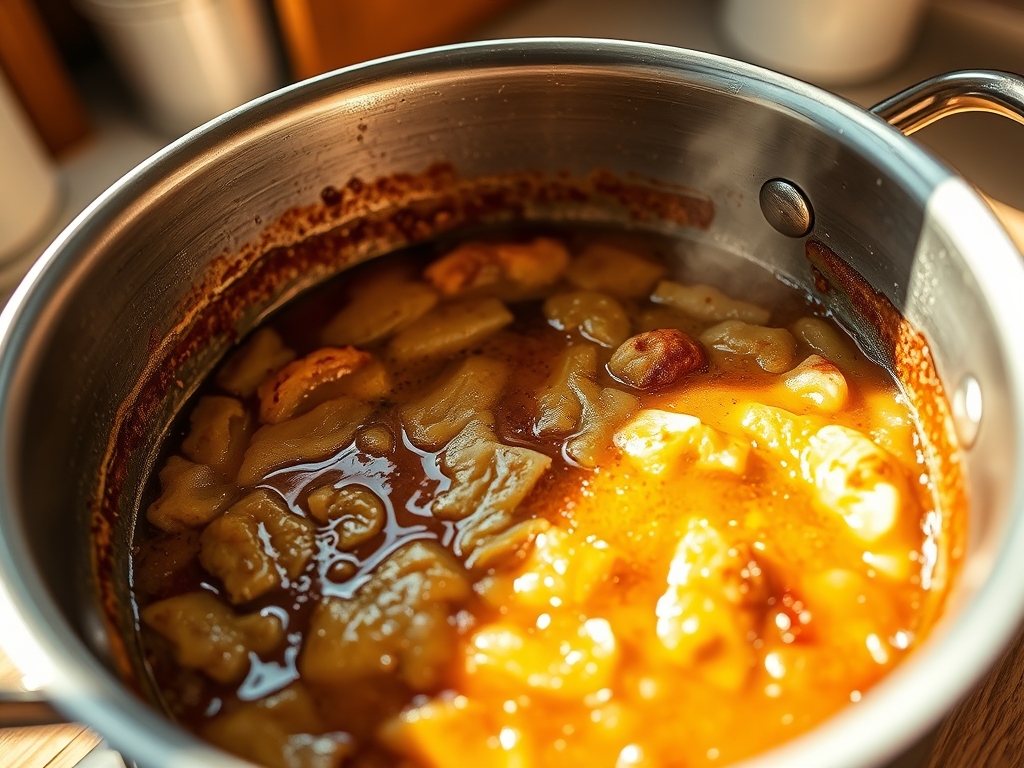
Referencing the Masterclass photo, the ideal specimen exhibits a "leopard spotting" charred effect on the raised perimeter. If your crust looks pale and ghostly, you likely lacked sufficient sugar in the dough or your oven was too cold. If the cheese in the center is oily and separated, it has been overcooked; the proteins have tightened and pushed out the fats. The visual cue for a perfect stuffed edge is a uniform, tubular rise with no visible seams. If you see cheese "volcanoes" erupting from the sides, your seal was insufficient. Ensure you use a drop of water to "glue" the dough flap to the base during the construction phase for a permanent bond.
THE DEEP DIVE
Macro Nutrition Profile:
A single slice of this high-performance pizza contains approximately 350 calories. It is heavy on lipids and carbohydrates, providing 15g of fat, 40g of carbs, and 14g of protein. It is a caloric engine designed for recovery or high-output days.
Dietary Swaps:
For a Vegan audit, utilize cashew-based mozzarella and ensure the dough oil is plant-derived. For Keto enthusiasts, a cauliflower and almond flour crust can work, though the structural integrity of the "fold" is significantly compromised. Gluten-Free versions require xanthan gum to provide the elasticity needed to encase the cheese sticks without snapping.
Meal Prep & Reheating Science:
To maintain the molecular structure when reheating, avoid the microwave. The microwave excites water molecules, turning the crust into a rubbery mess. Instead, use an air fryer at 350F for three minutes. This recrisps the exterior via convection while gently remelting the interior cheese core, restoring the piquant profile of the original bake.
THE KITCHEN TABLE
Why did my cheese stay solid inside the crust?
The cheese was likely too cold when inserted. Ensure string cheese reaches room temperature before baking. Also, verify your oven reached at least 500F; lower temperatures fail to penetrate the dough barrier effectively to melt the core.
Can I use fresh mozzarella for the stuffing?
Fresh mozzarella has too much water. As it melts, it will release steam and liquid, causing the crust to become soggy or burst. Stick to low-moisture string cheese for the most reliable structural results.
How do I get that professional glossy finish on the crust?
Brush the dough with a mixture of melted butter and garlic powder immediately after it exits the oven. The residual heat will infuse the fat into the crust, providing a decadent sheen and a piquant flavor boost.
My dough keeps shrinking back when I roll it. Help!
The gluten is too tense. Cover the dough and let it rest for ten minutes. This allows the protein strands to relax, making the dough more extensible and easier to shape into the required oversized diameter.

