
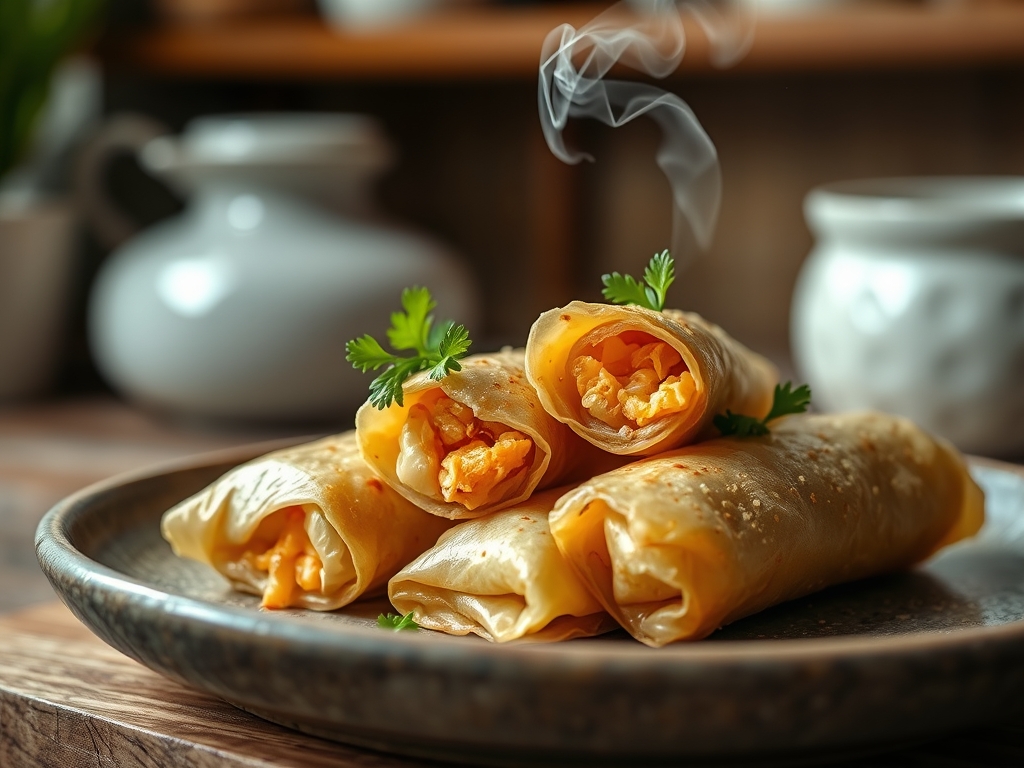
Listen to that sound. It is the violent, rhythmic snap of a dehydrated starch matrix shattering under jaw pressure. We are not merely talking about appetizers; we are discussing the structural integrity of the ultimate delivery vehicle for savory fillings. To achieve the perfect golden hue and that signature blistered topography, you must understand the physics of Egg Roll Packaging. It is the outer armor that protects the delicate, steamed interior from the ravages of three hundred seventy five degree peanut oil. If your wrapper is flaccid, your technique is flawed. If the seal fails, you have a structural collapse that ruins the oil and the experience. We are here to audit your process from the flour mill to the deep fryer. We want high tension, zero grease penetration, and a crunch that can be heard in the next zip code. This is a masterclass in thermal dynamics and culinary engineering where the wrapper is the hero of the narrative. Prepare to recalibrate your expectations for the humble fried envelope.
THE DATA MATRIX
| Metric | Specification |
|---|---|
| Prep Time | 45 Minutes |
| Execution Time | 15 Minutes |
| Yield | 12 Units |
| Complexity | 7/10 |
| Estimated Cost per Serving | $1.15 |
THE GATHERS
Ingredient Protocol:
- 500g / 4 cups All-Purpose Flour (High protein content preferred)
- 120ml / 0.5 cup Warm Water (Filtered)
- 1 Large Egg (Room temperature)
- 5g / 1 tsp Fine Sea Salt
- 15ml / 1 tbsp Cornstarch (For dusting)
- 450g / 1 lb Ground Pork or Shredded Cabbage (Filling base)
- 30ml / 2 tbsp Soy Sauce (High sodium)
- 10ml / 2 tsp Toasted Sesame Oil
- 1L / 4 cups Peanut Oil (For high-smoke point frying)
Section A: Ingredient Quality Audit:
Sub-par raw materials are the primary cause of structural failure in Egg Roll Packaging. If your flour has a low protein count, the gluten network will be too weak to support the moisture of the filling; resultantly, the roll will tear during the wrap. Fix this by adding a teaspoon of vital wheat gluten if using generic flour. If your cabbage is too watery, it will create steam pockets that cause the dough to explode. Always salt your vegetables and squeeze them through cheesecloth to render excess moisture before they ever touch the dough. If your oil is old, the surfactants will cause the dough to absorb fat rather than repel it; always use fresh, high-quality oil for a clean finish.
THE MASTERCLASS
Step-by-Step Execution:
1. The Hydration Phase
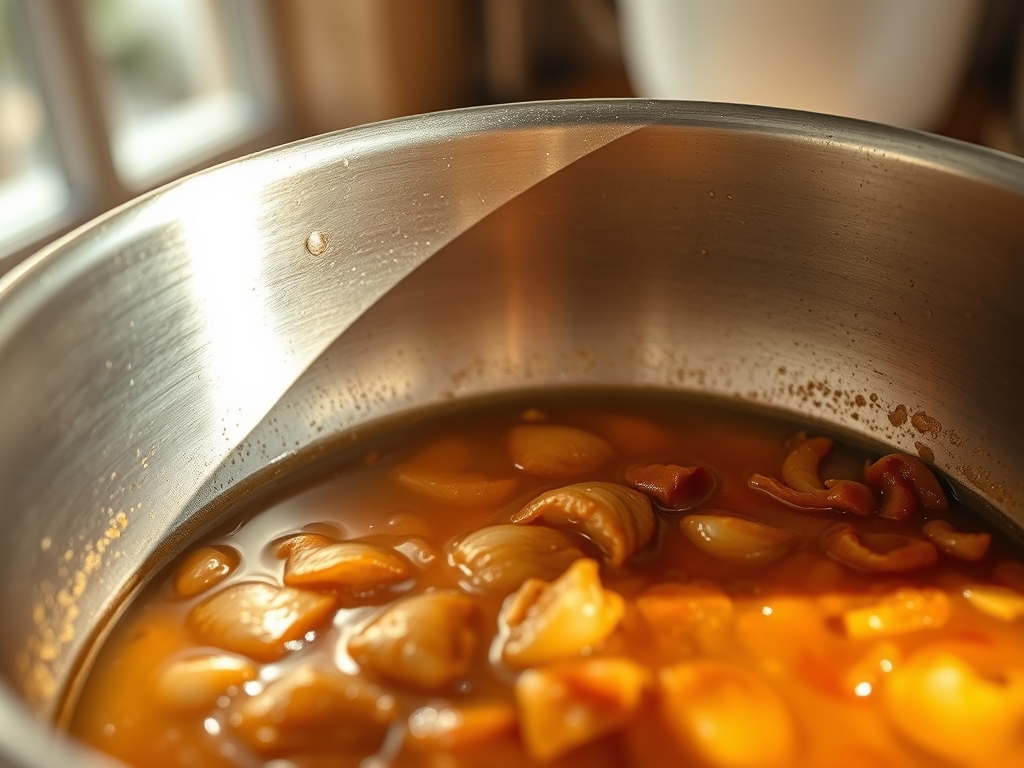
Combine your flour and salt in a large stainless steel bowl. Create a well in the center and add the beaten egg and warm water. Use a bench scraper to incorporate the flour into the liquid until a shaggy mass forms. Transfer to a clean surface and knead for ten minutes until the dough is smooth and elastic.
Pro Tip: This phase is about gluten development. A digital scale is mandatory here because even a five gram variance in water can change the dough's elasticity, making it either too brittle to fold or too sticky to roll thin.
2. The Molecular Rest
Wrap the dough tightly in plastic wrap and let it sit at room temperature for at least thirty minutes. This allows the gluten strands to relax and the moisture to distribute evenly throughout the starch molecules.
Pro Tip: Skipping the rest period results in "snap-back," where the dough shrinks after being rolled out. Use this time to prepare your filling in a saucier to ensure even heat distribution and flavor infusion.
3. Precision Sheeting
Divide the dough into twelve equal portions. Using a heavy rolling pin, roll each piece into a paper-thin square. You should almost be able to see the grain of your wooden cutting board through the dough. Dust lightly with cornstarch to prevent sticking.
Pro Tip: Professional kitchens often use a pasta machine for this step to ensure a uniform thickness of 1.5mm. Consistent thickness is the only way to guarantee a synchronized cook time across the entire batch.
4. The Structural Seal
Place two tablespoons of filling in the lower third of the wrapper. Fold the bottom corner over the filling, tucking it tightly. Fold in the sides like an envelope, then roll upward. Seal the final edge with a "glue" made of cornstarch and water.
Pro Tip: Air is the enemy of the deep fryer. Any trapped oxygen will expand during frying, causing the wrapper to balloon and potentially burst. Ensure the wrap is viscous and tight against the filling.
5. The Thermal Strike
Heat your oil to exactly three hundred seventy five degrees Fahrenheit. Carefully lower the rolls into the oil using a slotted spoon. Fry for three to five minutes, turning occasionally, until the exterior achieves a deep mahogany color and a blistered texture.
Pro Tip: Use an infrared thermometer to monitor oil recovery time. When you drop cold rolls into hot oil, the temperature plunges; you must adjust your burner to maintain the heat or the dough will become oil-logged and heavy.
Section B: Prep & Timing Fault-Lines:
Timing errors usually occur during the transition from the prep station to the fryer. If the filled rolls sit for too long before frying, the moisture from the filling will migrate into the wrapper, turning it into a soggy mess that will never crisp. This is known as "wicking." To prevent this, fry in small batches immediately after rolling. If your oil is too hot, the exterior will undergo the Maillard reaction too quickly, leaving the interior raw and cold. If the oil is too cool, the dough will infuse with grease, destroying the mechanical tension of the crust.
THE VISUAL SPECTRUM
Section C: Thermal & Visual Troubleshooting:
Examine the Masterclass photo provided above. Notice the micro-blisters on the surface; these are signs of proper steam release and high-heat contact. If your rolls are smooth and pale, your oil temperature was likely below three hundred fifty degrees. If the ends are dark but the center is light, your pan was too small, causing uneven oil circulation. For a piquant visual appeal, the color must be uniform. Dull, matte finishes indicate that the dough was over-floured during the rolling process; always brush off excess starch before the roll hits the oil. If you see large, singular bubbles, it means the dough was not kneaded sufficiently to create a tight gluten mesh.
THE DEEP DIVE
Macro Nutrition Profile:
A standard pork-based roll contains approximately 220 calories, with 12g of fat, 24g of carbohydrates, and 9g of protein. The primary caloric driver is the oil absorption in the wrapper; using a high-protein flour can actually reduce oil uptake by creating a denser barrier.
Dietary Swaps:
- Vegan: Replace the pork with a mixture of shredded shiitake mushrooms and firm tofu. Use a "flax egg" (ground flaxseed and water) in the dough for binding.
- Keto: Traditional wrappers are impossible on Keto, but you can use blanched cabbage leaves as a substitute, though you will lose the mechanical crunch.
- GF: Use a blend of rice flour and xanthum gum. Note that GF dough is significantly less elastic and requires more delicate handling during the folding phase.
Meal Prep & Reheating Science:
To maintain the molecular structure, never reheat in a microwave. The microwave agitates water molecules, which softens the starch lattice and turns the wrapper rubbery. Instead, use an air fryer or a toaster oven at four hundred degrees for four minutes. This re-activates the fats in the crust and restores the crispness without overcooking the interior.
THE KITCHEN TABLE
How do I prevent my egg rolls from exploding?
Ensure the filling is as dry as possible. Use a kitchen towel to squeeze moisture from vegetables. Excess steam inside the wrapper creates internal pressure that forces the seams to fail during the frying process.
Can I bake these instead of frying?
Yes, but the texture will differ. Brush the exteriors generously with oil and bake at four hundred twenty five degrees. You will achieve a crunch, but you will lack the iconic blistered "bubbles" created by deep-fat immersion.
Why is my wrapper chewy instead of crunchy?
Chewy wrappers usually result from under-kneading the dough or using low-protein flour. Without a strong gluten structure, the dough cannot hold the tension required to shatter upon impact. Also, check your oil temperature.
How long can I store the raw wrappers?
You can stack them with parchment paper in between and freeze them for up to three months. Ensure they are airtight to prevent freezer burn, which destroys the starch molecules and leads to tearing.
What is the best oil for frying?
Peanut oil is the gold standard due to its high smoke point and neutral flavor profile. It allows the natural flavors of the filling to shine while providing the necessary heat for a perfect crust.

