
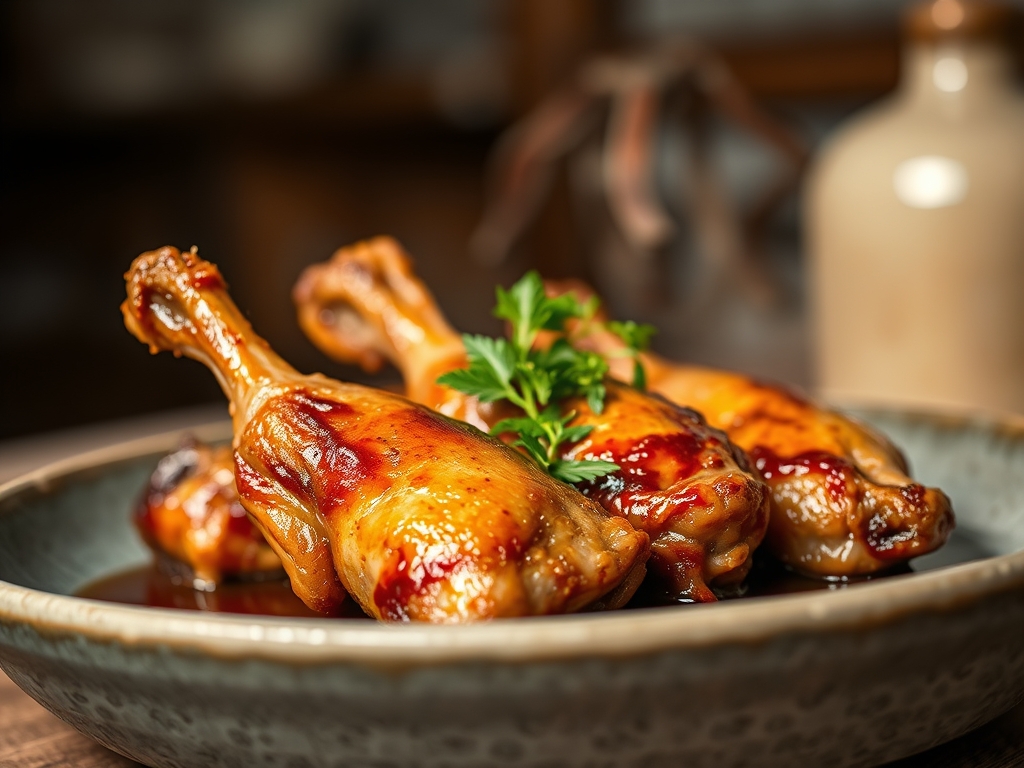
Forget everything you know about dry, fibrous holiday bird carcasses. We are entering the realm of biphasic protein engineering where the objective is simple: total moisture dominance. When you approach Braised Turkey Wings, you are not just cooking; you are managing a complex transition of connective tissue into liquid gold. This is the ultimate technical audit of lean protein. We are talking about skin so rendered it becomes a translucent lacquer and meat that surrenders to the fork with zero resistance. The turkey wing is the perfect specimen for this operation because it possesses a high skin-to-meat ratio and enough collagen to create a naturally viscous sauce without excessive starch intervention. We are going to deploy a dual-stage thermal strategy. First, we execute a high-heat Maillard reaction to lock in structural integrity. Second, we transition to a low-and-slow submersion to dissolve the tough intracellular matrix. This is high-stakes culinary architecture. If you miss the mark, you are left with a rubbery mess. If you hit it, you achieve a level of piquant, savory depth that makes a standard roast look like amateur hour.
THE DATA MATRIX
| Metric | Specification |
|---|---|
| Prep Time | 25 Minutes |
| Execution Time | 2 Hours 45 Minutes |
| Yield | 4 Servings |
| Complexity (1-10) | 4 |
| Estimated Cost per Serving | $4.50 |
THE GATHERS
Ingredient Protocol:
- 2.25 kg / 5 lbs Turkey Wings (separated into flats and drums)
- 60 ml / 4 tbsp Avocado Oil (high smoke point essential)
- 500 ml / 2 cups Low-sodium Chicken or Turkey Stock
- 150 g / 1 large Yellow Onion (small dice)
- 100 g / 2 large Carrots (brunoise)
- 75 g / 2 stalks Celery (small dice)
- 30 g / 4 cloves Garlic (minced)
- 15 ml / 1 tbsp Worcestershire Sauce
- 5 g / 1 tsp Smoked Paprika
- 3 g / 1 tsp Dried Thyme
- 15 g / 2 tbsp All-purpose Flour (for the roux phase)
- To taste: Kosher Salt and Freshly Cracked Black Pepper
Section A: Ingredient Quality Audit:
The primary failure point in Braised Turkey Wings is the starting moisture content of the protein. If your wings are "enhanced" with a salt-water solution (check the fine print on the packaging), the cellular walls are already compromised. This leads to a "steaming" effect rather than a true sear. To fix this, perform a dry-brine for 4 hours prior to cooking. If your aromatics are limp or dehydrated, they will not properly infuse the braising liquid. Sub-par vegetables should be refreshed in an ice bath for 20 minutes to restore turgor pressure before dicing. If your stock lacks body, fortify it with a teaspoon of unflavored gelatin to mimic the mouthfeel of a long-simmered bone broth.
THE MASTERCLASS
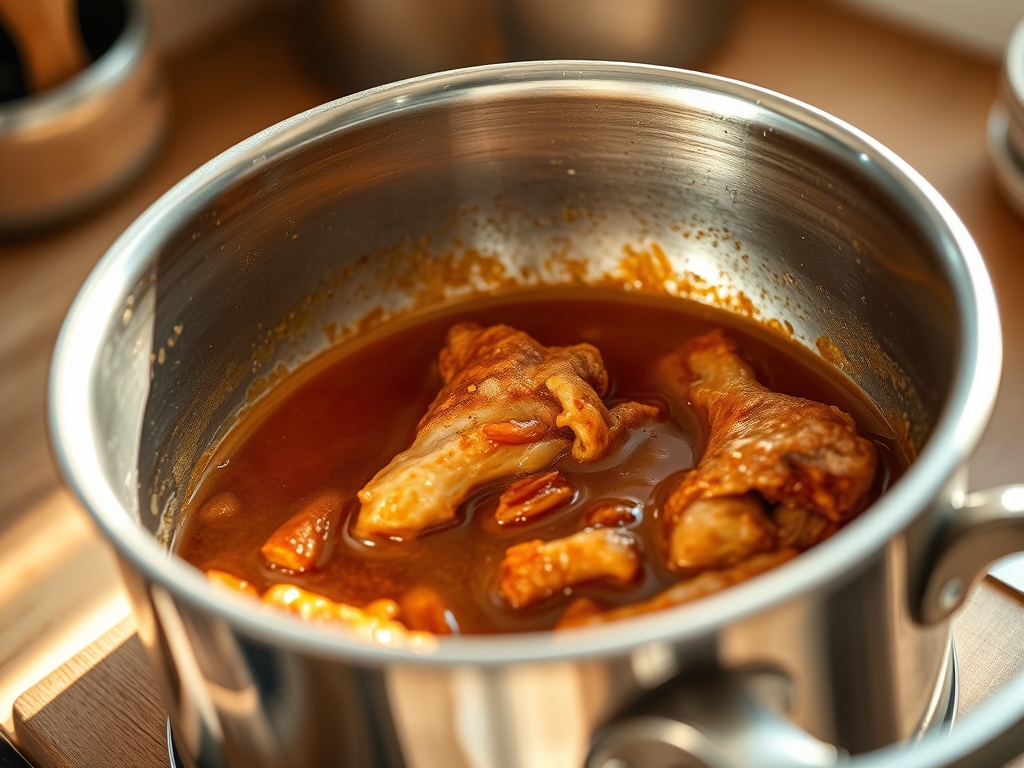
Step-by-Step Execution:
1. The Maillard Initialization
Pat the turkey wings bone-dry using lint-free paper towels. Season aggressively with salt and pepper. Heat your avocado oil in a heavy-bottomed Dutch oven or a wide saucier until it reaches the shimmering point (approx. 200C / 400F). Sear the wings in batches to avoid crowding the pan, which would drop the surface temperature and cause the meat to stew in its own juices.
Pro Tip: Use a digital infrared thermometer to ensure the pan surface is hot enough. The Maillard reaction requires temperatures above 140C (285F) to create the complex flavor molecules that define a successful braise.
2. The Aromatic Foundation
Remove the wings and set them aside on a wire rack. Reduce the heat to medium. Add the onions, carrots, and celery to the rendered fat. Use a stainless steel bench scraper or a wooden spoon to scrape the "fond" (the brown bits) from the bottom of the pan. This is concentrated flavor gold. Sauté until the onions are translucent and the carrots have softened.
Pro Tip: This process is known as sweating the mirepoix. By keeping the heat moderate, you release the sugars in the vegetables without burning them, creating a balanced flavor base for the liquid phase.
3. The Roux and Deglaze
Sprinkle the flour over the vegetables and stir constantly for 2 minutes. This cooks out the raw starch flavor. Slowly pour in the stock while whisking or stirring vigorously to prevent lumps. Add the garlic, smoked paprika, thyme, and Worcestershire sauce.
Pro Tip: Use a high-quality whisk to aerate the sauce as you incorporate the liquid. This ensures a smooth, viscous consistency that will coat the back of a spoon once the reduction is complete.
4. The Submersion Phase
Return the turkey wings to the pot. The liquid should come about halfway up the sides of the meat. Cover with a tight-fitting lid and transfer to a preheated oven at 165C (325F). Braise for 2 to 2.5 hours, or until the internal temperature of the meat reaches 85C (185F).
Pro Tip: While 74C (165F) is the safety standard for poultry, the collagen in turkey wings does not begin to melt into gelatin until it hits higher temperatures. Aiming for 85C ensures a "fall-off-the-bone" texture.
5. The Final Reduction
Remove the pot from the oven. Carefully transfer the wings to a serving platter. Place the pot back on the stovetop over medium-high heat. Simmer the liquid until it reduces by one-third, intensifying the flavor and thickness. Pour the finished gravy over the wings.
Pro Tip: Use a fat separator or a shallow spoon to skim any excess oil from the surface before serving. This ensures the sauce is rich but not greasy.
Section B: Prep & Timing Fault-Lines:
The most common human error is the "Rushed Sear." If you flip the meat before it naturally releases from the pan, you tear the skin and lose the structural integrity required for a beautiful presentation. Another fault-line is the "Boil vs. Simmer" error. If the braising liquid boils aggressively in the oven, the muscle fibers will tighten and squeeze out moisture, resulting in dry meat. Ensure your oven is calibrated with an internal thermometer; many domestic ovens fluctuate by as much as 25 degrees.
THE VISUAL SPECTRUM
Section C: Thermal & Visual Troubleshooting:
Look at the Masterclass photo above. Notice the deep, mahogany hue of the skin and the way the sauce clings to the surface without pooling into a watery mess. If your wings look pale or grey, your initial sear was too cool; you can fix this by placing the finished wings under a broiler for 3 minutes before saucing. If the sauce looks broken (oil separating from the liquid), whisk in a tablespoon of cold butter or a splash of heavy cream to re-emulsify the mixture. Dull colors in the vegetables suggest they were overcooked; for a visual pop, garnish with fresh parsley or chives at the very end to provide a sharp contrast to the deep browns of the braise.
THE DEEP DIVE
Macro Nutrition Profile:
A standard serving (approx. 250g) provides roughly 45g of protein, 18g of fat, and 6g of carbohydrates. The high gelatin content from the rendered connective tissue provides significant amino acids like glycine, which supports gut health and joint recovery.
Dietary Swaps:
- Keto: Replace the all-purpose flour with 1/2 teaspoon of xanthan gum or simply reduce the liquid further to achieve thickness.
- Gluten-Free: Use a 1:1 GF flour blend or cornstarch slurry (mixed with cold water) for the thickening phase.
- Vegan: This specific protocol is bird-centric, but the braising technique works exceptionally well for "Hen of the Woods" mushrooms or thick-cut cauliflower steaks using vegetable dashi.
Meal Prep & Reheating Science:
To maintain the molecular structure when reheating, avoid the microwave. The localized high-frequency waves cause the protein to toughen. Instead, reheat in a covered pan over low heat with a splash of additional stock. This creates a steam-jacket effect that restores moisture to the muscle fibers without overcooking the exterior.
THE KITCHEN TABLE
Why are my turkey wings still tough after two hours?
You likely did not reach the thermal threshold for collagen breakdown. Continue braising until the internal temperature hits 85C. Collagen is time and temperature dependent; it cannot be rushed.
Can I do this in a slow cooker?
Yes, but you must sear the meat and sauté the aromatics in a separate pan first. A slow cooker cannot reach the temperatures required for the Maillard reaction, resulting in a flat flavor profile.
Is it necessary to separate the flats from the drums?
Separating them allows for more surface area contact with the pan during the searing phase. It also ensures even cooking, as the drumettes are denser than the flats.
How do I get the sauce darker?
The depth of color comes from the "fond" and the duration of the onion sauté. For an even deeper hue, add a teaspoon of tomato paste during the aromatic phase and cook until it turns rust-colored.

