
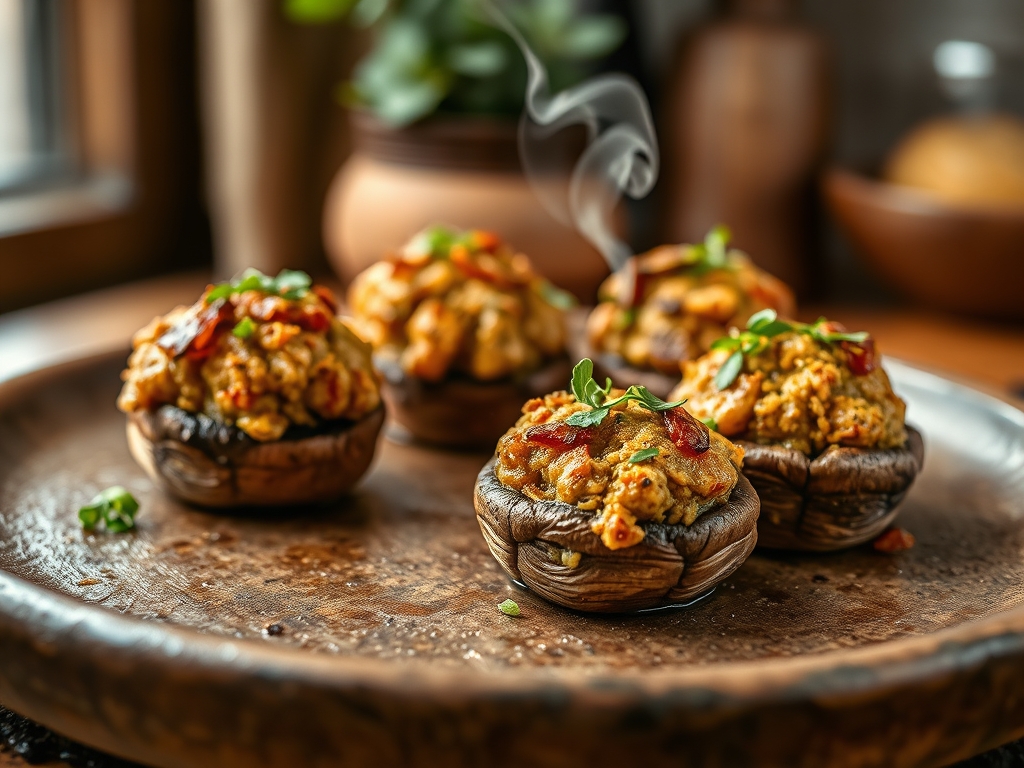
Listen up, culinary architects. We are moving beyond the realm of soggy, uninspired hors d'oeuvres and entering the high-stakes world of fungal structural integrity. When we talk about Stuffed Mushrooms, we are discussing a delicate thermal exchange between a porous, moisture-heavy cap and a dense, flavor-saturated payload. Most amateur attempts end in a weeping, gray mess on the serving platter because they fail to account for the mushroom's cellular architecture. We are here to audit that process. Imagine the snap of a perfectly roasted Cremini cap, its natural sugars caramelized through a rigorous Maillard reaction, yielding to a center that is simultaneously creamy, salty, and sharp. This is not just an appetizer; it is a masterclass in moisture management and piquant density. We are going to engineer a bite that holds its shape under pressure, delivering a concentrated burst of umami that lingers on the palate. Prepare your stations. We are about to transform basic spores into a high-performance delivery system for culinary excellence.
THE DATA MATRIX
| Metric | Specification |
|---|---|
| Prep Time | 25 Minutes |
| Execution Time | 20 Minutes |
| Yield | 24 Units |
| Complexity (1-10) | 4 |
| Estimated Cost per Serving | $0.85 USD |
THE GATHERS
Ingredient Protocol:
- 500g / 1.1 lbs Large Cremini Mushrooms (stems removed and reserved)
- 115g / 4 oz Full-fat Cream Cheese (softened to room temperature)
- 60g / 2 oz Freshly grated Parmesan cheese
- 2 Garlic cloves (microplaned)
- 5g / 1 tsp Smoked Paprika
- 30ml / 2 tbsp Extra Virgin Olive Oil
- 45g / 0.5 cup Panko breadcrumbs
- 15g / 0.25 cup Fresh Italian parsley (finely chiffonaded)
- 2g / 0.5 tsp Fine sea salt
- 1g / 0.25 tsp Freshly cracked black pepper
Section A: Ingredient Quality Audit:
If your mushrooms feel slimy or exhibit dark, recessed bruising, their cellular walls are already collapsing. This leads to excessive moisture loss during the roast. Fix this by selecting firm, dry specimens with tightly closed gills. If your cream cheese is "whipped" rather than a solid block, the air pockets will cause the filling to deflate and weep in the oven. Always use brick-style cheese for structural stability. If your breadcrumbs are stale, they will fail to absorb the rendered fats from the filling; toast them in a dry saucier for 60 seconds to revive their hygroscopic potential before mixing.
THE MASTERCLASS
Step 1: Fungal Extraction and Preparation
Remove the stems from the mushrooms using a decisive twist or a paring knife. Do not wash these under a faucet; mushrooms are biological sponges. Instead, use a damp cloth to wipe away debris. Finely mince the reserved stems using a sharp chef knife or a food processor.
Pro Tip: Use a digital scale to ensure your stems account for roughly 30 percent of your total filling volume. This maintains the flavor profile while preventing the filling from becoming overly viscous or runny.
Step 2: Sauté and Reduction
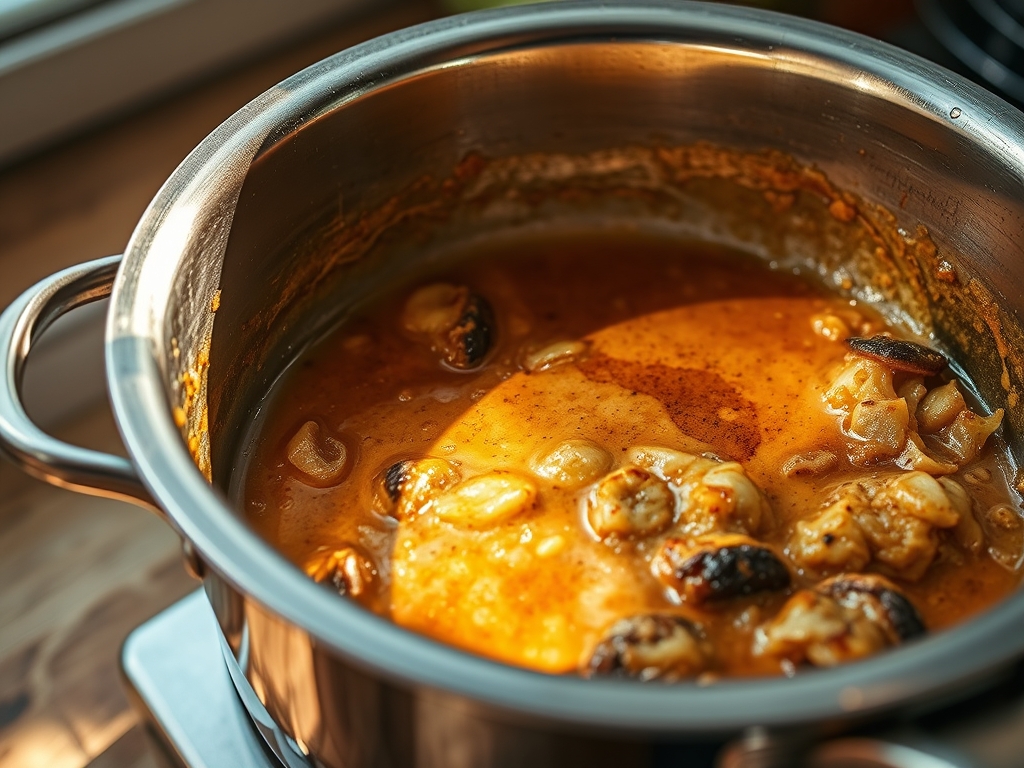
Heat the olive oil in a stainless steel saucier. Add the minced stems and garlic. Sauté until the moisture has evaporated and the stems begin to brown. This is the render phase where we concentrate the umami.
Pro Tip: Use a bench scraper to efficiently move your minced stems from the cutting board to the pan. This prevents oxidation and ensures you aren't losing precious material to the floor.
Step 3: Emulsifying the Piquant Core
In a stainless steel mixing bowl, combine the softened cream cheese, Parmesan, sautéed stems, paprika, salt, and pepper. Use a stiff spatula to fold the ingredients together until they form a homogenous, aerated paste.
Pro Tip: Temperature control is vital here. If the stems are too hot, they will break the emulsion of the cream cheese, causing it to separate. Let the stems cool to 37 degrees Celsius / 98 degrees Fahrenheit before mixing.
Step 4: Structural Integration
Place the mushroom caps on a parchment-lined baking sheet. Use a small spoon or a piping bag to fill each cavity. Ensure the filling is slightly mounded to account for minor shrinkage during the thermal cycle. Top with Panko breadcrumbs for a textural contrast.
Pro Tip: Use a digital scale to weigh the first three filled mushrooms. Aim for 25g of filling per cap to ensure uniform cooking times across the entire batch.
Step 5: Thermal Execution
Slide the tray into a preheated oven at 200 degrees Celsius / 400 degrees Fahrenheit. Roast for 18 to 20 minutes. You are looking for the breadcrumbs to achieve a golden-brown hue while the mushroom caps become tender but maintain their vertical integrity.
Pro Tip: Halfway through the bake, rotate the tray 180 degrees. This compensates for hot spots in the oven and ensures a consistent Maillard reaction across all units.
Section B: Prep & Timing Fault-Lines:
The most common failure is the "Leaking Base" syndrome. This occurs when the oven temperature is too low (below 175C / 350F), causing the mushrooms to steam in their own juices rather than roasting. If you find your prep is taking too long, do not leave the raw, filled mushrooms at room temperature for more than 30 minutes; the salt in the filling will begin to draw water out of the raw fungal walls, leading to a soggy bottom before they even hit the heat.
THE VISUAL SPECTRUM
Section C: Thermal & Visual Troubleshooting:
Referencing the Masterclass photo, notice the "Glistening Crown" effect. If your mushrooms look dull and matte, you likely forgot to brush the exterior caps with a thin film of oil. If the filling has bubbled over the sides and looks "broken," your cream cheese was likely a low-fat substitute which lacks the protein structure to hold heat. If the tops are burnt but the mushrooms are still raw, your rack position was too high; move the tray to the center of the oven to balance the convective airflow. The ideal visual cue is a slight "wrinkle" at the base of the mushroom, indicating just enough moisture loss to concentrate the flavor without losing structural height.
THE DEEP DIVE
Macro Nutrition Profile:
Each unit contains approximately 45 calories, 3.5g of fat, 2g of carbohydrates, and 1.5g of protein. The high fat content from the cheeses provides a satiating mouthfeel, while the mushrooms offer a significant dose of selenium and B vitamins.
Dietary Swaps:
For a Vegan audit, replace the cream cheese with a cashew-based spread and use nutritional yeast instead of Parmesan. For Keto compliance, eliminate the Panko breadcrumbs and replace them with crushed pork rinds or almond flour. For Gluten-Free protocols, simply utilize certified GF breadcrumbs or a dusting of extra Parmesan for the crunch factor.
Meal Prep & Reheating Science:
To maintain molecular structure when reheating, avoid the microwave at all costs. The localized excitation of water molecules will turn your mushrooms into rubber. Instead, use a toaster oven at 175C / 350F for 8 minutes. This re-crisps the breadcrumbs and gently warms the core without further collapsing the fungal cell walls.
THE KITCHEN TABLE
Can I prepare these 24 hours in advance?
Yes. Construct the mushrooms but do not add the breadcrumb topping. Store them in an airtight container. Apply the Panko just before the thermal cycle to ensure the breadcrumbs do not hydrate and lose their potential for crispness.
Why did my mushrooms shrink so much?
Mushrooms are roughly 90 percent water. If they shrink excessively, they were likely overcooked or the oven temperature was too high, causing rapid cellular collapse. Audit your oven calibration with an external thermometer to ensure accuracy.
What is the best mushroom variety for this?
Cremini (Baby Bella) mushrooms are the gold standard. They possess a denser cell structure and a deeper, more earthy flavor profile than white button mushrooms, making them the superior choice for high-heat roasting and piquant fills.
How do I prevent the garlic from tasting bitter?
Bitterness occurs when garlic is scorched. Ensure you add the garlic to the saucier only after the mushroom stems have released some moisture. The steam acts as a thermal buffer, preventing the garlic from exceeding its burning point.

