
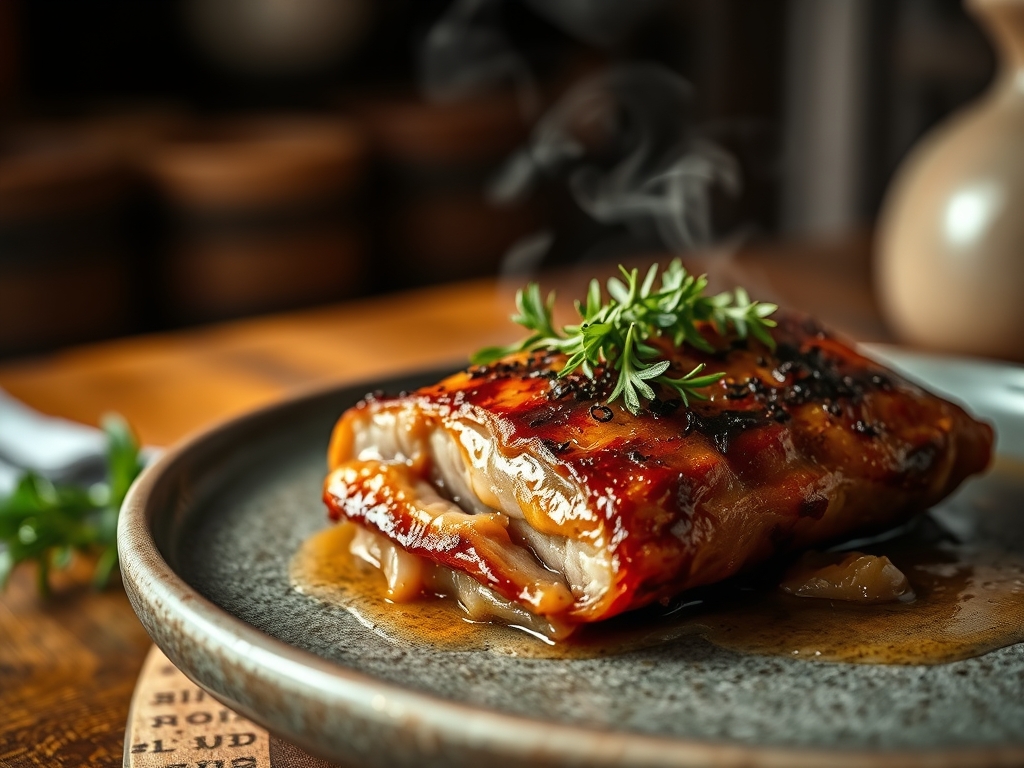
Listen closely because the sound of a cold slab of fat hitting a screaming hot cast iron surface is the symphony of a successful kitchen. We are not just cooking; we are conducting a high stakes architectural project where the objective is structural integrity and flavor density. Pork Belly Searing is the foundational phase of this operation. It is the violent, necessary process of the Maillard reaction where amino acids and reducing sugars transform into a complex crust of savory gold. If you miss the sear, you miss the soul of the pig. We are looking for that specific moment where the subcutaneous fat begins to render and the skin transitions from elastic to brittle. This is visceral chemistry. Your kitchen should smell like a woodshop in a caramel factory. We are building a contrast between the crunch of the exterior and the melt in your mouth interior that defines the pinnacle of porcine preparation. Strap in because we are about to audit your technique from the cellular level up.
THE DATA MATRIX
| Metric | Specification |
|---|---|
| Prep Time | 20 Minutes |
| Execution Time | 90 Minutes |
| Yield | 4 Servings |
| Complexity (1-10) | 7 |
| Estimated Cost per Serving | $6.50 |
THE GATHERS
Ingredient Protocol:
- Pork Belly (Skin-On): 1 kg / 2.2 lbs
- Kosher Salt: 30g / 2 tbsp
- Five Spice Powder: 5g / 1 tsp
- Shaoxing Rice Wine: 60ml / 1/4 cup
- Light Soy Sauce: 30ml / 2 tbsp
- Dark Soy Sauce: 15ml / 1 tbsp
- Rock Sugar: 40g / 1.4 oz
- Star Anise: 3 units
- Ginger (Sliced): 50g / 1.7 oz
- Neutral Oil (Grapeseed): 30ml / 2 tbsp
Section A: Ingredient Quality Audit:
If your pork belly arrives with a wet, tacky surface, your Maillard reaction is DOA. Moisture is the enemy of the sear. To fix this, use a bench scraper to remove any surface impurities and pat the protein dry with lint free towels. If the fat to lean ratio is skewed too heavily toward the lean, the meat will toughen before the fat can render. In this case, reduce your initial searing heat slightly to allow for a slower fat breakdown. If your rock sugar is too large to dissolve, use a mortar and pestle to break it down; this ensures it will infuse the braising liquid evenly rather than creating hot spots of burnt sugar on the pan floor.
THE MASTERCLASS
Step 1: Surface Preparation and Scoring
Begin by using a sharp utility knife to score the skin in a crosshatch pattern. Do not cut into the meat. Use your digital scale to measure out the salt and rub it aggressively into the scores. This draws out moisture through osmosis, ensuring a crisper finish.
Pro Tip: Scoring increases the surface area for heat distribution. This allows the fat to render more efficiently, preventing the skin from curling as the proteins contract under thermal stress.
Step 2: The Initial Sear
Place your heavy bottomed skillet or saucier over medium high heat. Add the neutral oil. Once the oil reaches its shimmer point, place the pork skin side down. Press firmly with a weight to ensure total surface contact.
Pro Tip: Use a heavy press to prevent "cupping." Uniform contact ensures that the heat transfer is conductive rather than convective, leading to a perfectly even Pork Belly Searing result across the entire slab.
Step 3: Aromatics and Deglazing
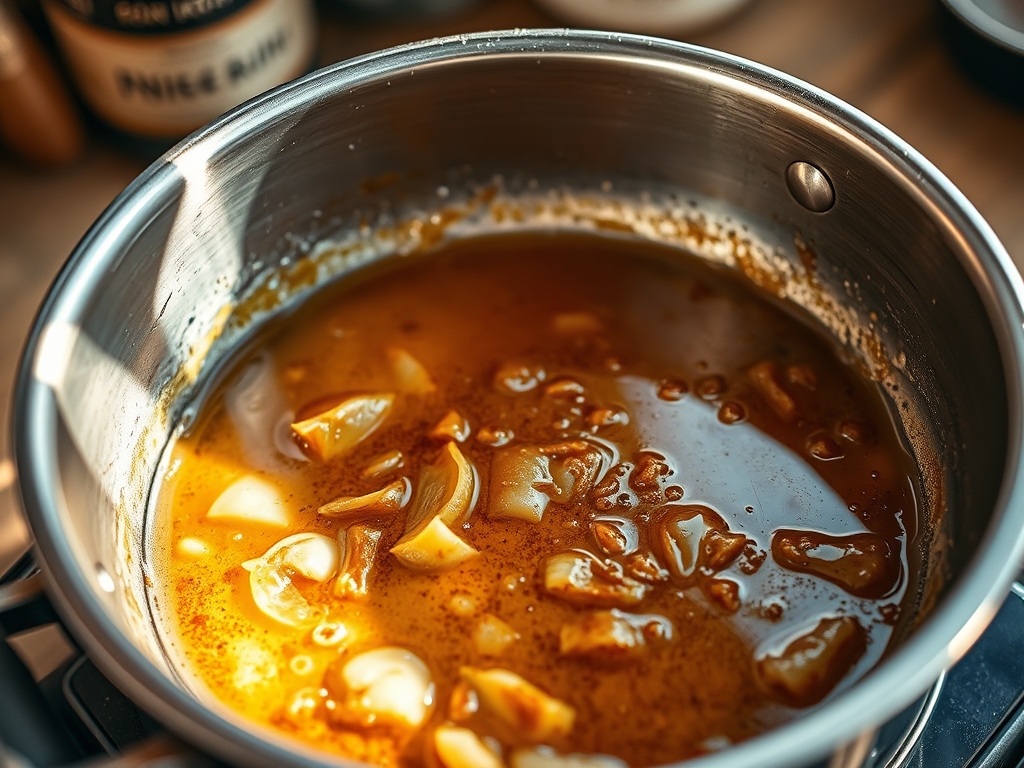
Once the skin is golden and crisp, flip the pork. Toss in the ginger and star anise. Allow them to toast in the rendered fat until fragrant. Pour in the Shaoxing wine to deglaze the pan, scraping up any fond stuck to the bottom.
Pro Tip: Deglazing captures the concentrated flavor molecules created during the sear. These particles are packed with umami and will infuse the final sauce with a deep, savory complexity.
Step 4: The Low and Slow Braise
Add the soy sauces and rock sugar. Pour in enough water to reach halfway up the pork. Lower the heat to a simmer and cover. This transition from dry heat to wet heat breaks down the collagen without sacrificing the crust you just built.
Pro Tip: Use a digital thermometer to monitor the internal temperature. You are looking for 90C (195F) for that specific texture where the connective tissue has fully gelatinized into a viscous nectar.
Section B: Prep & Timing Fault-Lines:
The most common human error is impatience during the rendering phase. If you flip the meat too early, the skin will be rubbery. If your pan temperature drops because you overcrowded the surface, the meat will steam instead of sear. Use a laser thermometer to ensure the pan surface is at least 200C (400F) before the pork makes contact. If you find the liquid reducing too quickly, your simmer is too aggressive; lower the flame immediately to prevent the sugars from scorching and becoming bitter.
THE VISUAL SPECTRUM
Section C: Thermal & Visual Troubleshooting:
Referencing the Masterclass photo, the ideal sear should exhibit a deep mahogany hue with visible bubbling on the skin surface. If your pork looks pale or grey, your heat was insufficient. If the edges are black while the center is tan, your pan is warped or your heat source is uneven. To fix a dull color, increase the sugar content in the final glaze and aerate the sauce by whisking it vigorously before serving. If the texture is tough, you likely skipped the resting phase. Resting allows the internal juices to redistribute, ensuring the meat remains succulent rather than dry.
THE DEEP DIVE
Macro Nutrition Profile: This dish is a powerhouse of fats and proteins. Per serving, expect approximately 45g of fat, 25g of protein, and 12g of carbohydrates (primarily from the sugar glaze). It is calorie dense and designed for satiety.
Dietary Swaps: For a Keto version, replace the rock sugar with an erythritol based sweetener and use coconut aminos instead of soy. For a Gluten Free version, ensure your soy sauce is certified GF (Tamari). A vegan "belly" can be simulated using pressed tofu layered with king oyster mushroom caps, though the rendering physics will differ significantly.
Meal Prep & Reheating Science: To maintain molecular structure when reheating, avoid the microwave. The microwave agitates water molecules, which can turn the fat flabby. Instead, use an air fryer or a hot oven at 200C (400F) for 8 minutes. This re-activates the crispness of the skin while gently warming the interior fat.
THE KITCHEN TABLE
Why is my pork skin still chewy?
You likely did not score the skin deeply enough or provide enough time for the fat to render. Ensure the skin is bone dry before it hits the pan to allow for immediate moisture evaporation and crisping.
Can I use white sugar instead of rock sugar?
Yes, but rock sugar provides a more translucent, glossy sheen to the final glaze. If using white sugar, reduce the quantity by 10 percent as it dissolves faster and can become overly sweet very quickly.
What is the best pan for Pork Belly Searing?
Cast iron or heavy gauge stainless steel is mandatory. These materials have high thermal mass, meaning they won't drop in temperature when the cold meat is added, ensuring a consistent and violent sear.
How do I prevent the sauce from being too salty?
Always use low sodium soy sauce if you plan on a long reduction. As the water evaporates, the salt concentration increases. You can always add salt at the end, but you cannot remove it once it is concentrated.

