
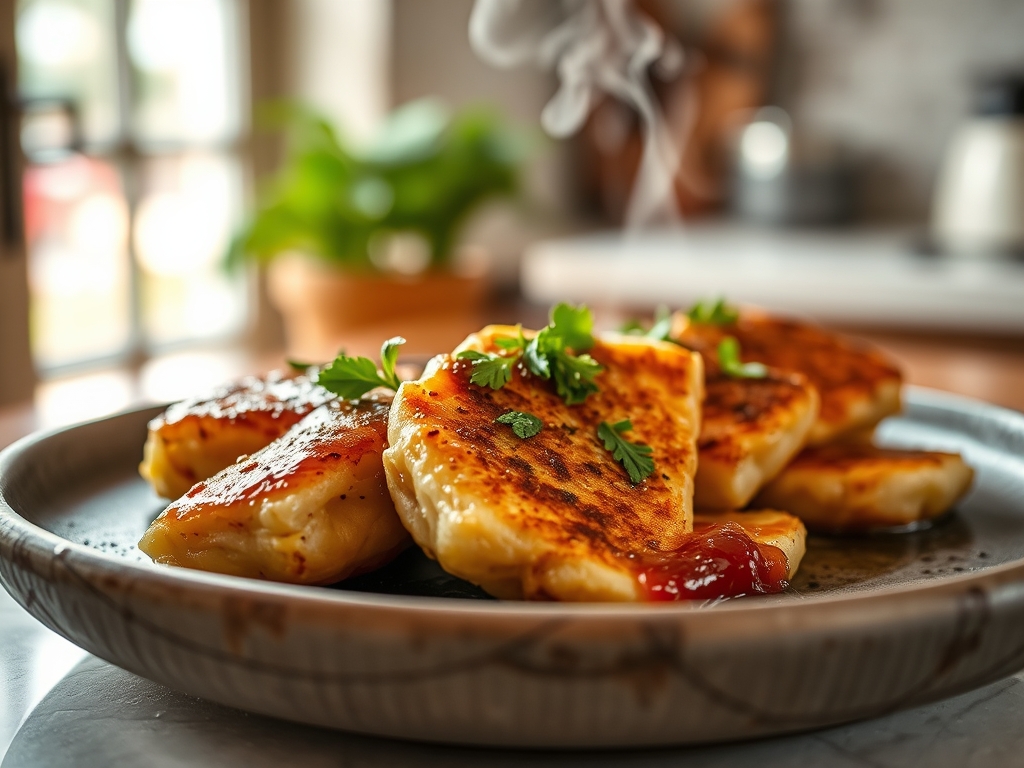
The scent of caramelizing lactose and toasted wheat is the siren song of a high-output kitchen. When you are moving from Griddle to Warmer, you are not just flipping pancakes; you are managing a high-speed assembly line where the margin for error is measured in microns. Crepes are the ultimate test of a chef's ability to balance thermal inertia with delicate structural integrity. We are talking about a batter that must be thin enough to flow like silk but resilient enough to withstand the intense heat of a seasoned cast iron surface. The transition from the searing direct heat of the burner to the humid, controlled environment of a thermal cabinet is where most operations fail. If your moisture management is off, you end up with a stack of gummy, translucent discs instead of the golden, lacy masterpieces your brand promises. This is culinary infrastructure at its most volatile. Strap in, because we are about to audit your workflow from the initial whisk to the final holding tray.
THE DATA MATRIX
| Metric | Specification |
|---|---|
| Prep Time | 15 Minutes (Active) + 60 Minutes (Hydration) |
| Execution Time | 90 Seconds per Unit |
| Yield | 24 – 30 Standard Crepes |
| Complexity (1-10) | 7 (Requires high thermal dexterity) |
| Estimated Cost per Serving | $0.22 – $0.35 USD |
THE GATHERS
Ingredient Protocol:
- 500ml / 2 cups Whole Milk (Room Temperature)
- 4 Large Eggs / 200g (Whisked)
- 250g / 2 cups All-Purpose Flour (Sifted)
- 45g / 3 tbsp Unsalted Butter (Melted and cooled)
- 2g / 0.5 tsp Fine Sea Salt
- 15g / 1.25 tbsp Granulated Sugar (Optional for sweet applications)
- 5ml / 1 tsp Pure Vanilla Extract
Section A: Ingredient Quality Audit:
If your batter feels overly viscous, your flour likely has a high protein content that is over-developing gluten. Counteract this by adding a splash of water or milk to reach a "heavy cream" consistency. If the crepes are tearing upon the flip, your egg-to-flour ratio is likely skewed, or your milk is too cold, causing the melted butter to seize into tiny beads. Always ensure your dairy and eggs are at ambient temperature to maintain a perfect emulsification. For a dull flavor profile, check your salt; it is the primary catalyst that allows the butter's nutty notes to infuse the flour.
THE MASTERCLASS
1. The Hydration Phase
Place your sifted flour and salt into a large saucier or mixing bowl. Gradually whisk in the liquids to avoid "flour pockets." Once smooth, let the batter rest for at least one hour.
Pro Tip: Resting allows the starch granules to fully hydrate and the gluten to relax. This science ensures a tender crumb rather than a rubbery texture. Use a digital scale for the flour to ensure 100% accuracy; volume measurements are the enemy of consistency.
2. Calibrating the Thermal Surface
Heat your crepe pan or seasoned griddle to exactly 375 degrees Fahrenheit. Use an infrared thermometer to verify that there are no cold spots across the metal.
Pro Tip: A light coating of clarified butter (ghee) is superior to standard butter because the milk solids have been rendered out. This prevents the "black speck" burnt butter look and allows for a higher smoke point during the Griddle to Warmer transition.
3. The Kinetic Pour and Swirl
Lift the pan and pour approximately 60ml (1/4 cup) of batter into the center. Immediately use a wrist-flick motion to coat the entire surface in a thin, even layer.
Pro Tip: Speed is the variable here. If the batter sets before you finish the swirl, your pan is too hot. Use a bench scraper to clean any drips off the edge of the pan instantly to maintain a professional, circular aesthetic.
4. The Flip and Set
Wait for the edges to crisp and lift slightly. Use a thin offset spatula to peek underneath. When you see a "leopard spot" pattern of browning, flip the crepe and cook the second side for only 20 seconds.
Pro Tip: The second side will never be as beautiful as the first; this is known as the "public side" versus the "private side." The rapid browning is a result of the Maillard reaction, which creates the complex, toasted flavors essential for a premium product.
5. Transition to Thermal Maintenance
Slide the finished crepe onto a parchment-lined tray and immediately place it into a warming cabinet set to 140 degrees Fahrenheit with 20% humidity.
Pro Tip: If you lack a humidity-controlled warmer, stack the crepes between sheets of wax paper and cover the stack with a damp (not wet) clean kitchen towel. This prevents the edges from becoming brittle and ensures the crepes remain pliable for folding or rolling.
Section B: Prep & Timing Fault-Lines:
The most common failure in the Griddle to Warmer pipeline is "stacking heat." If you stack crepes directly from the pan without a 5-second "steam-off" period, the residual heat will continue to cook the center of the stack. This leads to a fused block of dough. Another timing error is the "cold batter shock." If you pull batter straight from the fridge and drop it onto a hot griddle, the temperature of the metal will plummet, leading to sticking and uneven browning.
THE VISUAL SPECTRUM
Section C: Thermal & Visual Troubleshooting:
Look at the Masterclass photo above. Notice the delicate, lace-like edges and the even, golden-brown distribution. If your crepes look "blotchy" or have large white patches, your pan was not properly seasoned or the butter was not distributed evenly. If the color is a dull, greyish tan, you likely skipped the sugar or your pan temperature was too low to initiate the Maillard reaction. For crepes that appear translucent or "wet," increase your flour ratio slightly or extend the cooking time on the first side. The goal is a matte finish with vibrant, toasted highlights.
THE DEEP DIVE
Macro Nutrition Profile:
A standard crepe (approx. 60g) contains roughly 120 calories, 4g of protein, 14g of carbohydrates, and 6g of fat. While not a protein powerhouse on its own, its structural integrity makes it the perfect vessel for high-protein fillings like smoked salmon or Greek yogurt.
Dietary Swaps:
- Vegan: Substitute milk with oat milk (for its natural sugars) and eggs with a commercial starch-based replacer. Use coconut oil instead of butter.
- Gluten-Free: Use a blend of rice flour and tapioca starch. Note that GF batters require a longer rest (2 hours) to prevent a gritty mouthfeel.
- Keto: Utilize almond flour and heavy cream with an extra egg to provide the necessary structural "lift."
Meal Prep & Reheating Science:
To maintain molecular structure during reheating, avoid the microwave. The microwave agitates water molecules, leading to a "steamed" and rubbery texture. Instead, reheat in a dry pan over medium heat for 30 seconds per side. This re-crisps the exterior fats while gently warming the interior starches.
THE KITCHEN TABLE
Why do my crepes always tear on the first flip?
Usually, this is a sign of undercooking or a lack of structural protein. Ensure the edges are completely dry and "lacy" before attempting the flip. If the problem persists, add one extra egg yolk to your batter for increased binding.
Can I make the batter in a blender?
Absolutely. Using a blender helps aerate the mixture and breaks down flour clumps instantly. However, you must let the batter rest longer to allow the air bubbles to escape, otherwise, your crepes will have unwanted "pockmarks."
How long can I hold crepes in a warmer?
In a professional-grade thermal cabinet, crepes will maintain their integrity for about 60 to 90 minutes. Beyond that, the edges will begin to dehydrate and the centers may become overly soft due to starch retrogradation.
What is the best way to store leftovers?
Cool them completely in a single layer before stacking. Wrap the stack tightly in plastic wrap and refrigerate for up to three days. For long-term storage, they freeze beautifully for up to two months if layered with parchment paper.

