
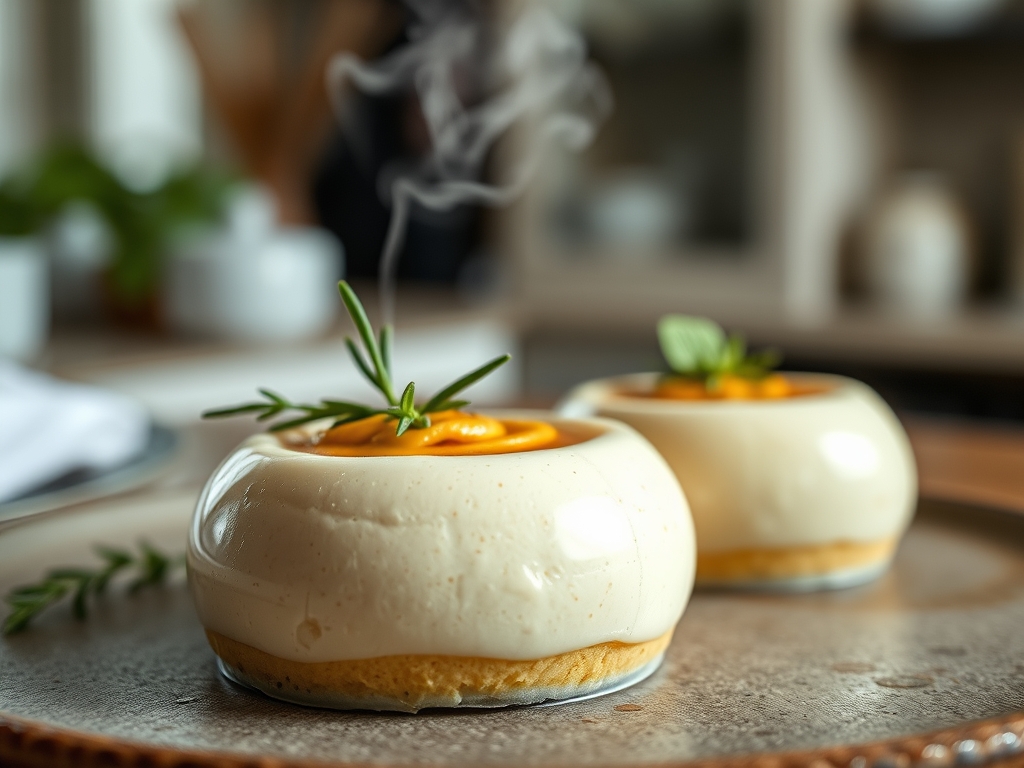
Welcome to the high stakes theater of molecular structural integrity. We are not merely making dessert; we are engineering a phase transition that defies the standard laws of pastry physics. The Baked to Frozen Mousse is a culinary paradox that requires the precision of a Swiss watchmaker and the soul of a Parisian patissier. Imagine a substrate that enters the oven as a delicate, aerated cloud of lipid-bound proteins, undergoes a rapid thermal expansion to set its crumb, and is then plunged into sub-zero temperatures without sacrificing its ethereal lightness. This is the ultimate stress test for gas phase stability. When executed correctly, the result is a texture that shatters like a crisp meringue on the exterior while maintaining a dense, velvet-smooth interior that melts at exactly 37 degrees Celsius. We are manipulating the delicate balance of air cell distribution to ensure that the structural walls do not collapse during the transition from heat to cold. Prepare your workstation; we are about to render the impossible edible.
THE DATA MATRIX
| Metric | Specification |
|---|---|
| Prep Time | 45 Minutes |
| Execution Time | 4 Hours (including thermal stabilization) |
| Yield | 8 Individual Ramekins |
| Complexity (1-10) | 8.5 |
| Estimated Cost per Serving | $2.75 |
THE GATHERS
Ingredient Protocol:
- 250g / 9oz High-Quality Dark Chocolate (70% Cacao)
- 125g / 4.5oz Unsalted Grass-Fed Butter
- 5 Large Egg Yolks (Room Temperature)
- 180ml / 0.75 cup Egg Whites (Approximately 6 large whites)
- 100g / 0.5 cup Superfine Caster Sugar
- 5ml / 1 tsp Pure Vanilla Bean Paste
- 2g / 0.25 tsp Cream of Tartar
- 1g / 0.125 tsp Flaked Sea Salt
Section A: Ingredient Quality Audit:
If your chocolate lacks a distinct snap when broken at room temperature, the cocoa butter content is likely unstable or poorly tempered. This will lead to a viscous mess that fails to emulsify with the fats. To fix this, add 5g of cocoa butter or high-quality coconut oil during the melting phase to restore the lipid profile. If your egg whites are "watery" and fail to hold a peak, they are likely too old or have been exposed to humidity. Introduce a pinch of cream of tartar earlier in the whipping process to stabilize the protein lattice. Never use carton egg whites for this application; the pasteurization process denatures the proteins required for maximum aeration.
THE MASTERCLASS
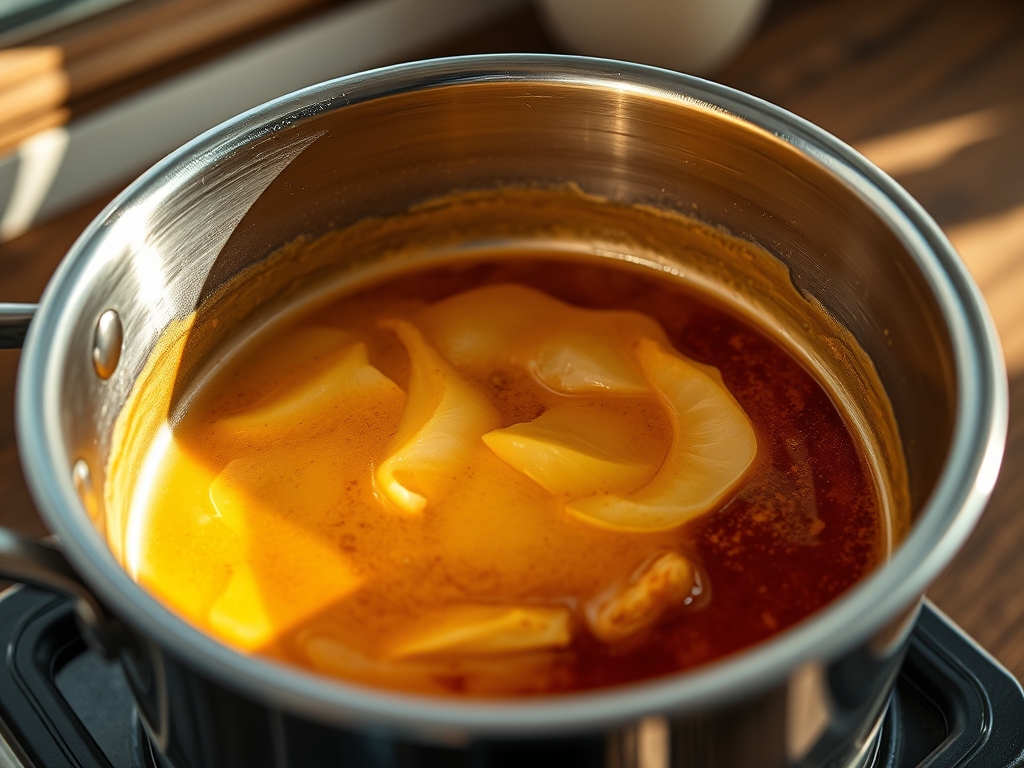
1. Lipid-Cacao Emulsification
Utilize a heavy-bottomed saucier to create a bain-marie. Melt the dark chocolate and butter together until the mixture is glossy and perfectly homogenous. Remove from heat and whisk in the egg yolks one by one using a digital scale to ensure precise weight distribution if scaling the recipe.
Pro Tip: This stage creates the primary emulsion. The lecithin in the egg yolks acts as a bridge between the water-based proteins and the fats. If the mixture breaks, add one teaspoon of warm water and whisk vigorously to re-establish the bond.
2. Kinetic Protein Expansion
In a stainless steel bowl, whip the egg whites with the cream of tartar. Gradually rain in the caster sugar until you achieve stiff, glossy peaks. The goal is to aerate the whites until they have the structural integrity of a soft marshmallow.
Pro Tip: Use a copper bowl if available; the ions react with the egg proteins to create a more flexible and stable foam that is less likely to over-beat or "grain."
3. The Folding Protocol
Using a silicone bench scraper or a large spatula, fold one-third of the whites into the chocolate base to lighten the density. Gently fold in the remaining whites, being careful not to deflate the trapped gas bubbles. This is where you infuse the heavy base with the lightness required for the bake.
Pro Tip: The "J-fold" technique is essential here. Cut through the center, scrape the bottom, and turn the bowl. This ensures no pockets of heavy chocolate remain at the base of the vessel.
4. Thermal Setting
Divide the mixture into ramekins and bake at 175C / 350F for exactly 12 minutes. The exterior should rise and set, while the interior remains wobbly. This creates the "Baked" component of the Baked to Frozen Mousse.
Pro Tip: Use an oven thermometer to verify the internal temperature. A 5-degree variance can be the difference between a soufflé and a brownie.
5. Cryogenic Stabilization
Remove from the oven and allow to reach room temperature for 20 minutes. Immediately transfer to a flash freezer or the coldest part of your refrigerator for at least 3 hours. The rapid cooling traps the air cells in their expanded state.
Pro Tip: Covering the ramekins with airtight film prevents ice crystal formation on the surface, which would otherwise ruin the piquant contrast of the textures.
Section B: Prep & Timing Fault-Lines:
The most common failure point is the "thermal shock collapse." If the mousse is moved from the oven to the freezer too quickly without the 20-minute room temperature buffer, the steam inside the air cells will condense instantly, causing the center to crater. Conversely, waiting too long allows the delicate protein structure to sag. Use a digital timer to manage these critical windows. If your mousse feels "rubbery," you likely over-mixed the whites, destroying the delicate gas pockets.
THE VISUAL SPECTRUM
Section C: Thermal & Visual Troubleshooting:
Observe the Masterclass photo: Note the "cracked earth" aesthetic on the top surface. This is a sign of perfect Maillard reaction and moisture evaporation. If your top is smooth and shiny, you likely didn't use enough sugar or the oven was too cool. If the color is pale, you didn't render the sugars sufficiently; increase the heat by 10 degrees for the final two minutes. If the mousse has pulled away significantly from the sides of the ramekin, it is over-baked and will be dry once frozen. The ideal visual cue is a slight "crown" that holds its shape even after the temperature drops.
THE DEEP DIVE
Macro Nutrition Profile:
Each serving contains approximately 320 calories, 22g of fat, 28g of carbohydrates, and 6g of protein. The high fat content is necessary to prevent the mousse from turning into a solid block of ice; the lipids act as an anti-freeze.
Dietary Swaps:
- Vegan: Replace egg whites with aquafaba (chickpea brine) and use a high-quality vegan butter substitute. Note that aquafaba requires a longer whipping time to achieve the same stability.
- Keto: Substitute caster sugar with powdered erythritol or monk fruit sweetener. Ensure the chocolate is at least 85% cacao to minimize net carbs.
- GF: This recipe is naturally gluten-free as it relies on protein structures rather than flour for lift.
Meal Prep & Reheating Science:
These can be stored in the freezer for up to 7 days. To serve, let them sit at room temperature for 10 minutes. Do not reheat; the goal is to experience the "frozen" phase which provides a unique mouthfeel that mimics a dense gelato but with the lightness of air.
THE KITCHEN TABLE
Why did my mousse deflate in the freezer?
You likely over-folded the batter, losing the essential air bubbles. Without those gas pockets, the structure lacks the internal pressure to hold its shape during the cooling contraction.
Can I use milk chocolate instead?
Milk chocolate has a lower cocoa mass and higher sugar content; this alters the freezing point. It will likely remain too soft and won't achieve the "shatter" effect on the crust.
My mousse is grainy. What happened?
The chocolate was likely overheated during the melting phase, causing the solids to separate from the fat. Always melt chocolate over indirect heat and never exceed 50C / 122F.
How do I get that perfect cracked top?
The "cracked" look comes from the rapid expansion of air against a setting surface. Ensure your oven is fully preheated before the ramekins enter to trigger that immediate thermal lift.

