
Listen closely because the physics of your dessert hinge on a single, uncompromising transition: the journey from Melt to Tempered Cocoa. If you have ever snapped a professional chocolate bar and heard that crisp, percussive ring, you have witnessed the triumph of Type V beta crystals. If you have ever handled a dull, tacky mess that melts against your thumb at room temperature, you have witnessed a structural failure. We are not just melting candy here; we are performing a high-stakes molecular alignment. Cocoa butter is a polymorphic fat, meaning it can solidify into six different crystalline shapes, but only one of them offers the gloss and snap required for elite confectionery. This audit is your roadmap through the thermal minefield. We will navigate the precise cooling curves and shear forces necessary to lock those lipids into a rigid, beautiful lattice. Put down the microwave bowl and step away from the moisture. We are entering the realm of precision thermodynamics where every degree Celsius determines whether your creation is a masterpiece or a smudge.
THE DATA MATRIX
| Metric | Specification |
|---|---|
| Prep Time | 15 Minutes |
| Execution Time | 45 Minutes |
| Yield | 500g Finished Temper |
| Complexity (1-10) | 8 |
| Estimated Cost per Serving | $1.45 |
THE GATHERS
Ingredient Protocol:
- 500g / 17.6 oz High-Quality Couverture Chocolate (Minimum 60% Cocoa Solids)
- 2g / 0.5 tsp Mycryo Cocoa Butter (Optional Seeding Agent)
- 10ml / 2 tsp Neutral Oil (Only for specific thinning applications)
Section A: Ingredient Quality Audit:
The most common failure point in the Melt to Tempered Cocoa process is the use of "compound" chocolate. If your package lists vegetable fats like palm or soy oil instead of pure cocoa butter, the molecular audit ends before it begins. Compound chocolate does not temper; it merely sets. To fix a low-fluidity chocolate that feels too viscous when melted, do not add water. Water is the enemy that causes immediate seizing. Instead, infuse the mixture with a small amount of pure cocoa butter or high-quality neutral oil to render the texture more workable. If your raw chocolate shows "fat bloom" (white streaks), do not panic. This is merely a sign of previous temperature abuse and will be corrected once we reset the crystal structure during the melt phase.
THE MASTERCLASS
1. The Thermal Deconstruction
Begin by finely chopping your chocolate with a heavy chef knife to ensure even heat distribution. Place two-thirds of the chocolate into a stainless steel saucier set over a water bath (bain-marie). Ensure the bottom of the bowl does not touch the water. Heat the chocolate until it reaches 45C to 50C (113F to 122F) for dark chocolate. This temperature is critical because it completely melts all existing fat crystals, providing a "blank slate" for the new structure.
Pro Tip: Use a high-accuracy digital thermometer rather than a dial version. The science of Melt to Tempered Cocoa relies on single-degree precision; a dial thermometer is too sluggish to capture the rapid fluctuations of lipid movement.
2. The Seeding Phase
Remove the bowl from the heat and wipe the bottom to prevent any stray water droplets from entering the chocolate. Gradually add the remaining one-third of un-melted chocolate "seeds" into the viscous liquid. Stir constantly with a flexible silicone spatula. This process introduces stable Type V crystals into the liquid, which act as a template for the rest of the cocoa butter to follow as it cools.
Pro Tip: Constant agitation is mandatory. The shear force created by stirring helps distribute the crystals evenly and prevents the formation of unstable, grainy structures that ruin the final snap.
3. The Cooling Curve
Continue stirring until the temperature drops to 27C (81F). At this point, the chocolate will appear thicker and slightly less glossy. This is the "pre-crystallization" stage. To finish the process, briefly place the bowl back over the warm water for 5 to 10 seconds, bringing the temperature back up to a working range of 31C to 32C (88F to 90F). Do not exceed 33C, or you will destroy the crystals you just spent twenty minutes cultivating.
Pro Tip: Use a stainless steel bench scraper on a marble slab if you want to perform the "tabling" method. This professional technique accelerates cooling by maximizing surface area contact with a cold, non-porous surface.
4. The Integrity Test
Before committing your chocolate to molds, dip the tip of a clean knife into the mixture and set it aside for three minutes. If the chocolate sets with a matte-gloss finish and does not rub off on your finger, the audit is successful. If it remains tacky or shows streaks, your crystal alignment is flawed and you must restart the heating cycle.
Pro Tip: Professional kitchens often use a "cold spot" or a dedicated marble tile to test the set. If the chocolate takes longer than five minutes to harden at room temperature, your room is likely too humid or the temper has failed.
Section B: Prep & Timing Fault-Lines:
The greatest human error in chocolate work is impatience. If you rush the cooling phase by placing the bowl in the refrigerator, you will encourage the formation of unstable crystals that lead to "sugar bloom" later. Timing is also vital when using a digital scale to measure your seed chocolate. If you add too much seed, the chocolate will become too thick to pour before it reaches the target temperature. If this happens, use a heat gun on the lowest setting to gently aerate and warm the surface while stirring vigorously.
THE VISUAL SPECTRUM
Section C: Thermal & Visual Troubleshooting:
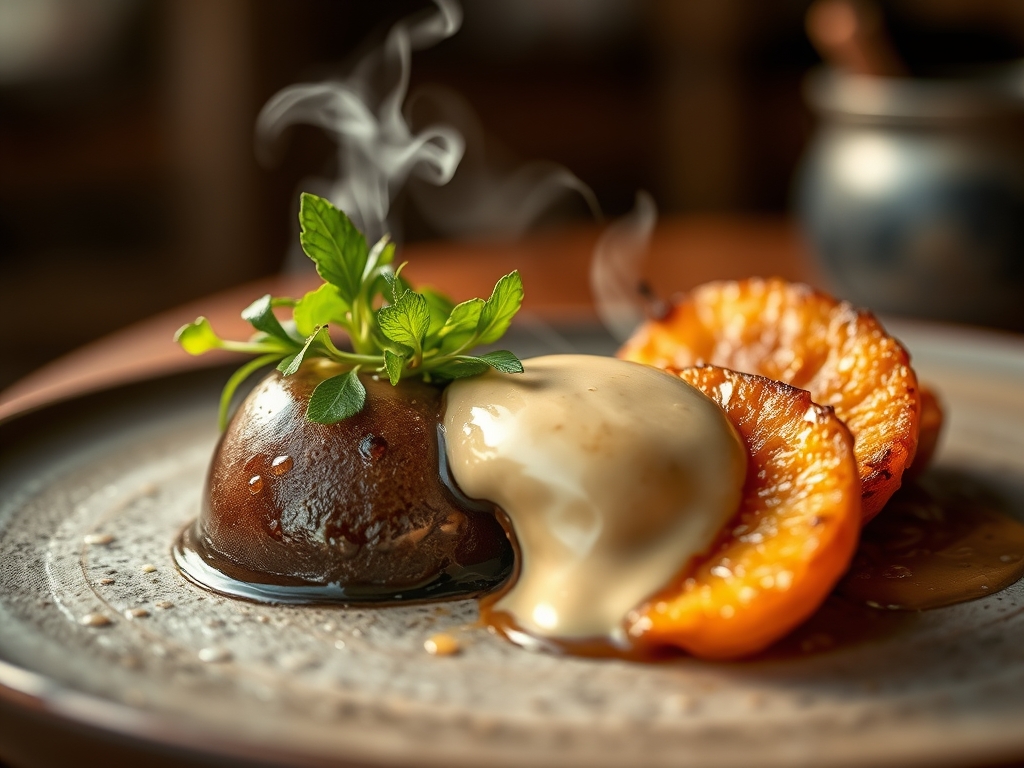
Referencing the Masterclass photo, your chocolate should exhibit a deep, uniform mahogany hue with a surface tension that reflects light sharply. If you see "swirls" or a marbled effect, this indicates that the seed chocolate did not fully incorporate or that the temperature was uneven during the stir. Dull, greyish surfaces are a sign of fat bloom, meaning the lipids have migrated to the surface because the cooling curve was too shallow. To fix a dull finish, you must re-heat the chocolate to 50C and begin the entire Melt to Tempered Cocoa cycle again. There are no shortcuts in molecular alignment.
THE DEEP DIVE
Macro Nutrition Profile:
Chocolate is a dense energy source. A standard 30g serving of 70% dark tempered cocoa contains approximately 170 calories, 12g of fat (mostly saturated stearic acid), 13g of carbohydrates, and 2g of protein. It is also a significant source of flavonoids and magnesium.
Dietary Swaps:
For a Vegan audit, ensure your couverture is free of milk solids. Most high-quality dark chocolates are naturally vegan. For Keto applications, use chocolate sweetened with erythritol or stevia, though be warned that sugar alcohols change the viscous flow of the chocolate and may require additional cocoa butter to maintain temper.
Meal Prep & Reheating Science:
Tempered chocolate is shelf-stable for months if stored at 18C (64F) in a dry environment. If you must reheat tempered chocolate for dipping, do so in 5-second bursts in a microwave or over a very dim water bath, ensuring the temperature never crosses 32C. If it crosses that threshold, the molecular structure collapses and it must be re-tempered.
THE KITCHEN TABLE
Why is my chocolate thick and grainy?
This is usually "seizing" caused by a single drop of water or steam. Moisture causes the sugar to dissolve and clump, ruining the viscous flow. You can sometimes save it by adding more fat, but it will never temper.
Can I temper chocolate without a thermometer?
It is possible but risky. Professionals use the "lip test" to feel if the chocolate is cooler than body temperature, but for a guaranteed Melt to Tempered Cocoa transition, a digital tool is non-negotiable for accuracy.
What is the best way to clean my tools?
Never use cold water. Use very hot water to melt the residual lipids and then wipe with a lint-free cloth. Any residue left on your bench scraper or saucier will interfere with the next batch's crystal formation.
Does the percentage of cocoa matter?
Absolutely. Higher percentages (70%+) have less sugar and more cocoa butter, making them more stable but also more sensitive to overheating. Milk chocolate has a lower working temperature (29C) because the milk fats interfere with the cocoa butter.
Why did my chocolate stick to the mold?
Chocolate shrinks slightly when it is properly tempered. If it sticks, it means the crystal structure did not lock correctly, or the mold was not polished. A clean, tempered set should release with a gentle tap.

