
Stop settling for the soggy, limp tragedy of a standard microwave potato. We are here to conduct a high-stakes architectural overhaul of your side dish game. The transition from Microwave to Oven is not merely a convenience; it is a strategic deployment of dielectric heating followed by intense radiant energy. We begin by vibrating water molecules at 2.45 GHz to soften the internal starch granules, then pivot to the oven to initiate a violent Maillard reaction. Imagine the sound of a serrated knife shattering a glass-like crust to reveal a cloud of steam and fluffy, aerated starch. This is the sensory peak of tuber engineering. We are hunting for that specific contrast between a structural, golden-brown exterior and a center so light it practically evaporates on the tongue. If your kitchen smells like toasted hazelnuts and earthy minerals, you have succeeded. If it smells like scorched cardboard, your calibration is off. Let us recalibrate your workflow and transform a humble root vegetable into a masterpiece of thermal dynamics.
THE DATA MATRIX
| Metric | Specification |
|---|---|
| Prep Time | 8 Minutes |
| Execution Time | 22 Minutes |
| Yield | 4 Servings |
| Complexity (1-10) | 3 |
| Estimated Cost per Serving | $0.85 USD |
THE GATHERS
Ingredient Protocol:
- 4 Large Russet Potatoes (approx. 1kg / 2.2 lbs)
- 60ml / 4 tbsp Extra Virgin Olive Oil
- 15g / 1 tbsp Flaky Sea Salt
- 5g / 1 tsp Smoked Paprika
- 3g / 0.5 tsp Freshly Cracked Black Pepper
- 30g / 2 tbsp Unsalted Butter (Chilled)
- 10g / 2 sprigs Fresh Rosemary
Section A: Ingredient Quality Audit:
The primary failure point in any Microwave to Oven workflow is the selection of a low-density tuber. If you utilize a waxy red potato, the high moisture content will result in a gummy, viscous interior rather than a fluffy one. Always audit your Russets for firmness; if they feel soft, the cellular structure has already begun to collapse. To fix sub-par, low-starch potatoes, increase the initial microwave duration by 15 percent to force more moisture evaporation before the roasting phase. If your olive oil lacks a piquant bite, it is likely oxidized. Replace it with a high-smoke-point neutral oil like grapeseed to ensure the fat does not render acrid flavors during the high-heat radiant phase.
THE MASTERCLASS
1. The Dielectric Pre-Conditioning
Scrub the tubers and pierce the skin multiple times using a fork to prevent a steam-induced structural failure. Place them on a digital scale to ensure uniformity; variance in mass leads to uneven cooking. Microwave on high for 6 to 8 minutes until the internal temperature reaches 95 degrees Celsius.
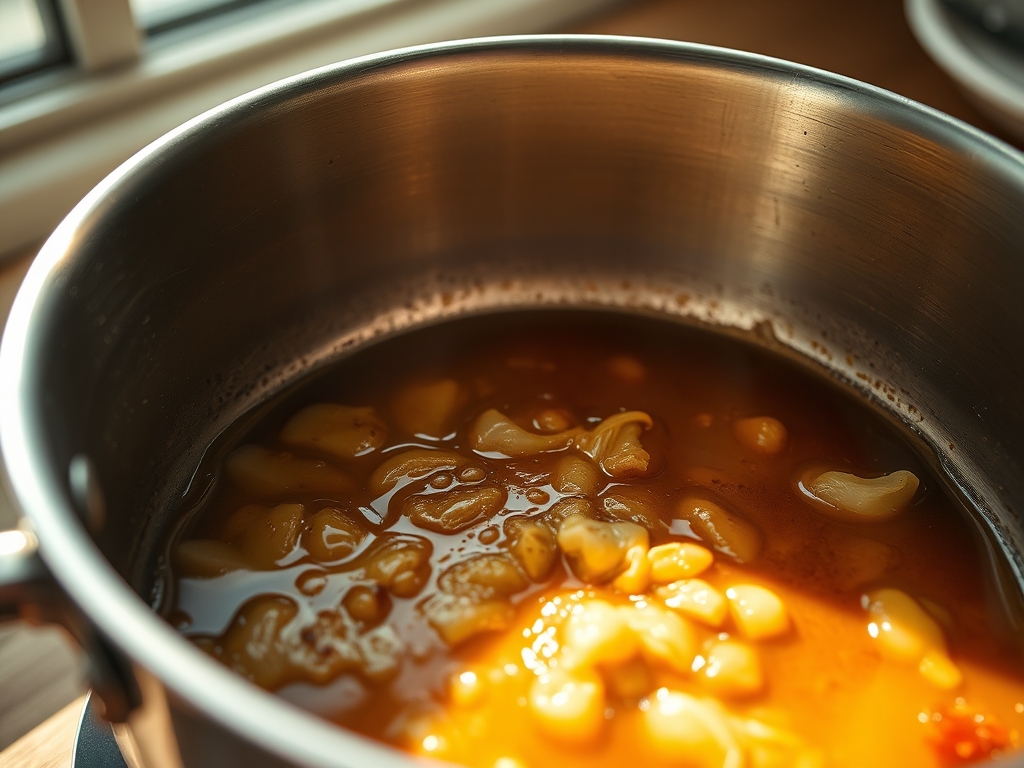
Pro Tip: This step uses dielectric heating to gelatinize starches instantly. By using a saucier to hold your seasoned oil nearby, the residual heat from the microwave stage begins to infuse the aromatics into the fat before it even touches the potato.
2. The Structural Cleave
Once the potatoes are cool enough to handle, use a bench scraper or a sharp chef knife to halve them lengthwise. The interior should be soft but hold its shape. Roughen the surface of the cut side with a fork to increase the surface area for the upcoming oil application.
Pro Tip: Increasing the surface area via "scuffing" creates microscopic ridges. These ridges are the primary sites for the Maillard reaction, ensuring a crunch that is audible across the dining room.
3. The Lipid Coating and Seasoning
Whisk your oil, salt, paprika, and pepper in a small bowl. Brush the mixture generously over every square millimeter of the potato skin and flesh. Ensure the seasoning is evenly distributed to avoid salt "hot spots" that ruin the palate balance.
Pro Tip: Using a digital scale for your salt ensures a consistent 1.5 percent salinity across the batch. This precision prevents the common error of over-seasoning which can dehydrate the potato too rapidly in the oven.
4. The Radiant Finish
Preheat your oven to 225 degrees Celsius (435 degrees Fahrenheit). Place the potatoes cut-side down on a heavy-gauge baking sheet. Roast for 15 to 20 minutes. The direct contact with the metal sheet will render the fat and fry the surface, while the ambient heat crisps the skin.
Pro Tip: A heavy-gauge sheet pan acts as a thermal battery. It prevents the temperature drop that occurs when you open the oven door, maintaining the high-energy environment required to deglaze the natural sugars on the potato surface.
5. The Emulsion Integration
Remove the pan from the oven and immediately toss in the chilled butter and rosemary. The residual heat will melt the butter, creating a temporary emulsion with the potato juices. Use a bench scraper to toss the potatoes, ensuring they are fully coated in the herb-infused lipid.
Pro Tip: Adding cold butter at the end prevents the milk solids from burning while providing a silky, luxurious mouthfeel. The rosemary will aerate its essential oils into the steam, creating a powerful aromatic finish.
Section B: Prep & Timing Fault-Lines:
The most common human error is the "Oven Gap." If you allow the potatoes to cool completely between the microwave and the oven, the starch retrogrades, becoming tough and chewy. You must move from dielectric to radiant heat within a three-minute window. If your timing is off, flash-heat the tubers in the microwave for 60 seconds to re-agitate the water molecules before they hit the roasting pan. Additionally, failing to pre-heat the baking sheet is a cardinal sin; the pan must be screaming hot to prevent sticking and ensure immediate crust formation.
THE VISUAL SPECTRUM
Section C: Thermal & Visual Troubleshooting:
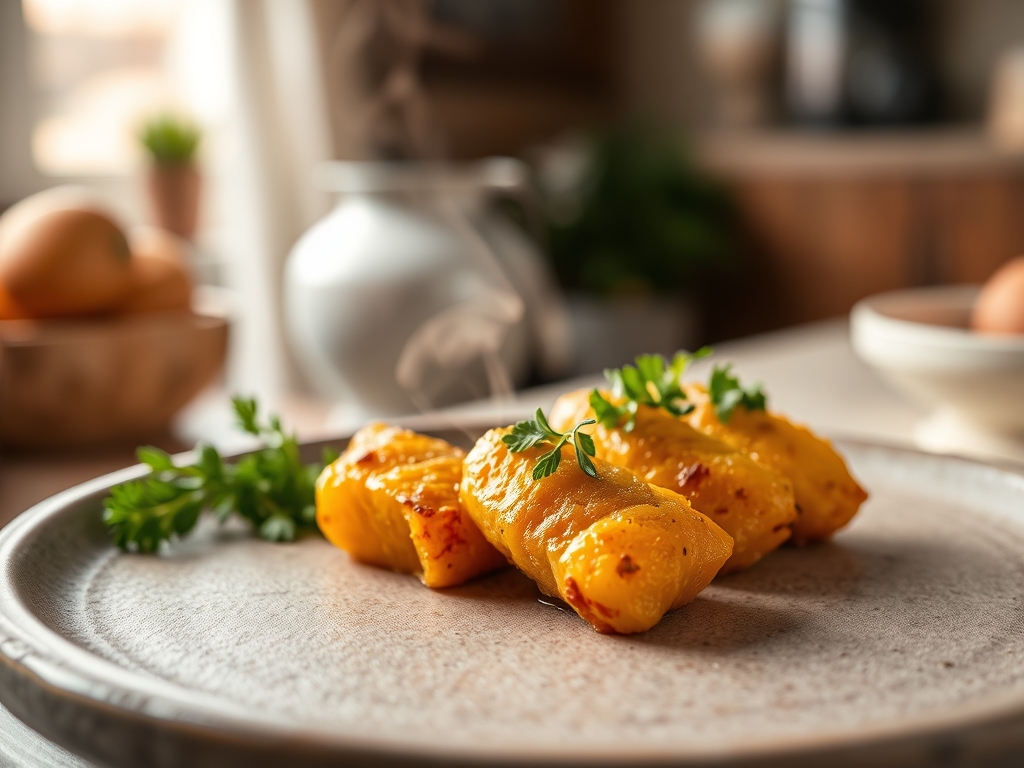
Look closely at the reference image. Note the "shatter-crisp" edges where the starch has turned a deep mahogany. If your results are pale and yellow, your oven calibration is likely low; increase the heat by 10 degrees. If the skin is shriveled but the flesh is not browned, you have used too little oil. The oil acts as a heat transfer medium; without it, the radiant energy simply dries the surface instead of frying it. Dull colors usually indicate a lack of acidity or salt; a tiny spritz of lemon juice post-roast can brighten the visual and flavor profile instantly. If you see uneven browning, rotate your pan 180 degrees halfway through the roasting cycle to account for oven hot spots.
THE DEEP DIVE
Macro Nutrition Profile:
A single serving provides approximately 280 calories, 42g of complex carbohydrates, 12g of healthy fats, and 4g of protein. The high potassium content in the skin remains intact due to the rapid cooking method, which minimizes nutrient leaching.
Dietary Swaps:
For a Vegan adaptation, swap the butter for a high-quality avocado oil or a cultured nut butter. For Keto enthusiasts, this technique works surprisingly well with radishes or rutabagas, though the microwave timing must be halved. Gluten-Free status is maintained naturally, provided your smoked paprika is not bulked with flour.
Meal Prep & Reheating Science:
To maintain molecular structure when reheating, avoid the microwave. The dielectric effect will turn the crispy crust into a rubbery mess. Instead, use an air fryer or a toaster oven at 200 degrees Celsius for 5 minutes. This re-activates the lipids and crisps the exterior without overcooking the internal starch matrix.
THE KITCHEN TABLE
Why is my potato skin tough instead of crispy?
This usually occurs when the potato is microwaved for too long without enough oil in the roasting phase. The skin dehydrates into leather. Ensure a heavy coating of oil to "fry" the skin during the radiant heat stage.
Can I use this for sweet potatoes?
Yes, but reduce the microwave time by 20 percent. Sweet potatoes have higher sugar content and will undergo the Maillard reaction much faster, risking carbonization (burning) if left in the oven too long.
What if I don't have a bench scraper?
A wide metal spatula works, but a bench scraper is superior for flipping multiple tubers at once and scraping up those delicious, caramelized starch bits that stick to the pan.
My potatoes are sticking to the pan. Help!
This is a sign of "cold pan syndrome." The proteins and sugars bond to the metal before the fat can create a barrier. Always pre-heat your pan for at least 10 minutes before adding the potatoes.

