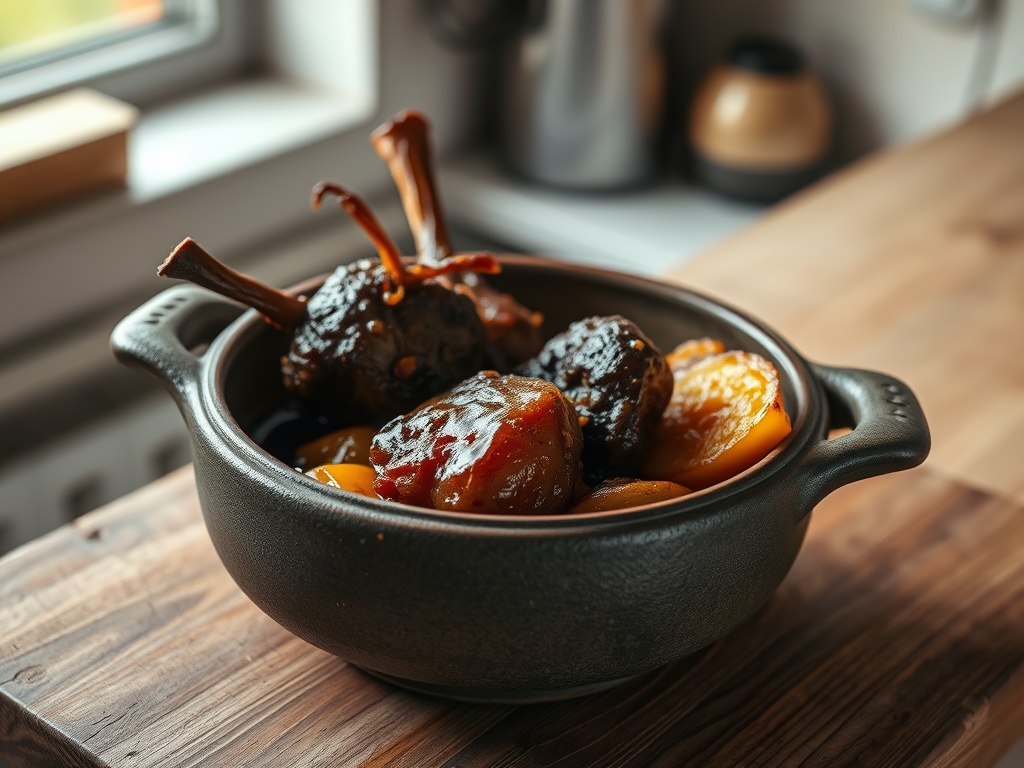
Forget everything you know about the soggy, gray meat of your childhood. We are no longer merely cooking; we are engaging in a high-stakes engineering project where the objective is the total structural collapse of connective tissue. Pot Roast Braising is not a passive activity for the lazy Sunday chef. It is a precise thermal orchestration that transforms a stubborn, collagen-dense chuck roast into a masterpiece of succulent, fork-tender perfection. We are looking for that specific moment of liquid thermal saturation where the beef ceases to be a muscle and becomes a vehicle for deep, savory satisfaction. Imagine the scent of aromatic mirepoix hitting a shimmering layer of rendered fat, the hiss of red wine as it begins to deglaze the fond, and the slow, rhythmic bubble of a heavy-bottomed vessel. This is the infrastructure of flavor. We are building a foundation of Maillard-driven complexity and finishing with a viscous, glossy sauce that clings to every fiber. Prepare your station. This is the audit of the ultimate comfort protocol.
THE DATA MATRIX
| Metric | Specification |
|---|---|
| Prep Time | 45 Minutes |
| Execution Time | 3.5 to 4 Hours |
| Yield | 6 to 8 Servings |
| Complexity | 6 / 10 |
| Estimated Cost per Serving | $4.50 – $6.00 |
THE GATHERS
Ingredient Protocol:
- 1.4 kg / 3 lbs Beef Chuck Roast (well-marbled)
- 30 ml / 2 tbsp High-smoke point oil (Grapeseed or Avocado)
- 300 g / 2 large Yellow onions, medium dice
- 200 g / 3 large Carrots, 1-inch rounds
- 150 g / 3 stalks Celery, 1-inch bias cut
- 45 g / 3 tbsp Tomato paste
- 375 ml / 1.5 cups Dry Red Wine (Cabernet or Merlot)
- 750 ml / 3 cups Beef Bone Broth (low sodium)
- 4 cloves Garlic, smashed and peeled
- 3 sprigs Fresh Thyme
- 2 sprigs Fresh Rosemary
- 2 leaves Dried Bay Laurel
- 15 g / 1 tbsp Kosher Salt (plus more for seasoning)
- 5 g / 1 tsp Freshly cracked black pepper
Section A: Ingredient Quality Audit:
If your beef lacks significant intramuscular fat (marbling), the final result will be stringy rather than succulent. To fix a lean cut, perform a lardons injection or increase your cooking liquid's fat content with a knob of butter during the final reduction. If your wine is too acidic or "corked," it will ruin the sauce profile. Always taste your deglazing liquid first. If it is unpleasant to drink, it will be catastrophic when concentrated. If your vegetables are soft or aging, they will disintegrate into mush before the beef is tender. To solve this, add a second "fresh" batch of mirepoix during the final hour of braising to maintain structural integrity and vibrant color.
THE MASTERCLASS
1. The Surface Preparation and Desiccation
Pat the beef entirely dry with paper towels. Use a digital scale to measure out your salt and pepper, then season the meat aggressively on all sides. Allow the meat to sit at room temperature for 30 minutes.
Pro Tip: Surface moisture is the enemy of the Maillard reaction. By drying the exterior, you ensure that thermal energy goes directly into browning rather than evaporating water. Use a bench scraper to keep your station clear of stray salt and pepper during this phase.
2. The High-Velocity Sear
Heat your heavy Dutch oven over medium-high heat until the oil shimmers. Sear the beef for 5 to 7 minutes per side until a deep, mahogany crust forms. Do not crowd the pan.
Pro Tip: This step creates the fond, those caramelized protein bits stuck to the bottom of the vessel. This is the primary flavor engine of your braise. Use heavy-duty stainless steel tongs to ensure a secure grip on the heavy roast.
3. The Aromatic Foundation
Remove the beef and set it aside. Reduce heat to medium and add the onions, carrots, and celery. Sauté until the onions are translucent and the edges of the carrots begin to caramelize. Stir in the tomato paste and garlic, cooking for 2 minutes until the paste turns a rusty brick color.
Pro Tip: Cooking the tomato paste (pinçage) removes its raw, metallic edge and develops a deep, savory umami base. A wooden flat-edged spatula is the best tool here to scrape the bottom of the pot.
4. The Deglazing Phase
Pour in the red wine. Use your spatula to scrape up every bit of the fond. Increase the heat to bring the liquid to a boil and reduce it by half.
Pro Tip: This process uses alcohol to dissolve flavor compounds that are not water-soluble. Reducing the wine concentrates the sugars and acids, providing a piquant counterpoint to the heavy fats.
5. Liquid Saturation and Submersion
Return the beef to the pot along with any accumulated juices. Add the bone broth until the liquid reaches halfway up the side of the meat. Add the herbs. Cover with a tight-fitting lid and transfer to a 300°F (150°C) oven.
Pro Tip: Total submersion results in boiled beef; partial submersion (braising) allows for a combination of steaming and simmering. Use a saucier to warm your broth before adding it to prevent thermal shock to the vessel.
6. The Long-Term Thermal Breakdown
Braise for 3 to 3.5 hours. Check the meat with a fork; it should yield with zero resistance. Once tender, remove the beef and herbs. Strain the liquid if you prefer a refined sauce, or leave the vegetables for a rustic presentation.
Pro Tip: The goal is to reach an internal temperature of roughly 205°F (96°C), where collagen fully converts to gelatin. A digital probe thermometer is essential for monitoring this transition without constantly opening the oven door.
Section B: Prep & Timing Fault-Lines:
The most common human error is impatience. If you pull the roast at the 2-hour mark because it "looks done," the collagen will still be tough and rubbery. It must pass the "fork-tender" test. Conversely, if your oven runs hot, the liquid may boil too vigorously, which toughens the muscle fibers. Ensure your oven is calibrated. If the liquid reduces too quickly, your sauce will become overly salty. Always keep extra low-sodium broth on hand to infuse moisture back into the pot if the levels drop below one-third of the meat's height.
THE VISUAL SPECTRUM
Section C: Thermal & Visual Troubleshooting:
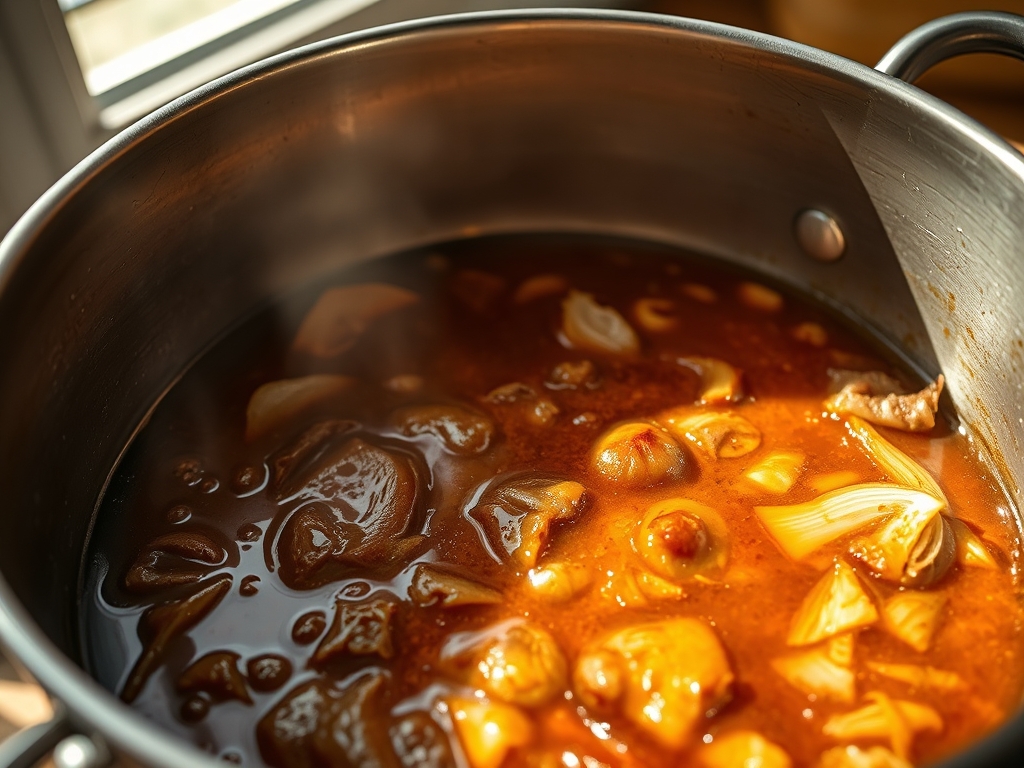
Look closely at the Masterclass photo. Notice the deep, dark exterior of the beef contrasted with the vibrant, glossy sheen of the sauce. If your roast looks pale or gray, your initial sear was insufficient; you cannot fix this after the liquid is added. If your sauce looks thin or watery, it lacks viscous body. Remove the meat and boil the liquid on the stovetop to reduce it, or whisk in a small amount of beurre manié. If the vegetables look bleached out, they have been overcooked. To maintain that "Visual Spectrum" appeal, ensure your carrots are cut into large, uniform chunks so they survive the long thermal exposure without collapsing into a puree.
THE DEEP DIVE
Macro Nutrition Profile:
A standard serving (approx. 200g) contains roughly 450 calories, 35g of protein, 28g of fat, and 12g of carbohydrates (primarily from the root vegetables). It is an excellent source of Vitamin B12, Zinc, and Selenium.
Dietary Swaps:
- Vegan: Replace beef with large heads of cauliflower or "Lion's Mane" mushrooms. Use vegetable stock and a splash of soy sauce for umami.
- Keto: Eliminate the carrots and onions; replace them with radishes or turnips. Ensure the wine is a very dry variety.
- GF: This recipe is naturally gluten-free, provided your beef broth does not contain hidden thickeners.
Meal Prep & Reheating Science:
Pot roast actually improves after 24 hours in the refrigerator. As it cools, the muscle fibers relax and soak up the surrounding sauce like a sponge. When reheating, do so slowly over low heat to avoid seizing the proteins. Avoid the microwave, as it causes uneven heating that can turn the gelatinous fats into a rubbery texture.
THE KITCHEN TABLE
How do I get a thicker sauce without flour?
Reduce the braising liquid by half on the stovetop after removing the meat. The natural gelatin released from the beef bones and connective tissue will create a rich, viscous glaze that coats a spoon beautifully.
Can I do this in a slow cooker?
Yes, but you must still perform the sear and deglaze steps in a separate pan first. Transfer the "infrastructure" to the slow cooker and cook on low for 8 hours for the best molecular breakdown.
What is the best wine for pot roast?
Choose a dry, high-tannin red like Cabernet Sauvignon or Syrah. The tannins help break down the protein fibers, while the acidity balances the richness of the rendered beef fat.
Why is my pot roast dry even though it is in liquid?
You likely overcooked it or cooked it at too high a temperature. Once the internal temp climbs too far past 210°F, the fibers squeeze out all moisture, regardless of how much liquid is in the pot.