
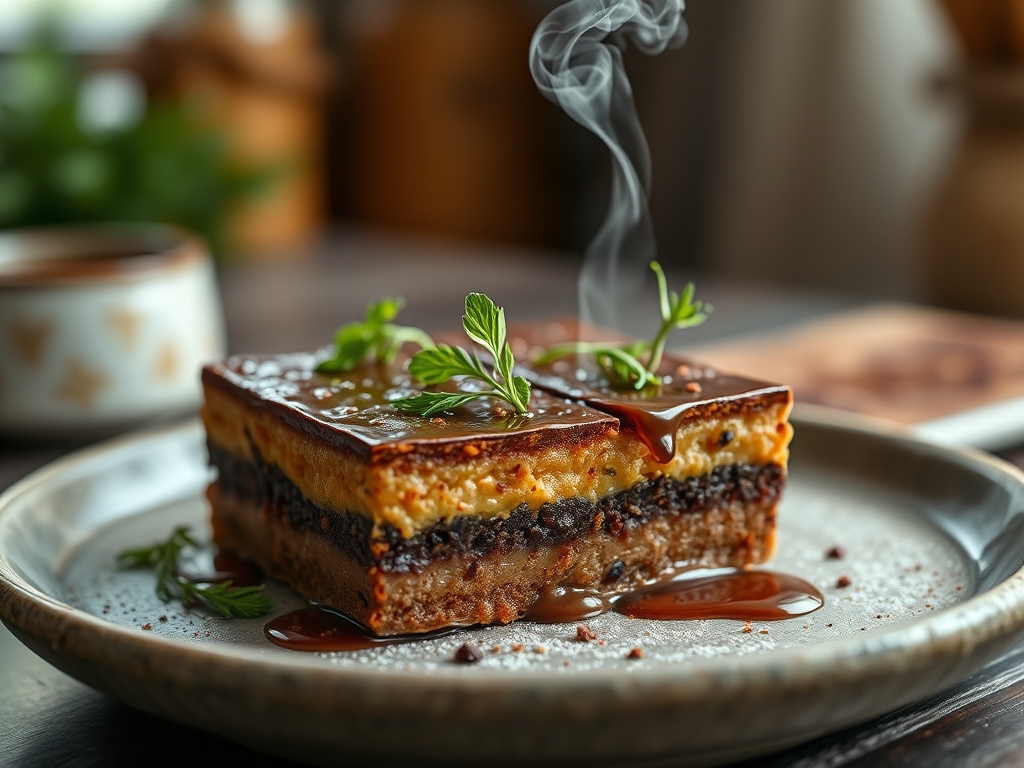
The scent of roasting legumes colliding with the dark, fermented musk of roasted cacao is not merely a kitchen aroma; it is a structural collapse of culinary resistance. We are discussing the Peanut Butter Chocolate matrix, a high-stakes engineering project where salt acts as the structural bridge between lipid-heavy pastes and crystalline sugar structures. This is the gold standard of salty-sweet confections. When you bite into a properly executed specimen, you are experiencing a controlled chemical reaction. The salt triggers the salivary glands, which in turn accelerates the breakdown of the cocoa solids, allowing the viscous peanut fats to coat the palate in a recursive loop of flavor reinforcement. We are not just making a snack here. We are auditing the very foundation of lipid cacao hybridization to ensure that every gram of fat and every grain of sugar performs at peak efficiency. Prepare your workstations; we are moving from amateur assembly to industrial-grade confectionery precision.
THE DATA MATRIX
| Metric | Specification |
|---|---|
| Prep Time | 25 Minutes |
| Execution Time | 45 Minutes |
| Yield | 24 Units |
| Complexity (1-10) | 6 |
| Estimated Cost per Serving | $0.85 |
THE GATHERS
Ingredient Protocol:
- Creamy Natural Peanut Butter: 500g / 2 cups
- Unsalted European Butter (82% Fat): 115g / 0.5 cups
- Confectioners' Sugar (Sifted): 250g / 2 cups
- Dark Chocolate Couverture (60% Cacao): 340g / 2 cups
- Maldon Sea Salt Flakes: 5g / 1 tsp
- Pure Vanilla Bean Paste: 10ml / 2 tsp
- Coconut Oil (Refined): 15ml / 1 tbsp
Section A: Ingredient Quality Audit:
The most common failure point in this protocol is the use of "stabilized" peanut butters containing palm oil or hydrogenated fillers. These additives create a waxy mouthfeel that resists the infuse process of the vanilla and salt. If your peanut butter is too stiff, microwave it in ten-second bursts to render the fats more fluid before mixing. Conversely, if your chocolate is seizing or appears dull, it is likely due to moisture contamination or "bloom." To fix a grainy chocolate texture, whisk in a teaspoon of neutral oil to re-emulsify the solids. Always ensure your butter is at exactly 21 degrees Celsius; too cold and it won't aerate, too hot and the emulsion will break into a greasy puddle.
THE MASTERCLASS
1. The Lipid Integration Phase
Place your room-temperature butter and peanut butter into the bowl of a stand mixer. Using the paddle attachment, cream the mixture on medium-high speed until the color lightens significantly. This process introduces micro-bubbles that will provide a snap to the final texture.
Pro Tip: Use a digital scale to measure by weight rather than volume. Peanut butter density varies wildly by brand; weight is the only way to ensure the ratio of salt to fat remains mathematically perfect for flavor optimization.
2. The Saccharide Stabilization
Slowly incorporate the sifted confectioners' sugar and vanilla bean paste. Switch to a lower speed to prevent a sugar cloud, then increase to medium to fully aerate the filling. The mixture should hold its shape when pressed but remain supple.
Pro Tip: Utilize a silicone spatula to scrape the bottom of the bowl frequently. Unmixed pockets of pure fat will create structural "soft spots" in your confections, leading to a catastrophic collapse during the dipping phase.
3. The Chocolate Tempering Protocol
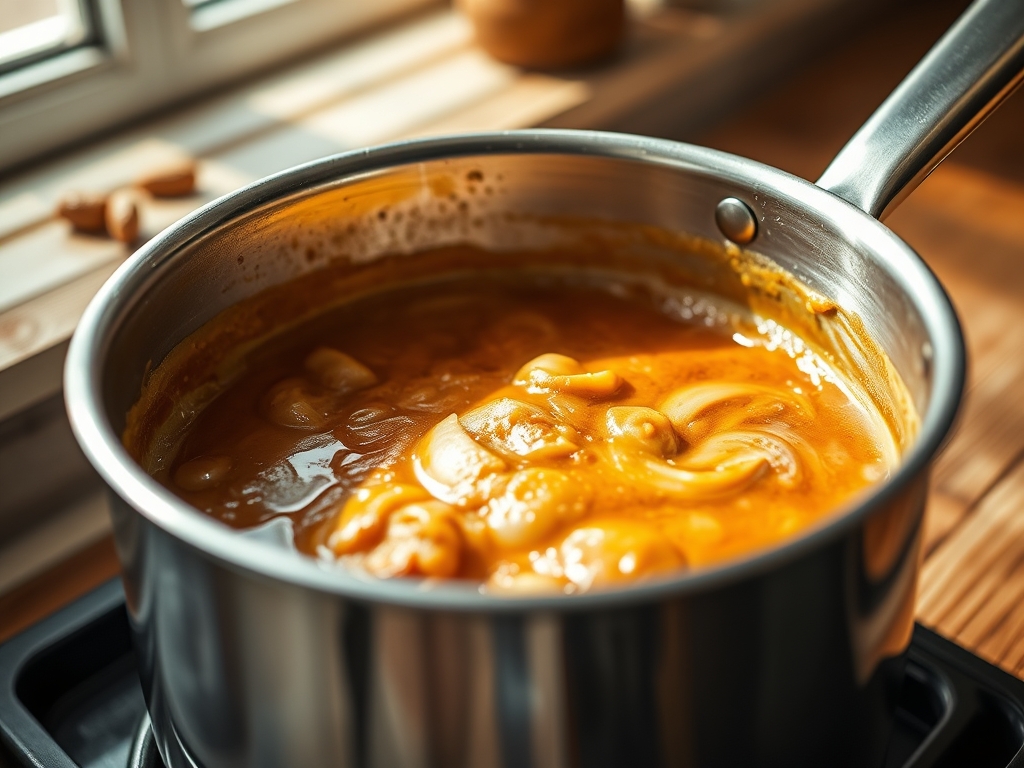
Using a saucier or a double boiler, melt two-thirds of your chocolate couverture until it reaches 45 degrees Celsius. Remove from heat and "seed" the mixture with the remaining third of the chocolate, stirring constantly until the temperature drops to 31 degrees Celsius.
Pro Tip: This is the science of Beta-V crystals. Proper tempering ensures the chocolate has a professional "snap" and a high-gloss finish. A digital infrared thermometer is your best friend here to monitor the cooling curve.
4. The Structural Assembly
Line a baking sheet with parchment paper. Using a small cookie scoop or a piping bag, portion the peanut butter mixture into uniform spheres. Chill in the freezer for 15 minutes to set the lipids before dipping them into the tempered chocolate.
Pro Tip: Use a dipping fork or a specialized chocolate tool to submerge the centers. This minimizes the surface area contact and prevents "footing," which is the unsightly pooling of chocolate at the base of the confection.
5. The Crystalline Finishing
Immediately after dipping, before the chocolate sets, sprinkle a few flakes of Maldon sea salt onto the apex of each unit. This provides a piquant counterpoint to the dense sugar profile and adds a necessary textural contrast.
Pro Tip: Use a bench scraper to clean your workspace as you go. Chocolate waits for no one; maintaining a sterile and organized environment prevents cross-contamination of textures and ensures a professional visual output.
Section B: Prep & Timing Fault-Lines:
Timing is the invisible ingredient that ruins most batches. If you leave the peanut butter centers in the freezer for too long, they will become too cold, causing the tempered chocolate to "shock" and crack as it sets. If the chocolate is too hot when dipping, it will melt the outer layer of the peanut butter, leading to a muddy, swirled appearance rather than a clean shell. Aim for a "Goldilocks zone" where the centers are firm to the touch but not frozen solid. If your chocolate begins to thicken in the bowl, use a hair dryer on a low setting to gently warm the surface and maintain the viscous flow.
THE VISUAL SPECTRUM
Section C: Thermal & Visual Troubleshooting:
Look closely at the Masterclass photo above. Notice the "satin" sheen on the chocolate; this indicates a perfect temper. If your results are matte or have white streaks, your temperature control was imprecise. The photo also shows a distinct "domed" architecture. If your confections look flat or slumped, your filling lacked the necessary sugar-to-fat ratio to maintain its vertical integrity. Another visual cue is the salt placement. It should be localized at the top, not melting into the chocolate. If the salt dissolves, your chocolate was too warm during application. To fix a dull finish, you can lightly buff the set chocolate with a lint-free cloth, though proper tempering is the only permanent solution for a professional aesthetic.
THE DEEP DIVE
Macro Nutrition Profile
Each unit delivers approximately 180 calories, with 12g of fat, 15g of carbohydrates, and 4g of protein. The high fat content provides a slow-release energy burn, while the dark cacao offers a significant dose of flavonoids and antioxidants.
Dietary Swaps
- Vegan: Replace the European butter with a high-quality cashew-based vegan butter and ensure your dark chocolate is dairy-free.
- Keto: Substitute the confectioners' sugar with a powdered erythritol/monk fruit blend and use 85% cacao chocolate.
- GF: This recipe is naturally gluten-free, but always audit your peanut butter for cross-contamination during processing.
Meal Prep & Reheating Science
These confections are molecularly stable at room temperature for up to seven days if kept in an airtight container. For long-term storage, refrigerate. To maintain the "snap" of the chocolate shell, allow them to come to room temperature for 20 minutes before consumption. Avoid reheating, as this will destroy the tempered crystal structure of the cacao and cause the peanut lipids to separate.
THE KITCHEN TABLE
Why is my peanut butter filling grainy?
This usually occurs when using low-quality sugar or failing to cream the butter sufficiently. Ensure you sift your confectioners' sugar twice to break up clumps and use a high-speed mixer to properly aerate the lipid base.
Can I use crunchy peanut butter instead?
Technically, yes; however, the irregular particulates can compromise the structural integrity of the chocolate shell. If you desire texture, it is better to fold in finely chopped roasted peanuts after the initial lipid integration phase.
My chocolate won't harden at room temperature. What happened?
The chocolate lost its temper. If the Beta-V crystals aren't formed, the fats remain unstable. You must scrape the chocolate back into the saucier, re-heat, and re-temper with fresh "seed" chocolate to fix the molecular alignment.
How do I prevent the "sweating" on the chocolate?
Sweating is caused by rapid temperature shifts. If you move the confections from a cold fridge to a humid kitchen, moisture condenses on the surface. Transition them through a cool room first to stabilize the thermal gradient.
Why does the salt fall off?
Timing is critical. You must apply the salt flakes while the chocolate is in its "tacky" phase. If the chocolate has already begun to crystallize and set, the salt will not bond to the surface.

