
Precision is not an option; it is the baseline for survival in the high-stakes theater of the modern kitchen. We are not just cooking a piece of protein. We are performing a surgical strike on muscle fibers to achieve the perfect Sear to Flash Chill transition. This is Beef Tataki; a dish that demands the soul of a grill master and the cold, calculating heart of a laboratory technician. You want that razor-thin margin of error where the exterior is a crust of Maillard-driven complexity while the interior remains a pristine, cool ruby. If you miss the window, you are left with a sad, grey slab of mediocrity. We are here to ensure that your infrastructure holds up under the pressure of thermal shock. We are talking about the rapid transition from a scorching cast iron surface to a sub-zero ice bath. This process halts the residual heat carryover instantly, locking in the juices and preserving the structural integrity of the beef. Gear up; we are auditing your technique from the cellular level upward to ensure every slice is a masterpiece of thermal engineering.
THE DATA MATRIX
| Metric | Specification |
|---|---|
| Prep Time | 25 mins |
| Execution Time | 10 mins |
| Yield | 4 Servings |
| Complexity | 7/10 |
| Estimated Cost per Serving | $12.50 |
THE GATHERS
Ingredient Protocol:
- Center-Cut Beef Tenderloin: 500g / 1.1 lbs (Trimmed of all silver skin)
- Neutral High-Smoke Point Oil: 30ml / 2 tbsp (Grapeseed or Avocado oil)
- Toasted Sesame Oil: 15ml / 1 tbsp
- Dark Soy Sauce: 60ml / 1/4 cup
- Rice Vinegar: 45ml / 3 tbsp
- Mirin: 30ml / 2 tbsp
- Fresh Ginger: 20g / 0.7 oz (Microplaned)
- Garlic Cloves: 2 units (Crushed and minced)
- Scallions: 3 units (Finely julienned)
- Daikon Radish: 100g / 3.5 oz (Grated for garnish)
Section A: Ingredient Quality Audit:
The primary failure point in Beef Tataki is the selection of the wrong cut. If your beef lacks intermuscular fat or is too fibrous, the flash-sear will result in a chewy, unappealing texture. Use only center-cut tenderloin or a highly marbled striploin. If your soy sauce tastes like straight salt, it is likely a chemically hydrolyzed imitation. Switch to a naturally brewed shoyu to provide the necessary depth of umami. If your ginger is woody and fibrous, it will ruin the mouthfeel of the dressing; always use young ginger or squeeze the pulp through a cheesecloth to extract only the juice.
THE MASTERCLASS
1. The Tempering Phase
Remove the beef from refrigeration 30 minutes prior to cooking. Pat the surface bone-dry with paper towels to ensure no moisture interferes with the Maillard reaction. Season aggressively with kosher salt only at the final second to prevent osmotic moisture loss.
Pro Tip: Use a digital scale to weigh your salt. Aim for 1% of the total meat weight. This ensures consistent seasoning across every batch without relying on the inaccuracy of "pinches."
2. The High-Velocity Sear
Heat a heavy-bottomed cast iron skillet until it reaches 230C (450F). Add your high-smoke point oil. Place the beef in the pan and sear for exactly 45 to 60 seconds per side. You are looking for a deep mahogany crust, not a charcoal burn.
Pro Tip: Use a heavyweight kitchen press or a second pan to ensure 100% surface contact. This maximizes the heat transfer and ensures the sear is uniform across the entire circumference of the meat.
3. The Flash Chill Protocol
Immediately plunge the seared beef into a prepared ice bath consisting of 50% water and 50% ice. This is the core of the Sear to Flash Chill technique. Leave it submerged for exactly 2 minutes; no more, no less.
Pro Tip: Use a stainless steel spider strainer to move the meat. This allows for a quick transition without carrying excess oil into your ice bath, which can create an unpleasant film on the protein.
4. The Emulsified Dressing
While the beef rests, whisk together the soy sauce, mirin, rice vinegar, and ginger. Slowly stream in the sesame oil while whisking vigorously to aerate and create a temporary emulsion.
Pro Tip: Use a small saucier for mixing. The rounded bottom allows your whisk to reach every corner, ensuring the aromatics are fully integrated and the dressing remains viscous enough to cling to the meat.
5. The Precision Slice
Remove the beef from the ice bath and pat dry. Using a razor-sharp yanagiba or a long carving knife, slice the beef against the grain into 3mm thick rounds. The center should be cool and vibrant red.
Pro Tip: Use a bench scraper to keep your station clear of debris between slices. A clean board is essential for maintaining the visual purity of the ruby-red beef against the dark crust.
Section B: Prep & Timing Fault-Lines:
The most common human error is the "Lag Time" between the pan and the ice bath. Every second the beef sits on a cutting board after searing, the internal temperature rises. This creates a thick "grey band" of overcooked meat. You must have your ice bath positioned within arm's reach of the stove. Another failure is slicing the beef while it is still slightly warm. If the internal proteins have not stabilized, the juices will purge upon slicing, leaving the meat dry and the plate a mess.
THE VISUAL SPECTRUM
Section C: Thermal & Visual Troubleshooting:
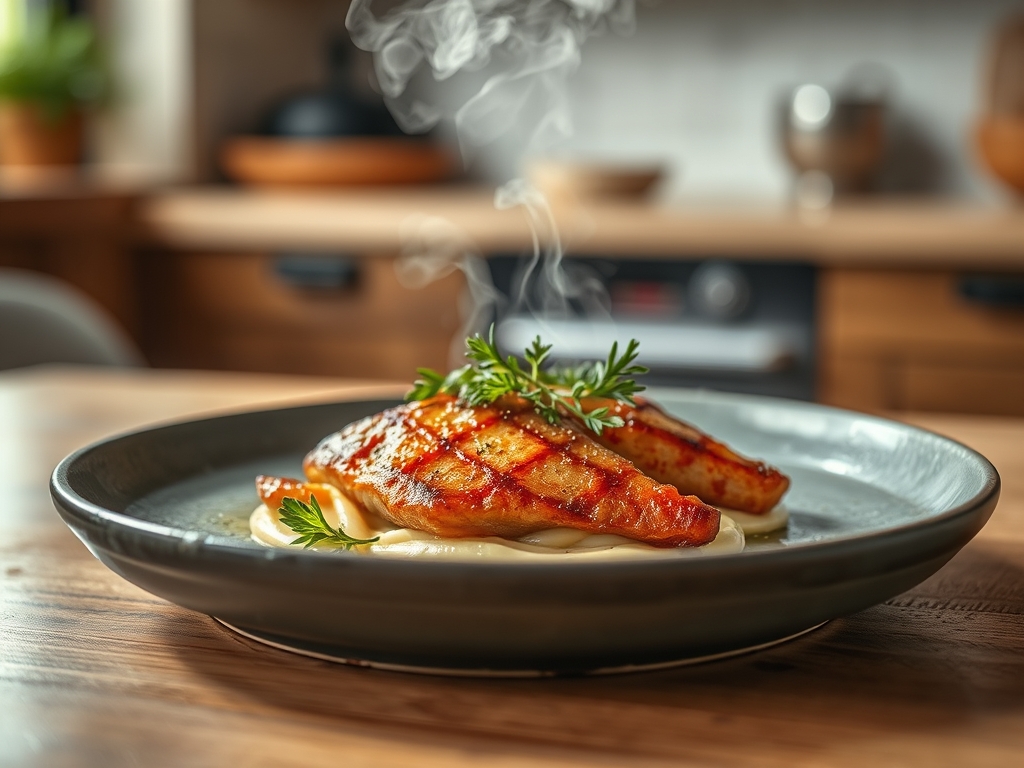
Look at the Masterclass photo above. Notice the sharp contrast between the blackened exterior and the neon-red interior. If your beef looks grey throughout, your pan was not hot enough or you seared for too long. If the crust is patchy, you did not use enough oil or failed to press the meat down. Dull colors in the dressing indicate oxidized ginger or old scallions. To fix a dull appearance, infuse your dressing with a touch of citrus zest just before serving to brighten the visual and flavor profile. If the slices are ragged, your knife is dull; a sharp blade is a non-negotiable piece of infrastructure.
THE DEEP DIVE
Macro Nutrition Profile:
Beef Tataki is a powerhouse of lean protein. A standard serving provides approximately 35g of protein, 8g of fat (mostly monounsaturated if using high-quality oil), and 4g of carbohydrates. It is an ideal recovery meal for high-output individuals.
Dietary Swaps:
- Vegan: Substitute the beef with a block of extra-firm smoked tofu or a large king oyster mushroom. Follow the same sear-to-chill protocol.
- Keto: Replace the mirin with a splash of rice vinegar and a drop of liquid monk fruit sweetener.
- GF: Use Tamari in place of standard soy sauce to ensure the dish is 100% gluten-free.
Meal Prep & Reheating Science:
Beef Tataki is a "cold-serve" dish. Do not attempt to reheat it, as you will destroy the delicate thermal gradient. It can be stored in an airtight container for up to 24 hours. To maintain the molecular structure, store the dressing separately and only apply it 5 minutes before serving to prevent the acid from "cooking" the meat further.
THE KITCHEN TABLE
Why is my beef chewy even though I sliced it thin?
You likely sliced with the grain instead of against it. Always identify the direction of the muscle fibers and cut perpendicular to them to shorten the proteins for a tender bite.
Can I use a blowtorch instead of a pan?
Yes; a blowtorch provides an intense, localized heat that creates a great sear without raising the internal temperature. However, you miss out on the even heat distribution of a heavy skillet.
What is the best way to julienne scallions?
Use a very sharp knife to cut the green tops into long, hair-thin strips. Immediately shock them in ice water; they will curl into beautiful, crisp garnishes that add verticality to the plate.
My dressing keeps separating; how do I fix it?
Since this is a temporary emulsion, it will separate over time. Give it a vigorous shake in a sealed jar or a quick whisking right before drizzling to re-incorporate the fats and acids.

