
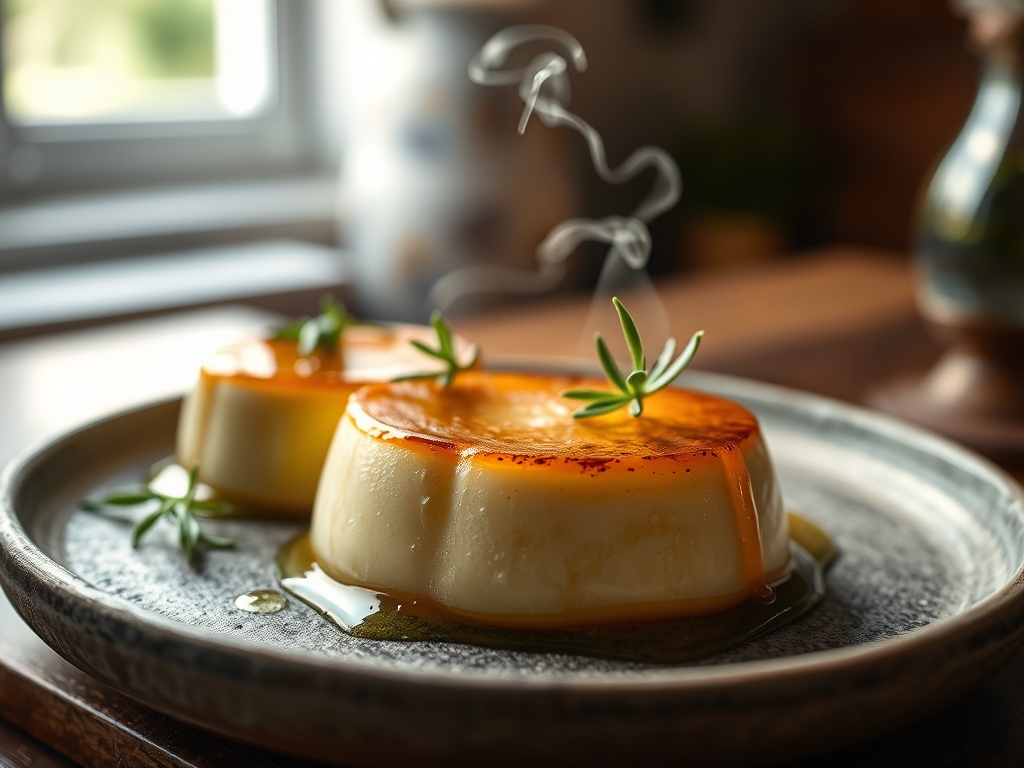
Stop thinking of dessert as a treat and start viewing it as a structural engineering marvel. When you transition from a liquid Custard to Chilled Gel, you are not just cooking; you are managing a complex network of denatured proteins and lipid globules. The sensory payoff is immense. Imagine the first fracture of a spoon against a surface that resists just enough to promise a velvety interior. The aroma is a concentrated blast of toasted vanilla and scalded cream, while the texture is a masterclass in viscosity. We are hunting for that precise moment where the liquid state surrenders to a semi-solid matrix. This is the intersection of culinary art and molecular physics. If you fail to respect the temperature thresholds, you end up with a grainy slurry. If you succeed, you produce a shimmering, piquant masterpiece that holds its shape with defiant elegance. This is high-stakes dairy management. We are here to audit your technique and ensure your infrastructure is sound enough to support a flawless structural set.
THE DATA MATRIX
| Metric | Specification |
|---|---|
| Prep Time | 20 Minutes |
| Execution Time | 15 Minutes (Active) / 6 Hours (Setting) |
| Yield | 6 Servings |
| Complexity (1-10) | 7 |
| Estimated Cost per Serving | $1.45 |
THE GATHERS
Ingredient Protocol:
- 500ml / 2 cups Heavy Cream (36% milkfat minimum)
- 125ml / 0.5 cup Whole Milk
- 100g / 0.5 cup Granulated Sugar
- 5 Large Egg Yolks (Room temperature)
- 10g / 2 tsp Gelatin Powder (Silver strength)
- 15ml / 1 tbsp Pure Vanilla Paste
- 2g / 0.25 tsp Fine Sea Salt
Section A: Ingredient Quality Audit:
The primary failure point in the Custard to Chilled Gel pipeline is the quality of the lipids. If your cream is ultra-pasteurized at extreme temperatures, the proteins are already partially damaged; this results in a weak set. Use "low and slow" pasteurized dairy whenever possible. If your egg yolks show a pale yellow hue rather than a vibrant orange, your lecithin count is low. To fix a low-emulsification potential in pale yolks, add a pinch of mustard powder or increase the whisking duration during the ribbon stage to manually aerate and stabilize the fat-water interface. If using sheet gelatin instead of powder, ensure you calculate the bloom strength. Silver grade is the standard for this specific structural density.
THE MASTERCLASS
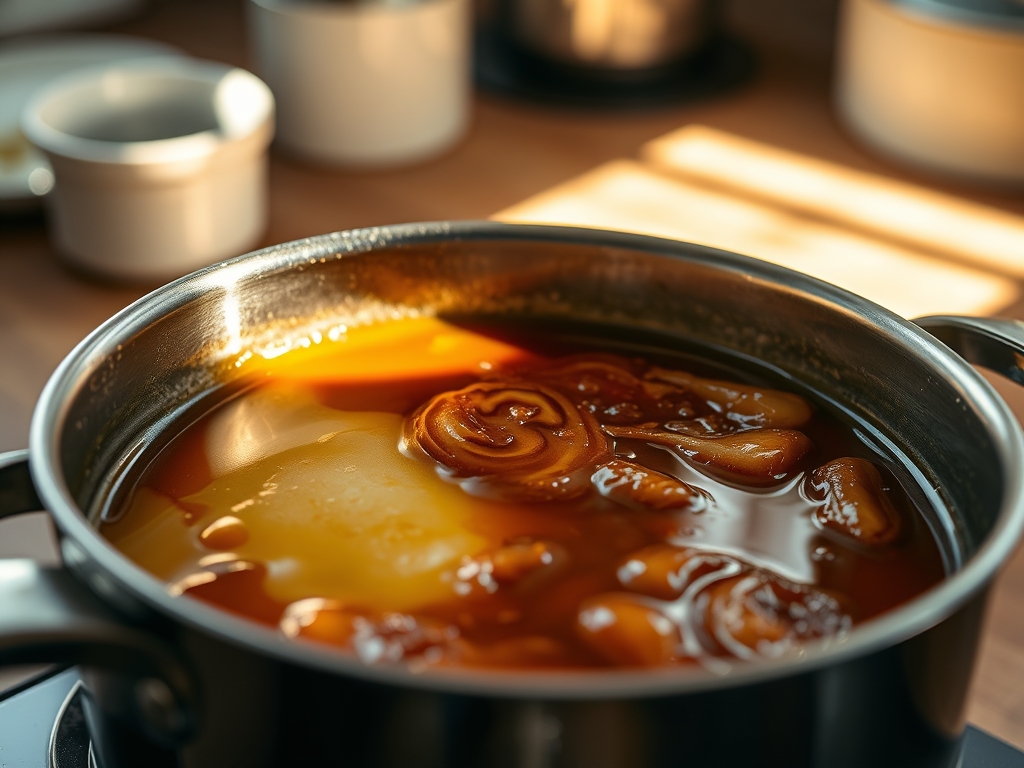
Step-by-Step Execution:
1. The Hydration Phase
Begin by blooming your gelatin in 30ml of cold milk. Let it sit for ten minutes until it resembles a thick, translucent sponge. This ensures that the long-chain proteins are ready to unfurl when heat is applied.
Pro Tip: Use a digital scale for this. Volumetric measurements for stabilizers like gelatin are notoriously inaccurate. Precision here prevents a rubbery texture or a catastrophic collapse.
2. The Lipid Infusion
In a heavy-bottomed saucier, combine the remaining milk and cream. Heat over medium-low until it reaches a gentle simmer. Do not boil. Stir constantly with a silicone spatula to prevent scorching on the floor of the vessel.
Pro Tip: This stage is where you infuse the vanilla. The heat allows the fat-soluble flavor compounds to migrate from the paste into the cream matrix. A saucier is superior to a straight-sided saucepan because the curved edges prevent "dead zones" where milk solids can burn.
3. The Ribbon Stage
While the dairy heats, whisk the egg yolks and sugar in a stainless steel bowl until the mixture is pale and falls in thick ribbons. This process begins the denaturation of the yolk proteins.
Pro Tip: Use a balloon whisk to maximize air incorporation. This mechanical energy helps to render the sugar crystals soluble before they even touch the heat, ensuring a silky mouthfeel in the final gel.
4. The Tempering Bridge
Slowly drizzle one cup of the hot cream into the egg mixture while whisking vigorously. Once combined, pour the tempered eggs back into the saucier with the remaining cream.
Pro Tip: This is a critical infrastructure check. Sudden heat shocks the proteins, causing them to clump. By gradually increasing the temperature, you create a stable emulsion that can withstand the final thickening phase.
5. The Nappe Verification
Cook the mixture over low heat, stirring constantly, until it coats the back of a spoon. When you draw a finger through the coating, the path should remain clear without the liquid running back in. This is the "nappe" stage.
Pro Tip: Use an instant-read thermometer. You are looking for exactly 82 degrees Celsius (180 degrees Fahrenheit). Any higher and the eggs will scramble; any lower and the Custard to Chilled Gel transition will lack the necessary structural integrity.
6. The Final Integration
Remove from heat and whisk in the bloomed gelatin until fully dissolved. Strain the entire mixture through a fine-mesh chinois into a clean bowl to remove any microscopic chalazae or overcooked protein strands.
Pro Tip: Straining is the hallmark of a professional. Use a bench scraper to push the last of the viscous liquid through the mesh to ensure you don't lose the concentrated fats that provide the luxurious finish.
Section B: Prep & Timing Fault-Lines:
The most common human error is the "patience gap." If you pour the hot mixture into molds and shove them immediately into a sub-zero freezer, you create uneven cooling. The exterior sets while the interior remains a fluid viscous mess. This thermal shock causes syneresis; the weeping of water out of the gel matrix. Always allow the mixture to cool to room temperature on the counter before transferring to the refrigerator. If you miss your nappe window and the custard begins to curdle, immediately plunge the base of the pan into an ice bath and use an immersion blender to re-emulsify the fats.
THE VISUAL SPECTRUM
Section C: Thermal & Visual Troubleshooting:
Look closely at the reference image. Notice the sharp, clean edges where the spoon has exited the gel. This indicates a perfect crosslinking of proteins. If your gel appears dull or matte, you likely over-aerated the mixture during the final whisking, trapping micro-bubbles that scatter light. To achieve that high-gloss finish, tap the molds firmly on the counter before the set begins to release trapped air. If the surface shows a "skin," you failed to cover the molds with plastic wrap touching the surface of the liquid. For uneven browning on the edges, check your oven calibration if you are finishing with a torch; the sugar must be perfectly dry before the flame hits it to ensure a glass-like crack.
THE DEEP DIVE
Macro Nutrition Profile:
This dessert is a high-density lipid vehicle. A standard serving contains approximately 320 calories, with 28g of fat, 12g of carbohydrates, and 5g of protein. The gelatin adds a minor boost of collagen-specific amino acids, but the primary macro focus is the saturated fat from the heavy cream.
Dietary Swaps:
- Vegan: Replace heavy cream with full-fat coconut cream and use agar-agar instead of gelatin. Note that agar-agar sets firmer and lacks the melt-in-the-mouth quality of bovine gelatin.
- Keto: Substitute granulated sugar with an erythritol-monk fruit blend. The structural set remains largely unaffected.
- GF: This recipe is naturally gluten-free as it relies on protein crosslinking rather than starch for thickening.
Meal Prep & Reheating Science:
You cannot reheat a chilled gel without destroying the molecular structure. Once the gelatin bonds are formed, heat will cause them to melt back into a liquid state. For meal prep, these can be stored for up to 4 days. To maintain the infrastructure, keep them in the coldest part of the refrigerator, away from the door, to prevent temperature fluctuations that lead to moisture beads on the surface.
THE KITCHEN TABLE
Why is my gel weeping water?
This is syneresis. It happens when the protein network is too tight or was cooled too quickly. The structure "squeezes" the liquid out. Always cool your custard slowly at room temperature before refrigerating to ensure a stable, hydrated matrix.
Can I use low-fat milk instead?
You can, but the structural integrity will suffer. Fat provides the "body" and mouthfeel that balances the firm set of the gelatin. Without it, the result is a brittle, watery gel that lacks the signature viscous luxury of a true custard.
My custard never thickened on the stove. What happened?
You likely pulled it off the heat before reaching the 82 degree Celsius threshold. Without sufficient heat, the egg proteins don't denature enough to create the necessary bridge. Return it to low heat and monitor with a digital thermometer.
How do I get rid of air bubbles on top?
After pouring the custard into your molds, run a kitchen torch quickly over the surface. The heat will pop the surface bubbles instantly, leaving a smooth, glass-like finish that looks professional and prevents a grainy texture upon setting.

